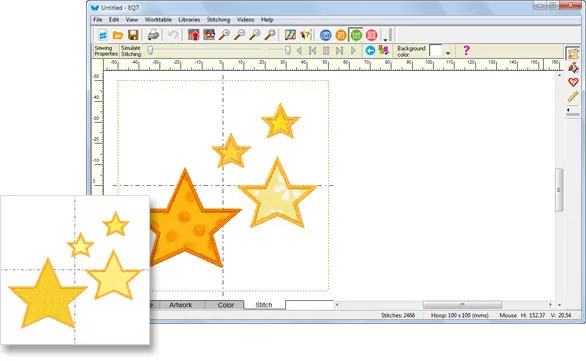
How do I convert an Embroidery Design into Machine Applique?
If the original design is an Embroidery design, you’ll need to copy the entire design to the clipboard and start a new Machine Applique design.
- With the embroidery design on the worktable, click the Artwork tab.
- Click EDIT > Select All.
- Click EDIT > Copy.
- Click STITCHING > New Design > Machine Applique.
- Click EDIT > Paste.

Note:
You cannot change the hoop size before you paste. If you do, the clipboard will be cleared and there will be nothing to paste. Change the hoop size after you paste. If your design becomes distorted after changing the hoop size, you can do a couple additional steps to avoid this.
- After Step 2 above, write down the overall dimensions for the selected patches from the Precision Bar.
- Once you’ve pasted and changed the hoop size, click EDIT > Select All and change the width and height entries to match the ones you had written down.
If the original design is already a Machine Applique design and you just want to convert a patch or two from embroidery to Machine Applique, here’s how to do it.
- Start with a machine applique design on the Stitching worktable.
- Click the Color tab.
- To convert a patch filled with stitches to fabric, click the Paintbrush tool.
- Select a fabric and click on any closed patch to place the fabric in the patch.
- Click the Stitch tab.
- Click the Set Applique Edge tool.
- Adjust the settings in the Precision Bar and click to place the desired edge settings.
- The final step is to set thread color edge. Click the Set Thread Color tool.
- Select a thread color in the palette and click the edge and fill to place the color(s).


