
 EQ Mini
Open a Project
In the previous lessons, we’ve started new projects and named them. In this lesson, we will open one of the projects and continue to use it.
- Start EQ Mini.
- When the Welcome to EQ Mini box displays, click Close.
- When the Tip of the Day appears, read as many tips as you like or just click Close.
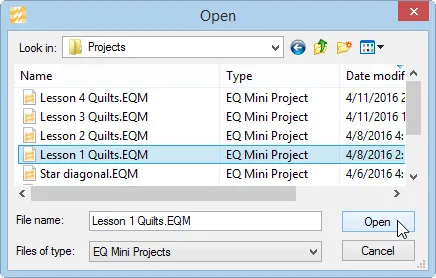
- Instead of starting a new quilt and naming a new project, let’s open an existing project. On the top toolbar click the Open button
 . The Open box will display.
 - All your project files can be found in the Projects folder in Documents > My EQ Mini. Click Lesson 1 Quilts to select it.
- Click the Open button.
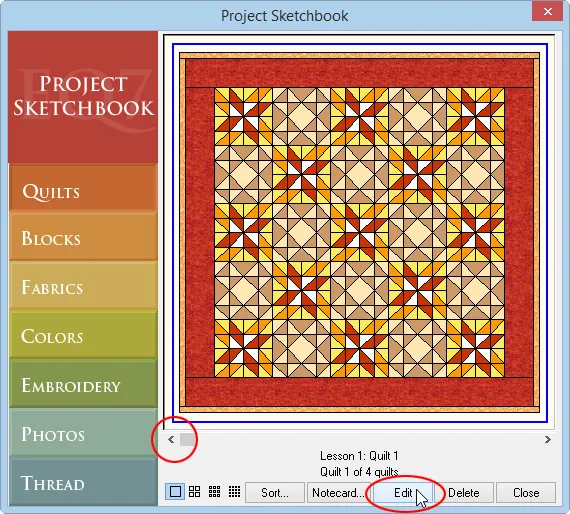
- The Project Sketchbook will display. Click Blocks to display the blocks in the project.
- Click Quilts to see the quilts in the project.
Edit Quilt
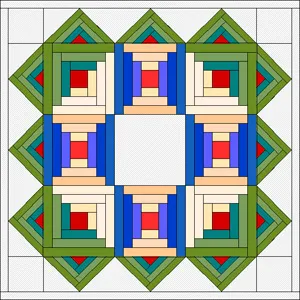
- Use the left scrollbar button to select quilt 1. Click the Edit button to place the quilt back on the Design Quilt tab.
Now that the project is fully open, you can see the title of the project at the top of the EQ Mini window. Since the project is already named, anything you design and add to the Sketchbook will automatically get saved in the project. You are ready to begin editing.
Whenever you edit a quilt from the Sketchbook, you’ll skip over the Adjust Layout and Edit Borders tabs, but you can always go back and use them.
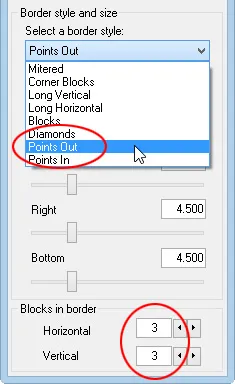
- Click the Adjust Layout tab along the top.

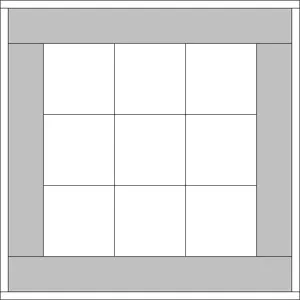
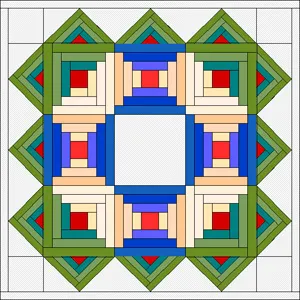
- Change the number of blocks Horizontal and Vertical to 3. We won’t make any other changes.
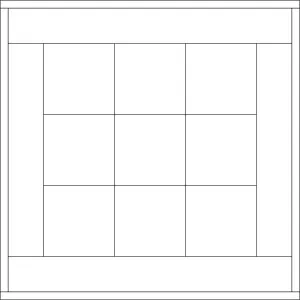
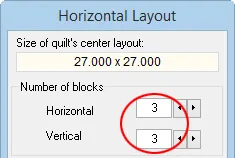 Notice that the overall size of the quilt is 38 by 38 inches.

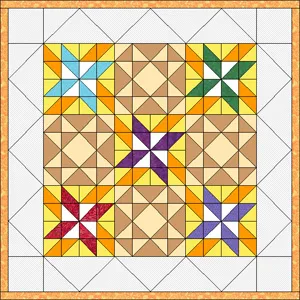
- Click the Design Quilt tab along the top. Our quilt is still filled with blocks and color.

Let’s add this new quilt in the smaller size to the Sketchbook. Click Add to Sketchbook .
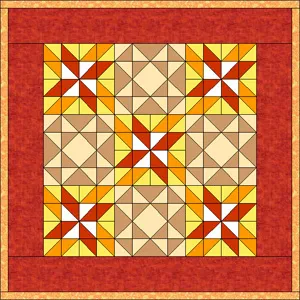
. - Click the View Sketchbook button
 . The Sketchbook will appear. You should see your quilt when the Sketchbook displays. If you don’t, click the Quilts section along the left.
 - To see multiple quilts at the same time, click the 3×3 button along the bottom of the Project Sketchbook box.
- Click Close. Let’s continue to edit this quilt.
Blocks Colorings
- Click the Spraycan tool
 . The Spraycan tool will spray all matching patches in the block with a new fabric in one click.
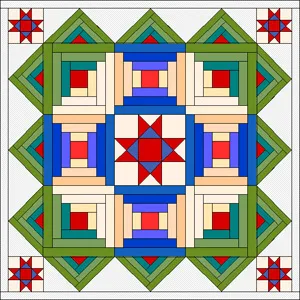
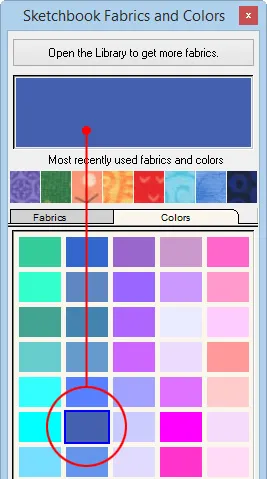
 - Click on any fabric in the palette other than red and click on one of the red points of the star-like block on the quilt. All 8 patches with matching fabric will color with one click.
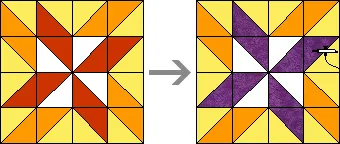
- Click on a different fabric from the palette. Click on another star in the quilt.
- Continue to place a different fabric in each star.

- Click Add to Sketchbook .
- Click the View Sketchbook button .
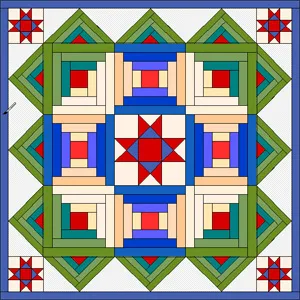
- Click the Quilts section to see your new quilt with multi-colored stars.
- Click the Blocks section.
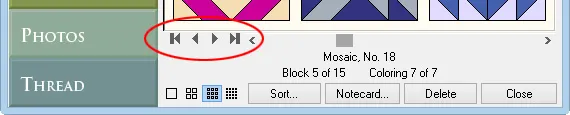
- Click on block 5, Mosaic, No. 18, and notice that it says that this block has 7 colorings.
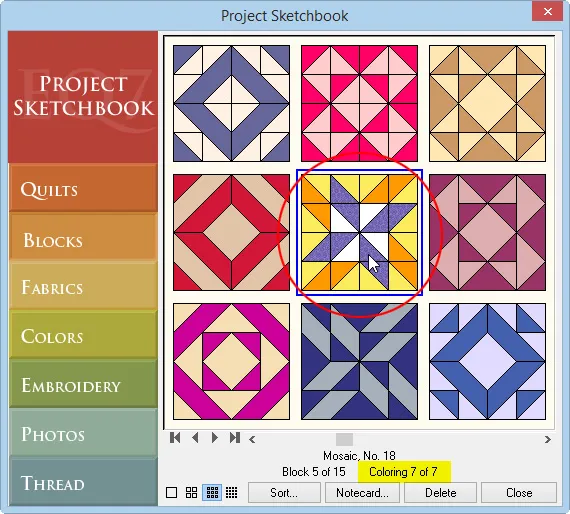
In EQ Mini, blocks can have more than one coloring. When you look at the Sketchbook or palette, you may not see the coloring that you expect. The coloring that you are looking for may be underneath the coloring you see. Block colorings stack on top of one another.
- Right-click to display the context menu. Click Select Coloring.
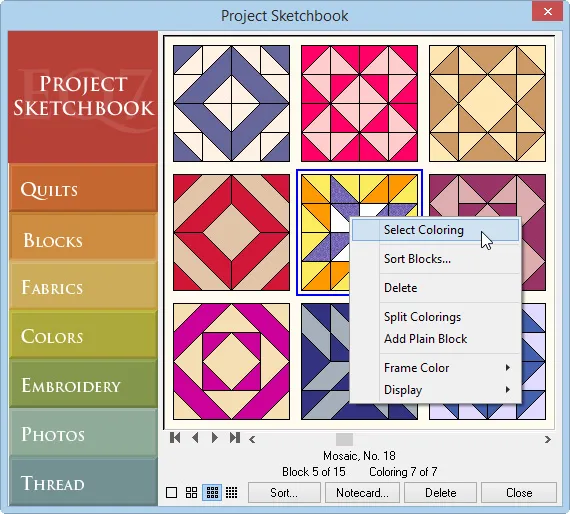
This will display all the block’s colorings. The first block will always be a line drawing with no coloring. The second block will be a grayscale version of the block. The third coloring is the one you see in the library. Any new colorings that you make during your designing get saved after that. You can click on any of these colorings to select it.
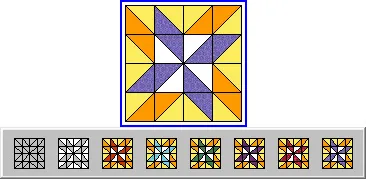
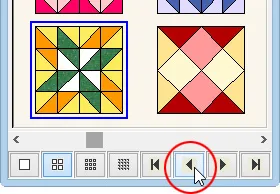
- Another option for changing the coloring is to use the arrow buttons in the Sketchbook. The middle two arrows change the coloring by one. The text that appears in the Sketchbook tells you which coloring you are looking at – Coloring 5 of 8 and so on. Click on the arrows several times to understand how this works.
- Click Close.
- Click the Set Block tool
 on the right to display the Sketchbook Blocks palette.
 - Click on block 5, Mosaic, No. 18.
- Right-click to display the context menu. Click Select Coloring. This option is just like the Sketchbook. Click on any coloring to select it.

- Click the arrow buttons at the bottom of the palette. These arrows will change the block coloring displayed just like in the Sketchbook. Let’s continue to edit this quilt.
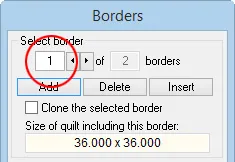
- Click Edit Borders along the top.

The first border, the wide one, is selected and showing in gray. We also know this because the top of the palette says Select border 1 of 2 borders.
- Let’s change the style of this border. Click the down arrow under Select a border style and click on Points Out. This style works nicely with 3 points. The 3 points on each side line up with the 3 blocks in the center of the quilt.
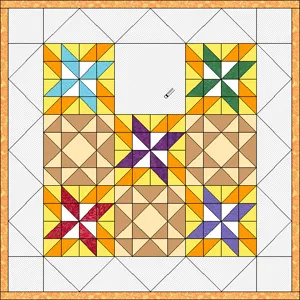
- Click the Design Quilt tab along the top.
Our quilt is still filled with blocks and color except for the first border. Since we totally changed that border, it has been erased and is ready to be filled with blocks and color.
Erasing Blocks and Quilts
- Click the Erase Block tool
 .
.
- Click on any block in the quilt to erase it.
- Erase another block or two.
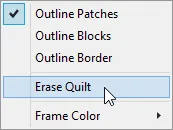
- Right-click over the quilt.
- Click Erase Quilt.
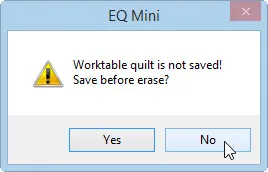
- You’ll be prompted with a message asking if you want to save the current quilt. We don’t want to save the partially designed quilt. Click No. The entire quilt will be erased and ready to fill with blocks and colors.
- Click the Set Block tool .
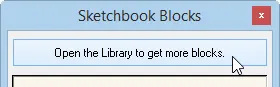
- Click Open the Library to get more blocks.
- Click Classics under 01 Classic Pieced.
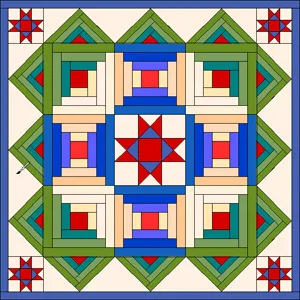
- Add the first three blocks to the Sketchbook – Log Cabin, Log Cabin (2) and Ohio Star.
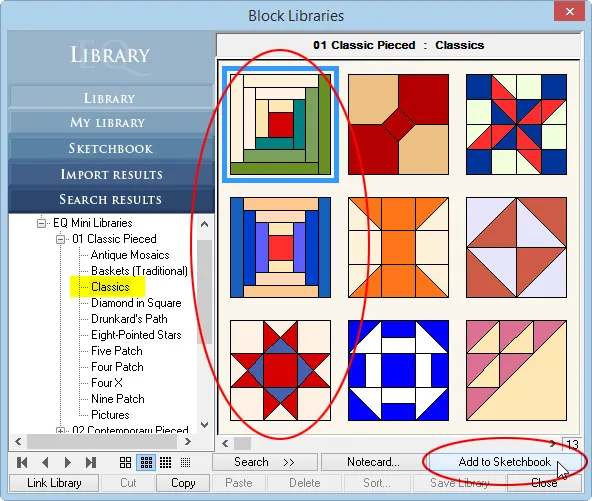
- Click Close. The blocks from the library will now appear in the palette. You may need to scroll to the end to see the newly added blocks.
- Click the Log Cabin block in the palette, and then click in each point of border 1 to set the blocks.
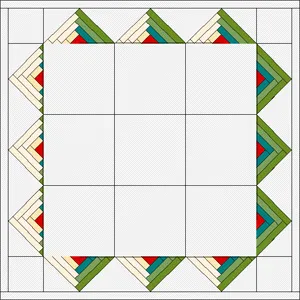
- Click the Rotate Block tool
 and rotate the blocks in the points that are showing green and cream so that they show only green.
The points on the top will need three clicks to rotate the blocks three turns. The points on the left will need two clicks and the bottom points will just need one click.
- Click the Set Block tool .
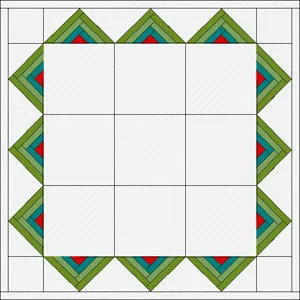
- The Log Cabin block should still be selected. Click on the four corners of the center of the quilt.
- Click the Rotate Block tool and rotate these blocks so the green strips align with the green in the border.

- Click the Set Block tool .
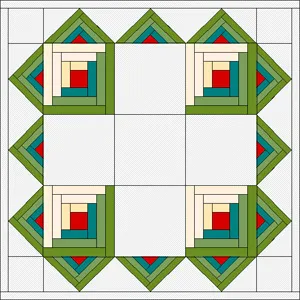
- Click the Log Cabin (2) block in the palette, and then click in the empty blocks in the center of the quilt, except for the center block.
- Click the Rotate Block tool .
- Click the center top and center bottom blocks to rotate one turn, or 90 degrees. This will create a blue frame around the center block.
- Click the Set Block tool .
- Click the Ohio Star block in the palette.
- Click to set the block in the center of the quilt.
- Click to set the block in each of the four corners of border 1.
Using the Eyedropper tool
- Click the Eyedropper tool
 .
.
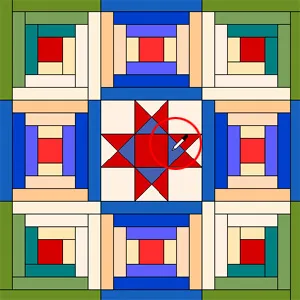
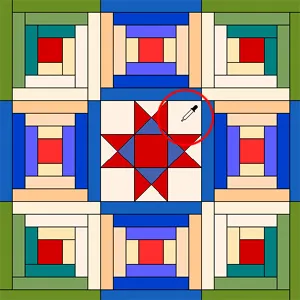
- Click on one of the blue triangles in the Ohio Star block in the center of the quilt. This will find the blue from the palette for you.
- If your tool did not automatically switch to the Paintbrush tool, then click the Paintbrush tool to select it.
- Ctrl+click (Command+click for Mac users) on the outer border to set the blue on all sides of the outer border.
- Click the Eyedropper tool .
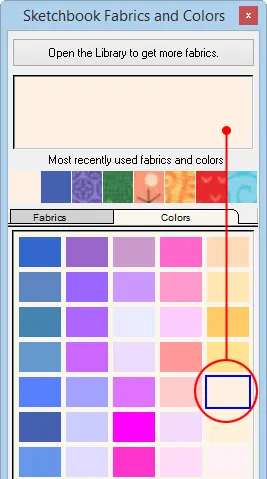
- Click on one of the cream color patches in the Ohio Star block in the center of the quilt. This will find the matching cream color from the palette for you.
- If your tool did not automatically switch to the Paintbrush tool, then click the Paintbrush tool to select it.
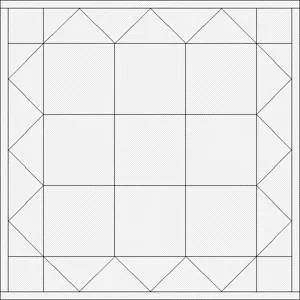
- Ctrl+click (Command+click) on the empty points in the outer border. Your quilt design is complete.
- Click Add to Sketchbook .
- Click the View Sketchbook button .
- Click the Quilts section. Our project has several quilts, especially if you did the homework at the end of Lesson 1. Only the first one is named. Use the Notecard button to name the quilts if you wish.
- Click Close.
Print Foundation Pattern
- Click the Select tool
 .
.
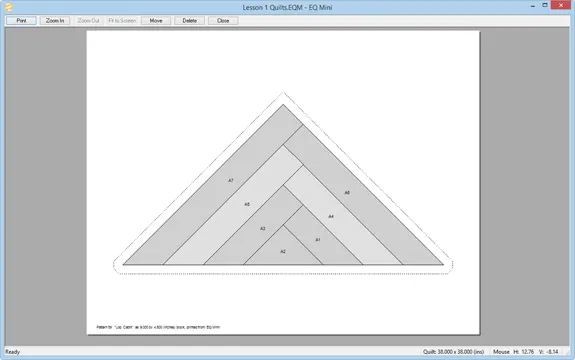
- Click on one of the pieced points along the top of border 1.

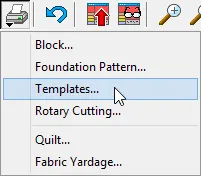
- Click the Print button in the top toolbar and choose Foundation Pattern.
EQ Mini will correctly clip a square block that is set into a triangle location.
- Click the Options tab. We can see that the pattern will use the size from the quilt.
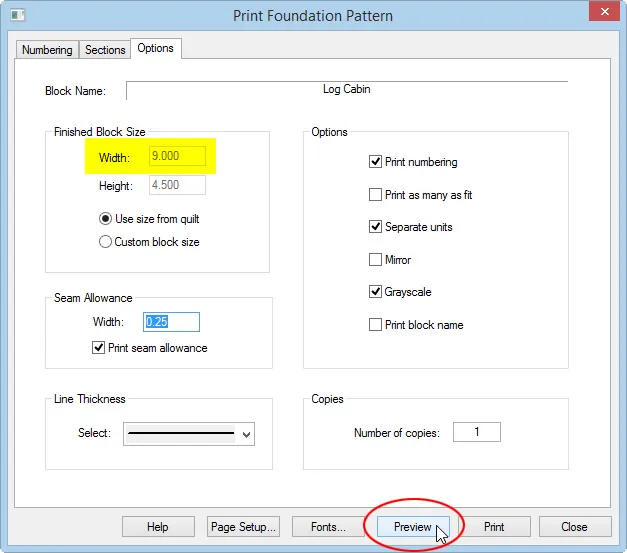
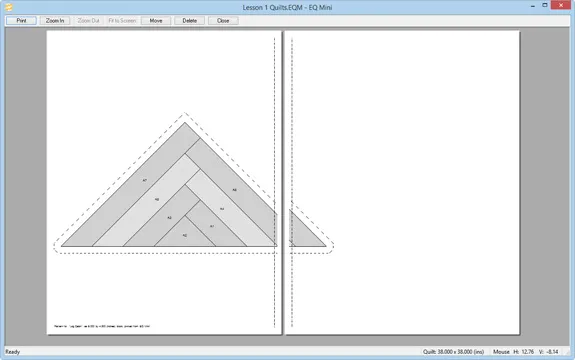
- Click the Preview button. Since the block is 9 inches wide, it tiles onto two pages.
- Click Close at the top of the preview.
- Click Page Setup at the bottom of the Print box.

- Change the Page Orientation to Landscape.
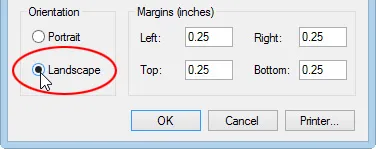
- Click OK.
- Click Preview. Now our pattern fits nicely onto one page.
- Click Print.
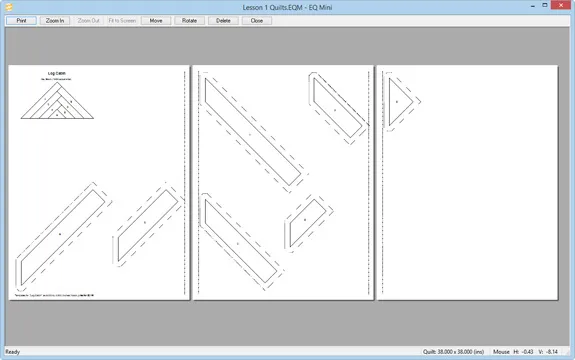
Print, Move and Rotate Templates
- With the same pieced point selected for printing, click the Print button in the top toolbar and choose Templates.
- Let’s change the Page Orientation back to Portrait. Click Page Setup.
- Change the Page Orientation to Portrait.
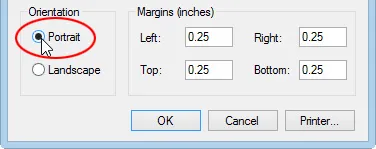
- Click OK.
- Click Preview.
- This pattern shows template pieces spread over 3 pages.
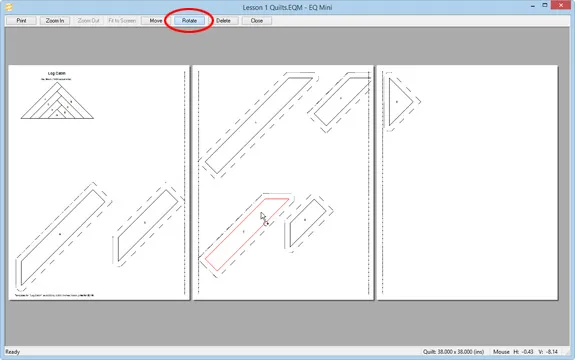
We can use less paper if we move the template pieces closer together. First let’s rotate the templates so they all face the same direction. Click Rotate on the top toolbar. The cursor will change to indicated rotate. - Click on a template to rotate it 90 degrees. Continue to click on templates until they all face the same direction.
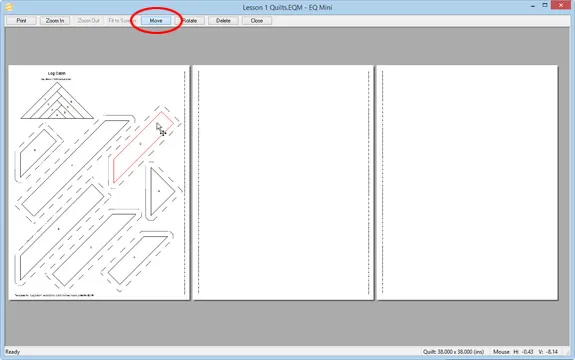
- Click Move on the top toolbar. The cursor will change to indicate move.
- Drag each template separately to the first page. All the pieces can fit on one page. Empty pages do not print.
- Click Print.
- Click File > Exit to close EQ Mini.
In this lesson we learned how to open an existing project to continue to work on it. We also learned more about the many printing options in EQ Mini and some new design tools.
This lesson was a bit longer so there’s no homework this time!


