Start with an image on the worktable.

Click Color in the ribbon, and then click the Color Balance tool in the palette to display the Color Balance dialog.
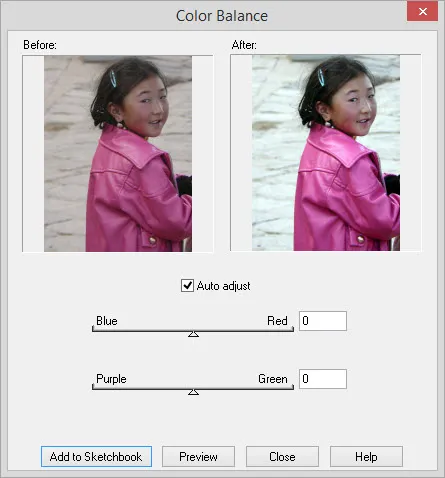
The Color Balance dialog will automatically adjust color levels in the image. It will make the dark pixels darker and light pixels lighter. The result will enhance shadows and brighten the image.
When the dialog opens, the photo will automatically be corrected because the Auto adjust checkbox is checked by default. Many times you will need no further adjustment.
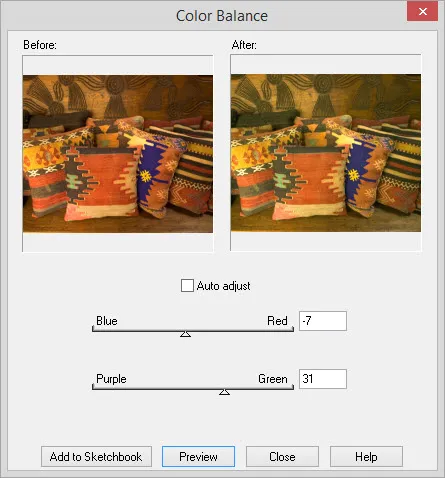
- Blue – Red: Drag the slider to the right to increase the red or warmness of the image. Drag the slider to the left to increase the blue or coldness of the image. Range: -100 – 100
- Purple – Green: Drag the slider to the right to increase the amount of green in the image. Drag the slider to the left to increase the amount of purple in the image. Range: -100 – 100

The Before photo had bad lighting. By adjusting the settings, the After photo has been fixed.
Note:
Do you have a photo that has a really bad color cast to it? Try letting the Auto-adjust in the Color Balance dialog clean up your photo. This is not a color cast fix for all photos, but try yours out and see!


 Electric Quilt 8

