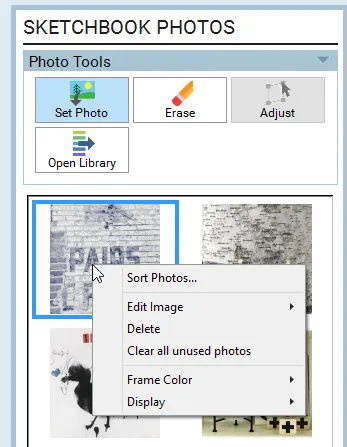
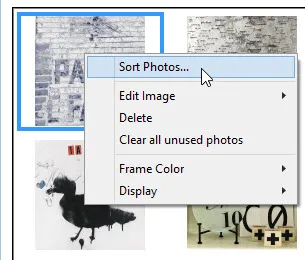
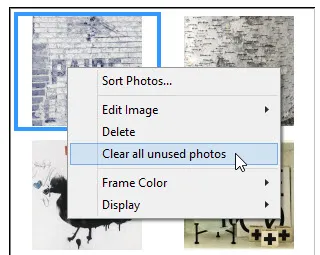
Click on the three dots in the top-right corner of the Photos section of the Project Sketchbook to display the context menu. You can also right-click on a photo in the Project Sketchbook or palette to bring up this menu.
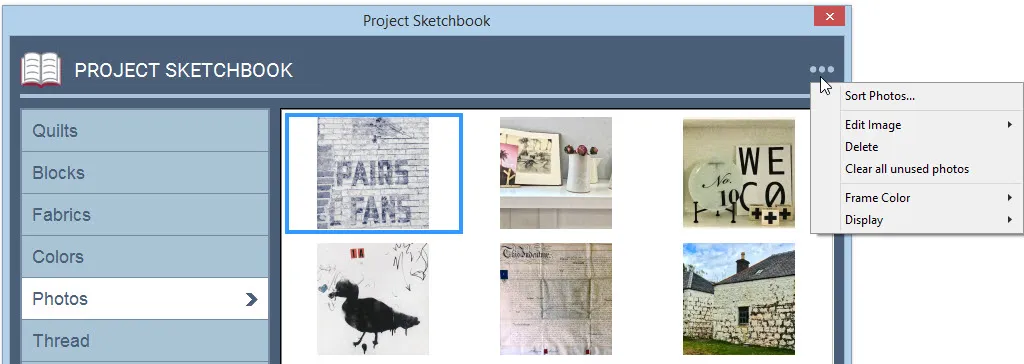
Sort Photos
In the Photos palette, this option lets you sort the photos currently in the palette using the menu.
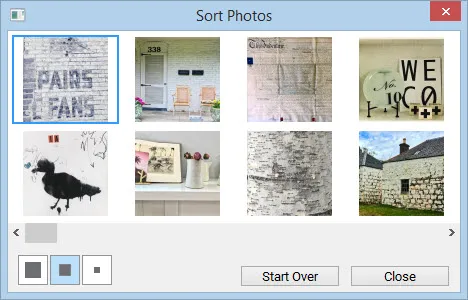
Click on the Photo Tools button on the ribbon to display the palette. Right-click on the palette to display the menu. Choose Sort Photos. The Sort dialog will appear. Click each photo in the order you want them to appear in your palette. If you make a mistake, click Start over. When you’ve sorted all the photos, the dialog will disappear. If you click Close on the Sort dialog before sorting all of the photos, the remaining photos will fall in behind the ones you’ve sorted.
Once you click Close on the Sort dialog, the sorted photos will permanently be reordered.
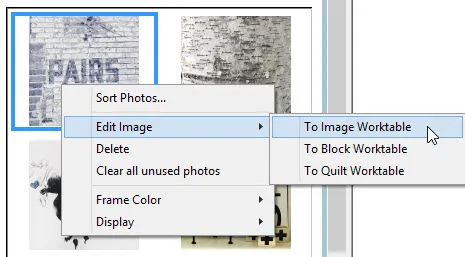
Edit Image
Clicking Edit Image opens the selected photo to the Worktable of your choice. This is a quick way to make changes to a photo in your Project Sketchbook.
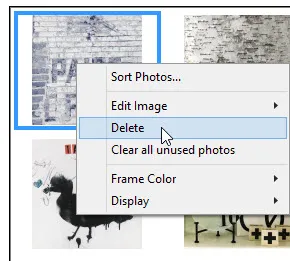
Delete
To delete a photo, select it and right-click on it to bring up the Context menu and choose Delete. If you’re in the Project Sketchbook, just click the Delete button. This will delete the photo from the Project Sketchbook.
If you want to delete several photos at a time, go to Libraries > Photo Library > Current Sketchbook tab. Using the Sketchbook through the Library dialog allows you to select all the photos at once by clicking Select All Photos, holding the Shift key and clicking on the photos, or by clicking Ctrl+A (or Command+A on a Mac) to select all, then hit delete. You are only able to do this if the selected photos are not used in a quilt.
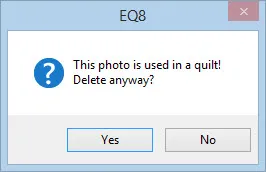
Note: If the item is used in a quilt, you’ll see a message reminding you of this.
Clear All Unused Photos
Click Clear all unused photos if you want to quickly delete any photos that aren’t being used in any quilts in the Project Sketchbook.
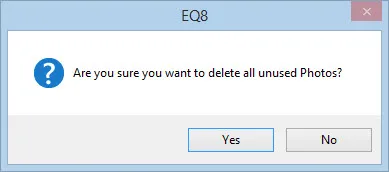
You will receive a prompt asking if you are sure.
Frame Color
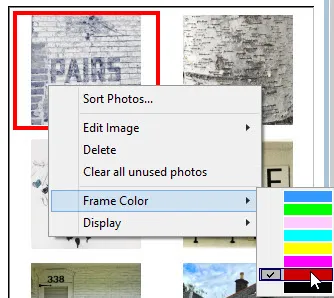
When you select an item in the palette, it becomes highlighted. Use the Frame Color option to change the color that the items are highlighted with. Right-click to display the menu. Point to Frame Color and choose from the eight different colors to highlight your items.
Display
You can choose the size of items displayed in the palette. Each palette allows you to choose from Large, Medium, Small, and Tiny. Right-click on an item in the palette and point to Display and choose the display options you want.
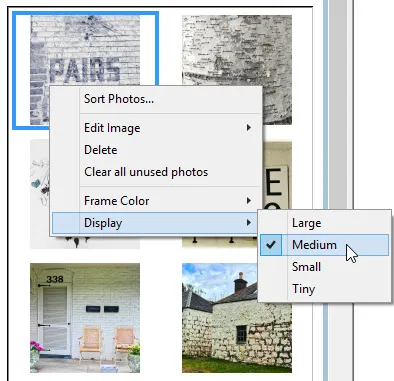
You can also change the display by clicking the display buttons at the bottom of the palette. The images on the buttons indicate the type of display each button represents.

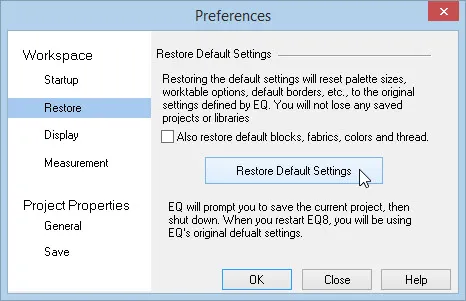
Reset Palette
If a palette does not appear, on the menu bar, click FILE > Preferences > Restore > Restore Defaults. (This requires closing EQ8, so be sure to save what you’re working on.)
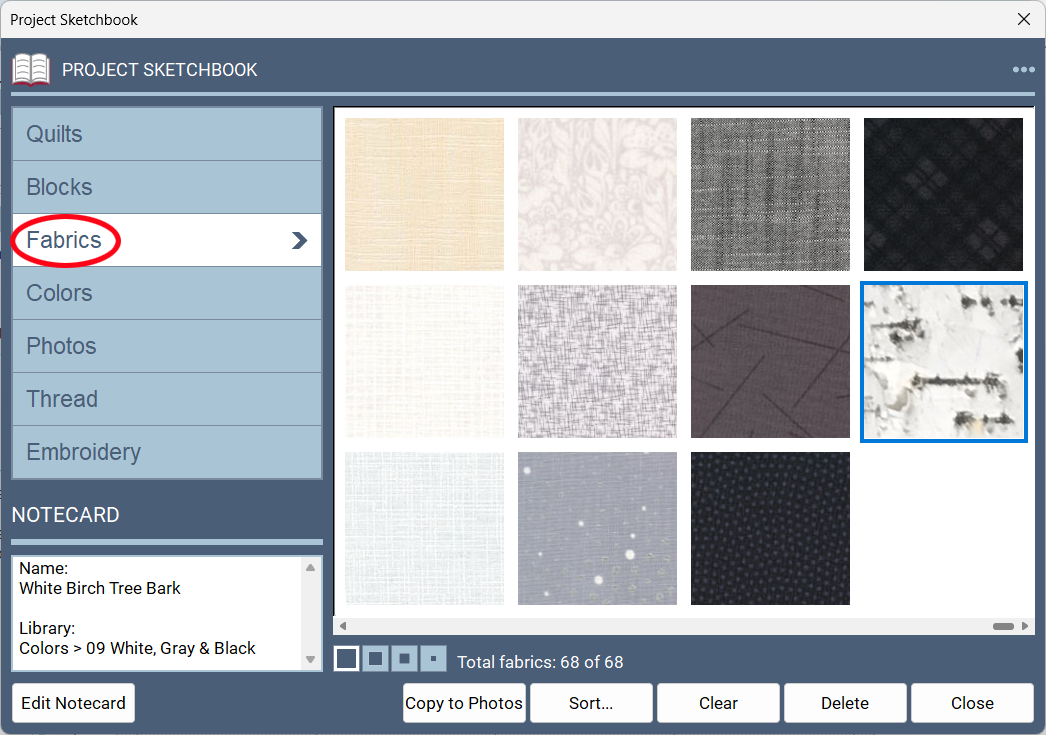
Copy to Fabrics
Clicking the Copy to Fabrics button adds a copy of the photo to the Fabrics section of the Project Sketchbook. Read about the differences between photos and fabrics.
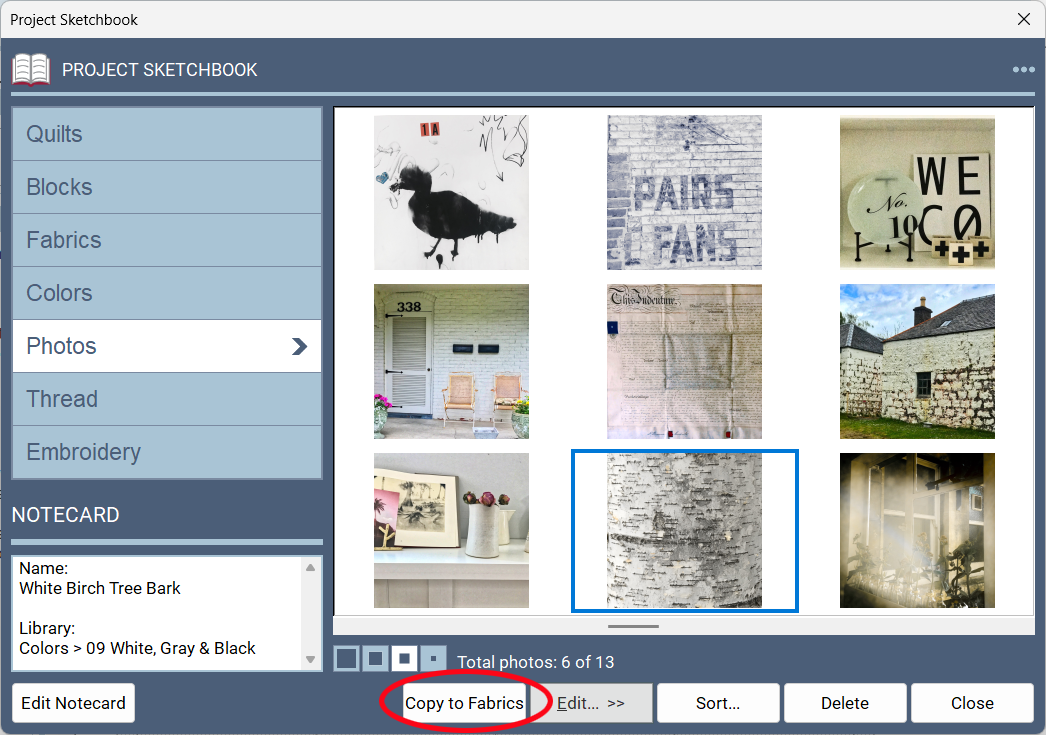
The photo will also remain in the Photos section of the Project Sketchbook and the image will be shown at the end of all the other fabrics in the Sketchbook.