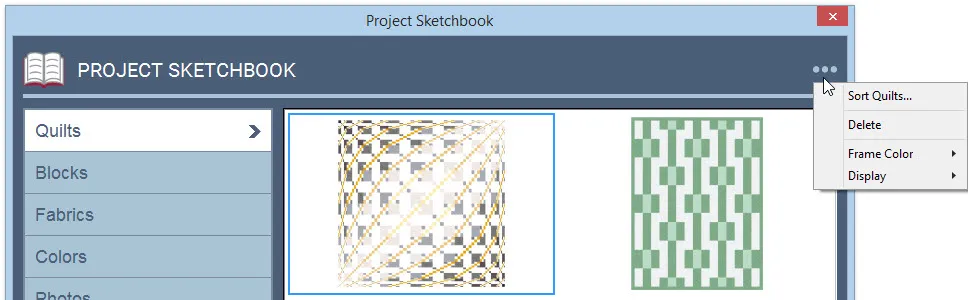
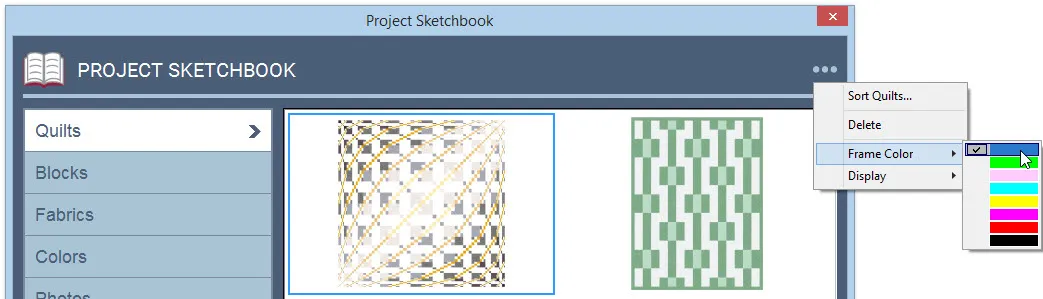
Click on the three dots in the top-right corner of the Quilts section of the Project Sketchbook to display the context menu. You can also right-click on a quilt in the Project Sketchbook to bring up this menu.
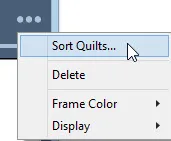
Sort Quilts
This option lets you sort the quilts currently in the Sketchbook.
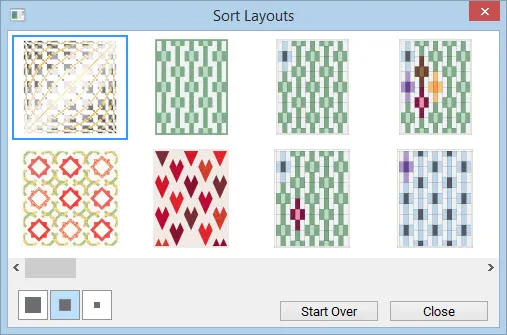
Click on the three dots to display the menu. Choose Sort Quilts. The Sort dialog will appear. Click each quilt in the order you want them to appear in your palette. If you make a mistake, click Start over. When you’ve sorted all the quilts, the dialog will disappear. If you click Close on the Sort dialog before sorting all of the quilts, the remaining quilts will fall in behind the ones you’ve sorted.
Once you click Close on the Sort dialog, the sorted quilts will permanently be reordered.
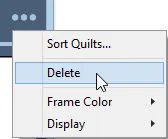
Delete
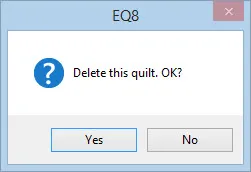
The Project Sketchbook lets you delete quilts you no longer want or need. You’ll receive a prompt after clicking Delete to be sure you want to delete the quilt.
Frame Color
When you select a quilt in the Project Sketchbook, it becomes highlighted. Use the Frame Color option to change the color that the quilts are highlighted with. Click the three dots or Right-click to display the menu. Point to Frame Color and choose from the eight different colors to highlight your quilts.
Display
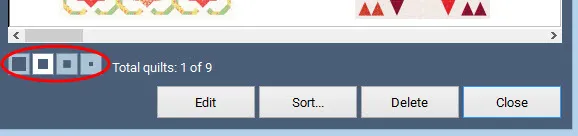
You can choose the size of items displayed in the Project Sketchbook. Each section allows you to choose from Large, Medium, Small, and Tiny. Click the three dots to display the menu. Point to Display and choose the display options you want.
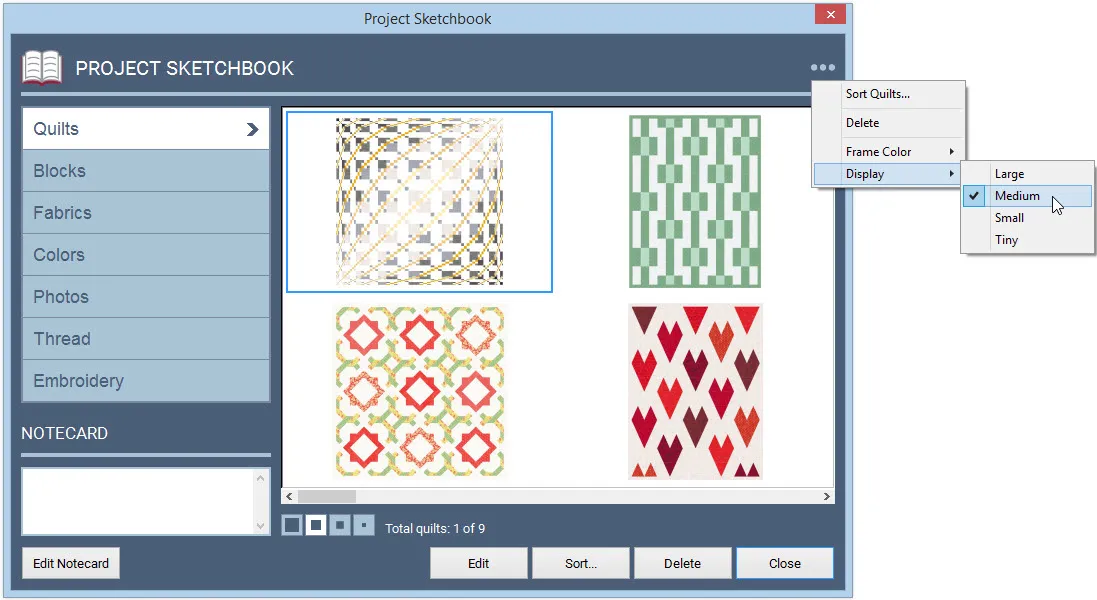
You can also change the display by clicking the display buttons at the bottom of the Project Sketchbook. The images on the buttons indicate the type of display each button represents.