The Rotate Fabric tool allows you to rotate fabric swatches in individual patches of your blocks or quilts. This is especially helpful for striped, pictorial, and border prints.
Click Quilt Worktable > DESIGN tab > Fabric Tools to access the Rotate Fabrics tool.
The Rotate Fabric tool is only available on Layers 1 and 2 of the Quilt Worktable.
Using the Rotate Fabric Tool
- Click the Rotate Fabric tool to select it.
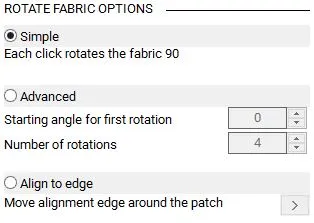
- Choose a rotation option from the palette (the Simple method is selected by default). See below for details.
- Click on a patch in the quilt.
You may need to use the Fussy Cut tool to adjust your fabric after you rotate.
Note: For a quicker method of rotating fabric, use Ctrl + click to rotate the fabric in all the matching patches of the quilt. Use Alt + click to rotate the fabric in matching patches of alternating blocks in the quilt. Unlike the color tools, these two methods rotate matching patches, not matching fabric.
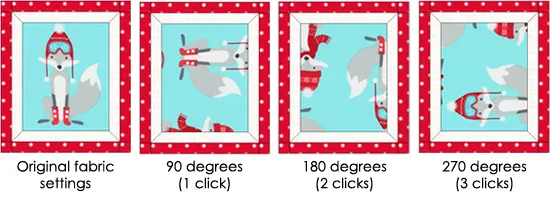
Simple Rotation

Advanced Rotation
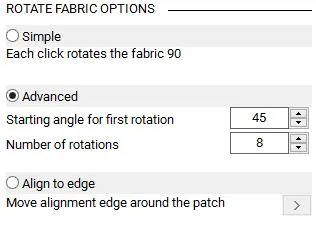
The Advanced rotation method allows you to rotate your fabric at any angle (0-359 degrees) and in any number of rotations (1-16). Each click of the mouse will rotate the fabric based on the numbers entered in the palette.
For example:
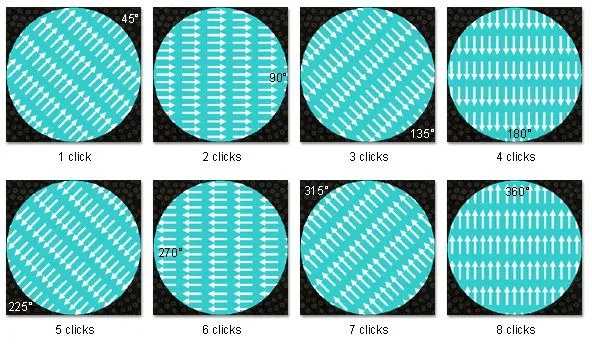
With the starting angle at 45 degrees and the number of rotations at 8 you’ll see the fabric rotate 45 degrees on click 1.
With the rotation set to 8 rotations, you should expect 8 clicks to return the fabric to the first position (0, or 360). Since 360 degrees divided by 8 is 45, then two clicks is 45 + 45 (90). Three clicks give is 45+45+45 (135) and so on.
Calculating Angles:
- Count how many rotations are needed (oftentimes it’s the number of patches around the block center).
- Divide 360 by number of rotations (for example: 360÷8)
- The result will be the angle you need to input in the palette.
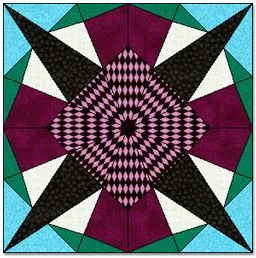
Rotating with 8 Rotations Using the Advanced Method
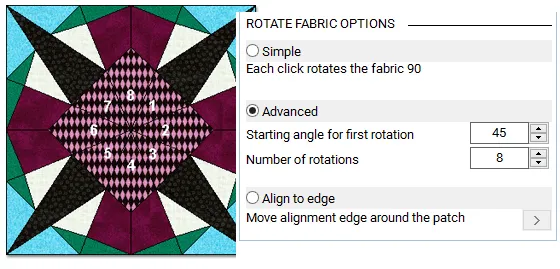
For example: The bottom-most patch in the picture has a 4. Click to rotate this fabric 4 times to achieve the correct rotation.
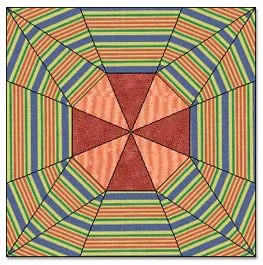
Rotating with 16 Rotations Using the Advanced Method
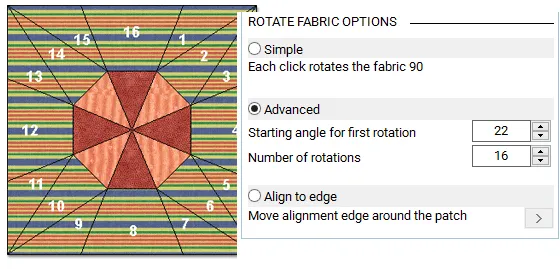
For example: The bottom-most patch in the picture has an 8. Click to rotate this fabric 8 times to achieve the correct rotation.
Rotating Fabric Using the Align to Edge Method
The Align to edge rotation method allows you to rotate your fabric based on the actual edges of the patch. If the patch has 5 edges, then you can select any one of the 5 edges for aligning the fabric. Once you’ve selected the edge for alignment, then you can choose to align the fabric’s top, right, bottom, or left to that edge.
When you use this method, it’s really a three step process. First, select the patch in the quilt. Second, select an edge in that patch. Third, select the orientation of the fabric (top, right, bottom, left) to that marked edge.
Step 1: Select the Patch
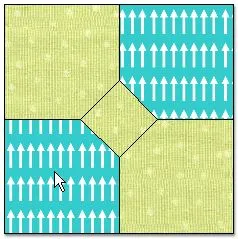
With the Rotate Fabric tool selected, click on the patch in the block that contains the fabric you want to rotate. The fabrics must have a directional or assymetrical design in order for the rotation to be noticeable.
Align to edge works on one patch only — not multiple patches in the quilt.
Step 2: Select the Alignment Edge
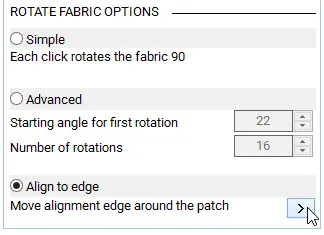
- Click to select the Rotate Fabric tool in the palette.
- Click the Align to edge radio button in the palette to select it.
- Click the patch that contains the fabric you want to rotate. You’ll see the white alignment mark on the patch. (The fabric may rotate into one of the 4 possible alignment orientations for that edge.)
- Use the arrow next to Move alignment edge around patch on the palette OR hold down Shift key and click in the patch to move the alignment mark along each edge of the patch until you have the desired edge marked with the white line. The white line will move with each click. Again, any fabric rotation that might be appearing as you are clicking is to make the fabric fall into one of the 4 alignment possibilities for that given edge.
- Once you’ve positioned the alignment mark to the desired edge, click (without shift) 4 times to see all 4 possibilities for the alignment of the fabric to that edge.
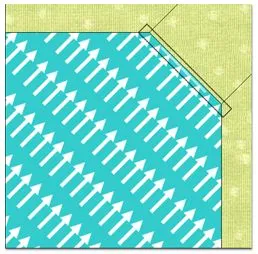
Step 3: Select the Orientation of the Fabric
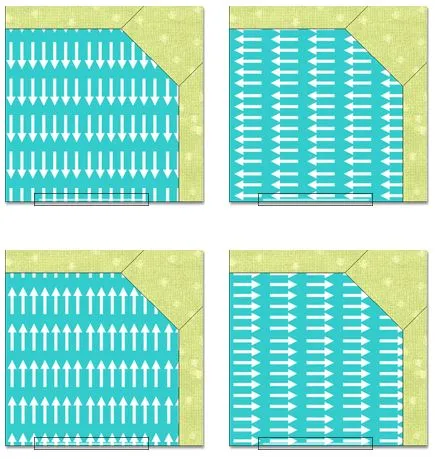
Once you’ve positioned the white alignment mark along the edge of the patch that you want, it’s important to remember that you still have 4 different choices of rotation. You can align the fabric’s top, right, bottom or left edge to the patch edge you’ve selected.
Below in this zoomed view of a single patch from the Bowtie block, notice the alignment mark runs along the bottom of the patch. The fabric can be aligned in 4 different ways to that edge by clicking directly on the fabric in that patch.

 Electric Quilt 8


