 EQ Mini
The Export Image feature allows you to create JPEG images of the quilt and blocks on the worktable.
Export Image of a Quilt
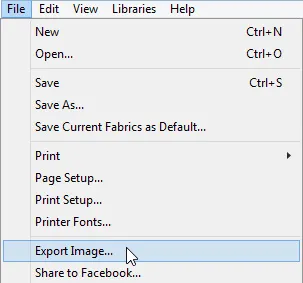
- With your completed quilt on the worktable, click FILE > Export Image.
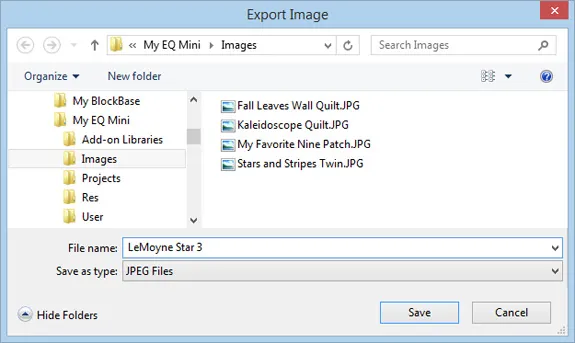
- By default, the Export Image directory is My EQ Mini > Images. If you want to save your image in a different location, navigate to the new location at the top of the window.
- Give your quilt image a descriptive name.
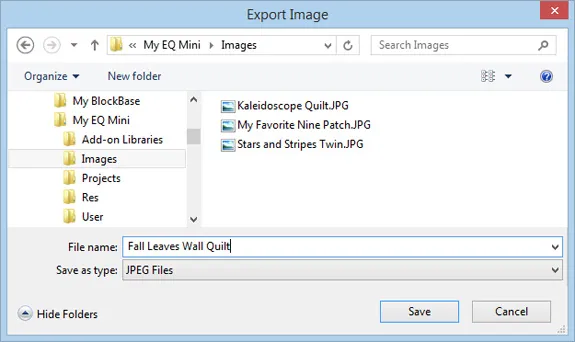
- Click Save.
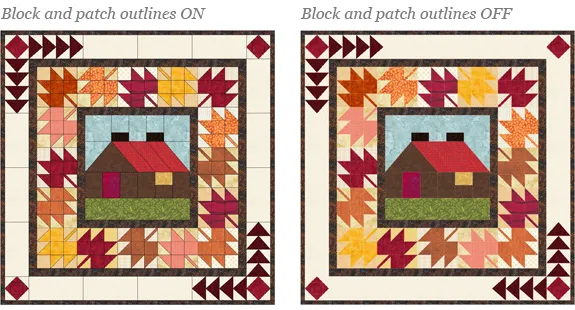
- The Export settings allow you to choose the size of your exported image, the resolution and quality. If you don’t want your image to show patch lines, uncheck the boxes under Options.
- Click OK. Locate your new JPEG file in the directory chosen in step 2.
Export Image of a Block
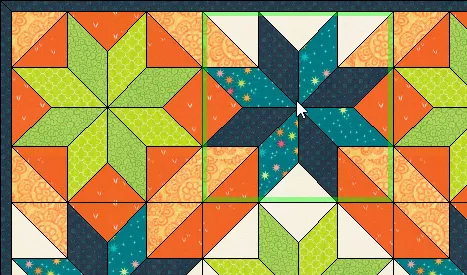
To export a picture of a block in the quilt, you must first select the block with the Select tool.
Important! When selecting a block from the quilt to export, the block will export horizontally and not in the orientation from the quilt. So blocks set on-point will not export on-point.
- With your completed quilt on the worktable, click the Select tool, then click to select the block in the quilt. You’ll know it’s selected if you see a green selection box around the block.
- Choose FILE > Export Image.

- By default, the Export Image directory is My EQ Mini > Images. If you want to save your image in a different location, navigate to the new location at the top of the window.
- Give your block image a descriptive name.
- Click Save.
- The Export settings display allowing you to choose the size of your exported image, the resolution and quality. If you don’t want your image to show patch lines, uncheck the boxes under Options.
- Click OK. Locate your new JPEG file in the directory chosen in step 2.
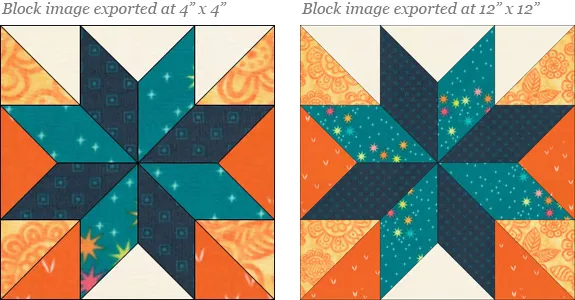
Note: The fabric in your block will still scale accordingly. So the results of your exported image may not look as you expect. For example, you might have a quilt on the worktable with blocks that are 12″ x 12″. When you select the block to export the image, you may not want your image to be a 12″ x 12″ image, so you might choose 4″ x 4″ for the export instead. In this case the fabric patterns will look very different because the exported image is displaying the fabric as if it’s set into a 4″ block, not 12″. To resolve this, export your image at the same size as your block on the worktable (12″ x 12″), then open your JPEG image in a photo editing program and reduce the size there.