


Start with an image on the worktable. Click Special Effects in the ribbon, and then click the Effects tool in the palette. The Apply Effects dialog will display. Use the Pixelate menu at the top of the dialog to choose an affect.
![]()
Pixelate
![]()
Divides the image into rectangular or circular cells and then recreates the image by filling those cells with the minimum, maximum, or average pixel value, depending upon the effect that was selected.
Pixelate settings:
![]()
Fill: Pixels within a given cell can have a fill that represents the maximum pixel value for the area, the minimum value, or the average value.
Cells: Shape of cells; either Rectangular or Circular.
Horizontal effect size: Number of cells across the width if Rectangular and number of cells around the center point if Circular. Range: 1 – 100
Vertical effect size: Number of cells across the height if Rectangular and number of cells along the radius if Circular. Range: 1 – 100
Opacity: Value (percentage) that represents how transparent the cells are, compared to the original pixels. Range: 0 – 100 (0 = total transparency {clear image}, 100 = total opacity)
Center x and Center y: Point that represents the center of revolution when Circular is selected for Cells. Point can be moved by using the X and Y sliders or by dragging the red dot directly. Range: determined by the image width and height.
Mosaic
Imposes a mosaic effect by dividing the image into tiles of a specified size and changing the color of all pixels in each tile to the average color of pixels within the tile.
Mosaic settings:
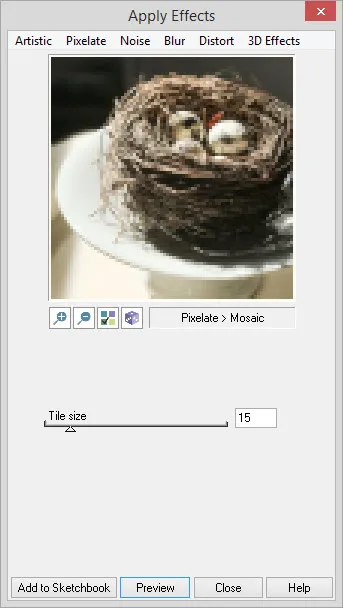
Tile size: Dimensions of the tiles in pixels. Range: 1 – 100
Mosaic Tiles
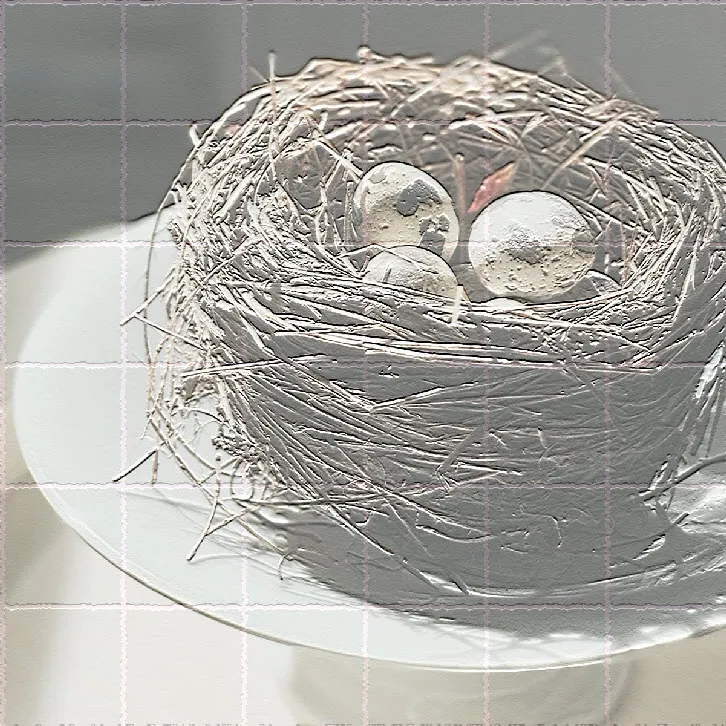
Creates a mosaic effect on an image by dividing an image into rectangular or arc-shaped cells with irregular boundaries and modifying the color of each cell.
Mosaic Tiles settings:
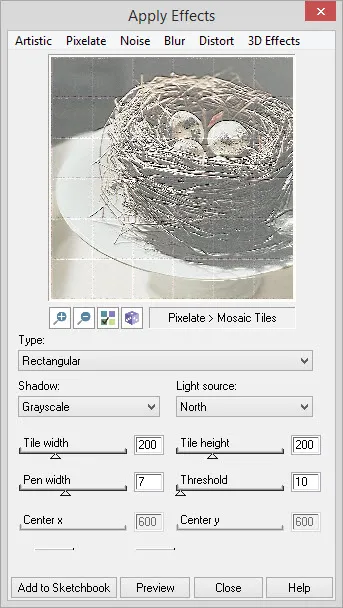
Type: Style of tiles to create: Rectangular or Polar.
Shadow: Indicates the color for the shadows, either Color or Grayscale, or None for no shadow.
Shadow angle: Direction of the light source that produces the shadow if Color or Grayscale is selected for Shadow. Range: 8 possible directions.
Tile width: Value represents the width of the tile: Rectangular = width of rectangular tile, Polar = the size, in degrees, of the curve in the arc-shaped tile.
Tile height: Value represents the height of the tile: Rectangular = height of rectangular tile, Polar = the radial length of each arc-shaped tile, in pixels.
Pen width: Value indicates width of pen used to draw tile boundaries. Range: 1 – 15. Color of the pen = color selector on the bottom left of the dialog.
Threshold: Value that determines which pixels will be affected by the shadow if Color or Grayscale is selected for Shadow. Pixel values less than the threshold value will be unaffected. Range: 0 – 255
Center x and Center y: Point that represents the center of revolution when Circular is selected for Type. Point can be moved by using the X and Y sliders or by dragging the red dot directly. Range: determined by the image width and height.
Left color indicator: Transparent color of the border created around the tiles.
Middle color indicator: Transparent color used to fill the tiles.
Roman Mosaic
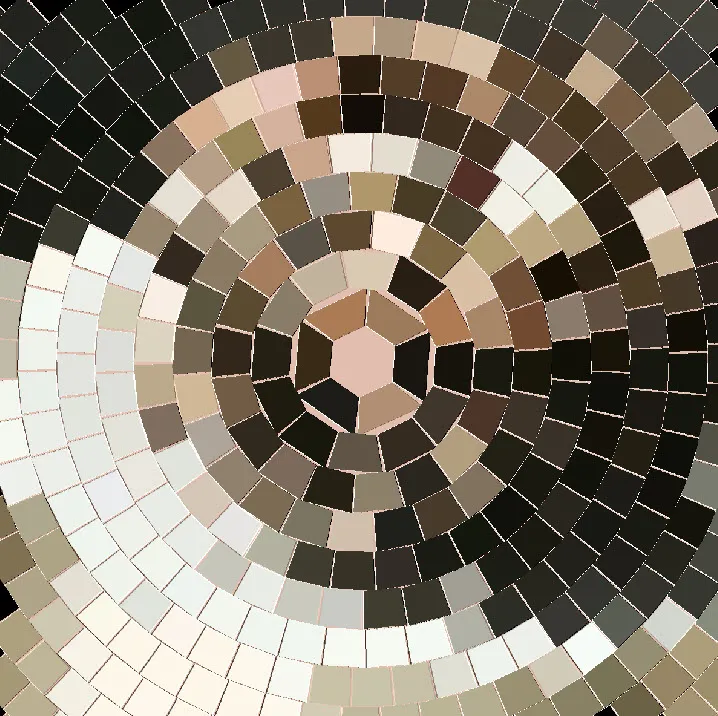
Divides the image into rectangular or rounded rectangular or both tile shapes and fills them with a color.
Roman Mosaic settings:
Type: Style of tiles to create: Rectangular or Circular or Both.
Shadow: Indicates the color for the shadows, either Color or Grayscale, or None for no shadow.
Shadow angle: Direction of the light source that produces the shadow if Color or Grayscale is selected for Shadow. Range: 8 possible directions.
Tile width: Value represents the width of the tile: Rectangular = width of rectangular tile, Circular or Both = the radial length of each arc-shaped tile, in pixels.
Tile height: Value represents the height of the tile: Rectangular or Both = height of rectangular tile, Circular = this value is ignored.
Pen width: Value indicates width of pen used to draw tile boundaries. Range: 1 – 15. Color of the pen = color selector on the bottom left of the dialog.
Threshold: Value that determines which pixels will be affected by the shadow if Color or Grayscale is selected for Shadow. Pixel values less than the threshold value will be unaffected. Range: 0 – 255
Left color indicator: Color of the border created around the tiles.
Posterize
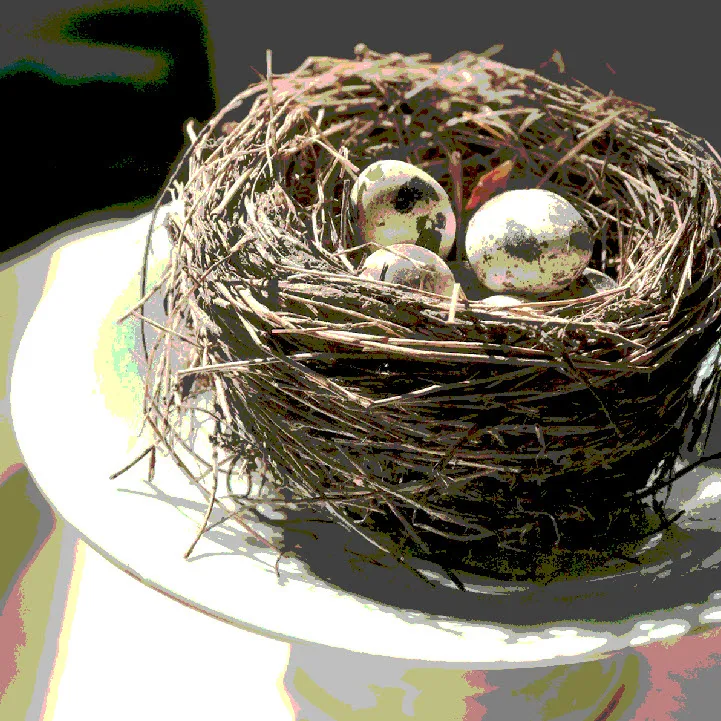
Imposes a poster effect on a image by quantizing the image’s colors to a specified number of color levels per plane. For example, two levels means two of red, two of green, and two of blue.
Posterize settings:
Color levels per plane = number of colors. Range: 2 – 64
Dice

Splits the image into rectangular blocks and flips the blocks around the X-axis or Y-axis.
Dice settings:
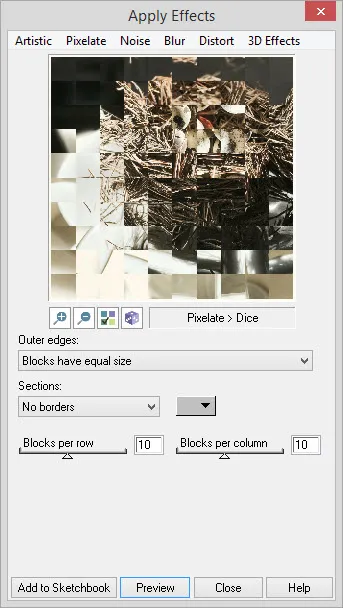
Outer Edges: When this is checked, no remainder of the image will appear along the right and bottom edges. When not checked, a partial block may appear along the right and bottom edges.
Sections: Draws a 1 pixel border using the color from the color indicator. Note: Since the overall size of the image is a factor, the small preview image may not show borders but clicking the Apply button will show borders. Smaller images may not draw borders at all.
Blocks per row: Number of blocks per row. Range: 2 – 20
Blocks per column: Number of blocks per column. Range: 2 – 20
Puzzle

Splits the image into rectangular blocks.
Puzzle settings:
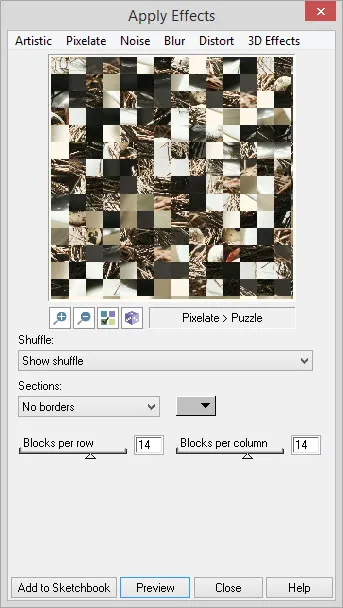
Shuffle: Randomizes the position of the blocks inside the image.
Sections: Draws a 1 pixel border using the color from the color indicator.
Blocks per row: Number of blocks per row. Range: 2 – 20
Blocks per column: Number of blocks per column. Range: 2 – 20
Glass Block Effect
Divides the image into rectangular cells and makes it look as if it is being viewed through glass blocks.
Glass Block Effect settings:
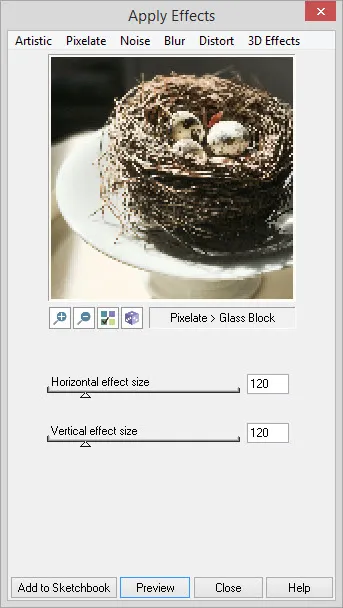
Horizontal effect size: Number of cells across the width of the image. Range: 2-1/4 the image width.
Vertical effect size: Number of cells across the height of the image. Range: 2-1/4 the image height.


