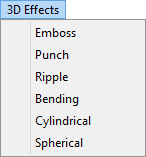
Start with an image on the worktable. Click Special Effects in the ribbon, and then click the Effects tool in the palette. The Apply Effects dialog will display. Use the 3D Effects menu at the top of the dialog to choose an affect.
Emboss
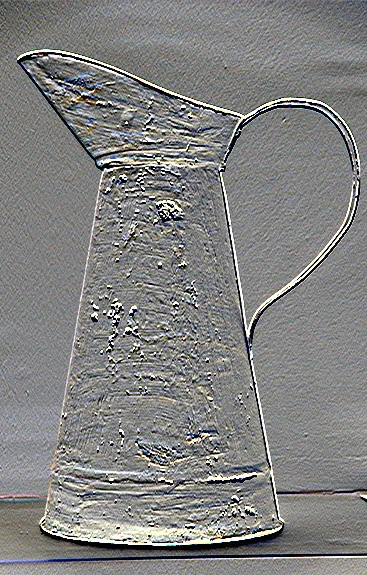
This effect applies an emboss, or pressed effect to the image.
Emboss settings:
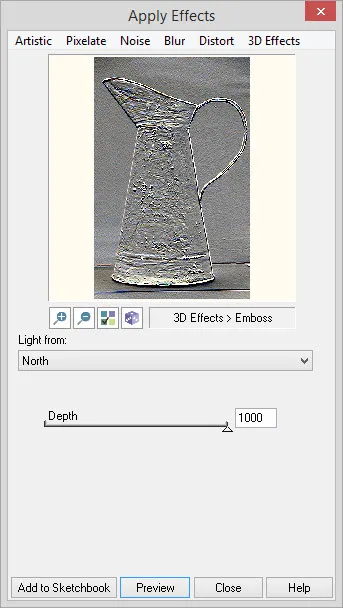
Light from: The direction of the light source can be from the: North, Northeast, East, Southeast, South, Southwest, West, or Northwest.
Depth: This value is the depth or amount of the 3D effect. Range: 0 – 1000
Punch
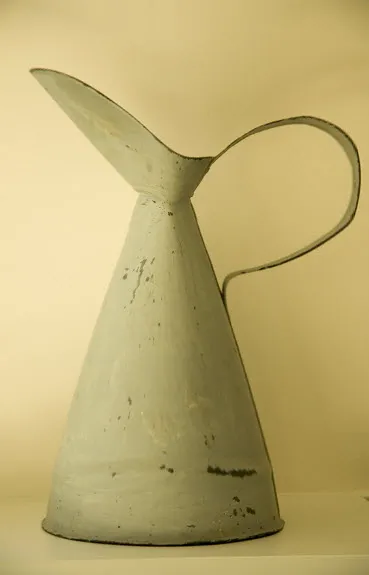
This effect distorts or warps the image by pinching it towards a specified point, as if it’s been punched from the front or expanding it away from a specified point as if it’s been punched from behind.
Punch settings:
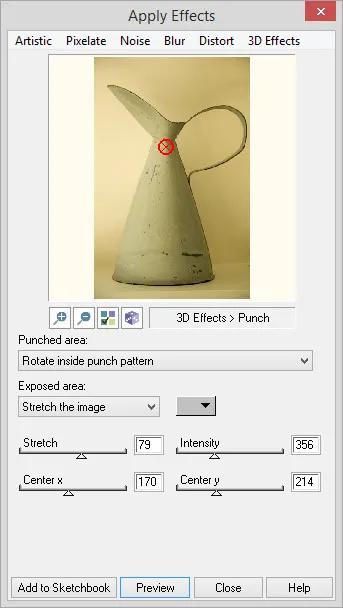
Punched area: Choose Rotate inside pinch pattern or Keep like peripheral area for the area surround the punch point. This value is ignored if the Stretch value is positive.
Exposed area: Choose Fill with color to apply the color in the color indicator to the exposed background area. Stretch the image uses the edges of the image and stretches it to fill the background area. Leave as is will use the unchanged image to fill the exposed background area.
Middle color indicator: Color used to fill background if Fill with color is selected for the Exposed area.
Stretch: This value is the amount of stretching to be applied. Positive values pinch the image in at the specified point. Negative values expand the image away from the point. Range: -500 – 500. When this value is negative, the Intensity value is ignored. When this value it positive, the Punched area selection is ignored.
Intensity: This value is the power or force of the punch. Range: 1 – 1000. This value is ignored if Stretch is a negative value.
Center x and Center y: This is the point of the punch. Range: 0 – to width and/or height of image.
Ripple
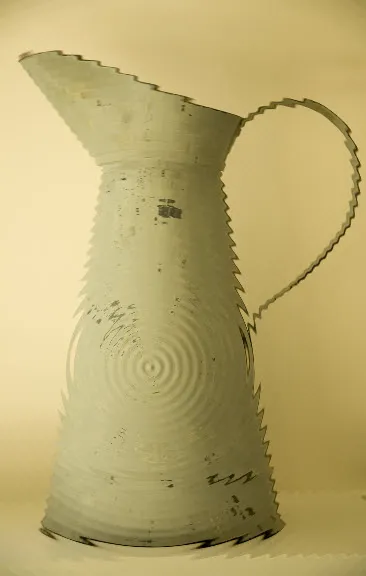
This effect distorts the image by creating concentric circles that look like ripples.
Ripple settings:
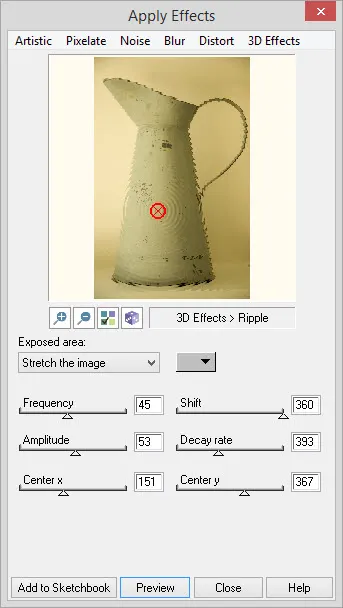
Exposed area: Choose Fill with color to apply the color in the color indicator to the exposed background area. Stretch the image uses the edges of the image and stretches it to fill the background area. Leave as is will use the unchanged image to fill the exposed background area.
Middle color indicator: Color used to fill background if Fill with color is selected for the Exposed area.
Frequency: This value is the number of ripples that come out from the specified point. Range: 1 – 100
Shift: This value will shift the wave points without shifting the image. Range: 0 – 360
Amplitude: This value represents the visibility of the ripples. Smaller numbers give a gentle effect and larger numbers create more noticeable ripples. Range: 1 – 100
Center x and Center y: This is the point from which the ripples are created. Range: 0 – to width and/or height of image.
Bending
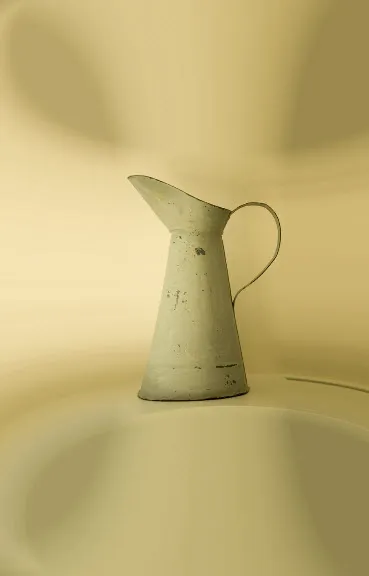
This effect warps the image along a curved plane, centered on a specified pivot point.
Bending settings:
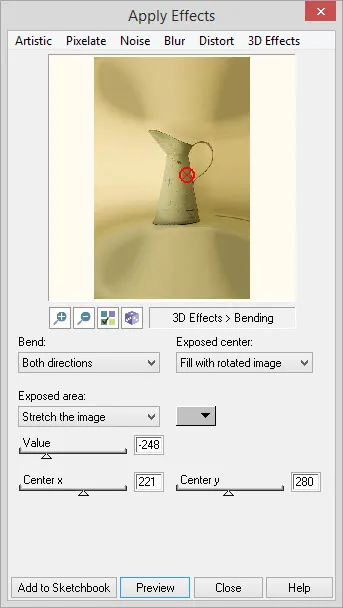
Bend: Choose to apply the bend in Both directions, Horizontally or Vertically. If Horizontally or Vertically is selected, Center x and Center y will be disabled.
Exposed center: If Value is a positive number, an exposed area will be created. Choose to Fill with rotated image or Fill same as peripheral for this exposed center area. If Value is a negative number, this control is ignored.
Exposed area: Choose Fill with color to apply the color in the color indicator to the exposed background area. Stretch the image uses the edges of the image and stretches it to fill the background area. Leave as is will use the unchanged image to fill the exposed background area.
Middle color indicator: Color used to fill background if Fill with color is selected for the Exposed area.
Value: This value is the amount of stretching. Positive values stretch the pixels toward the edges and negative values stretch the pixels toward the center. Range: -500 – 500
Center x and Center y: This point is the center of the arc. This value is ignored if Horizontally or Vertically is selected for Bend. Range: 0 – to width and/or height of image.
Cylindrical
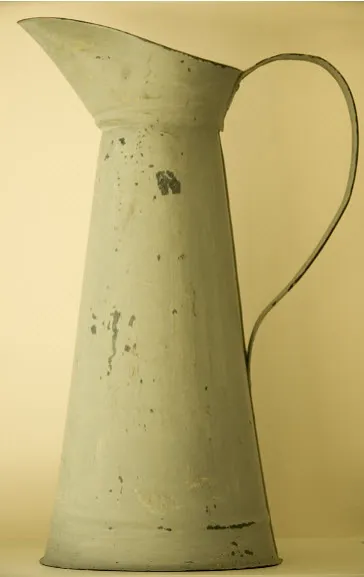
This effect distorts or warps the image around a cylinder.
Cylindrical settings:
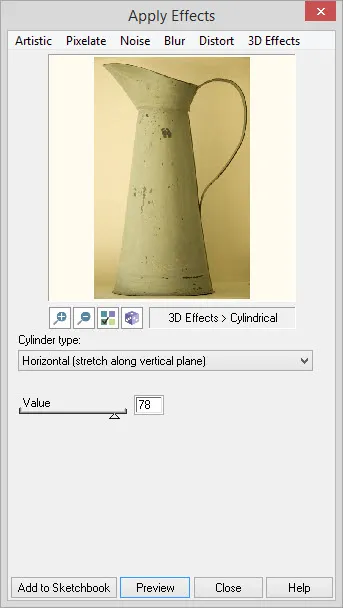
Cylinder type: Choose Horizontal (stretch along vertical plane) or Vertical (stretch along horizontal plane) for the direction of the stretch.
Value: This value is the amount of stretching around the cylinder. Positive values stretch the pixels toward the outer edges of the cylinder and negative values stretch the pixels toward the central line of the cylinder. Range: -100 – 100
Spherical
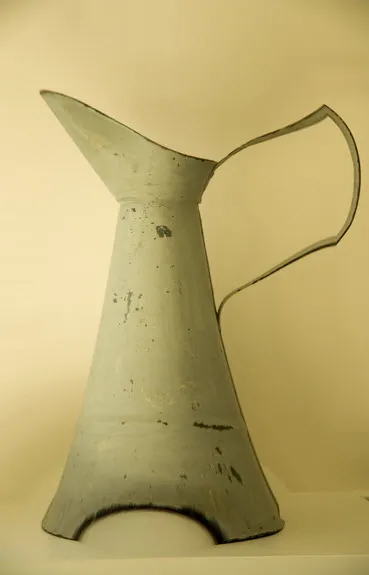
This effect will warp the image as a 3D spherical shape around the specified center point.
Spherical settings:
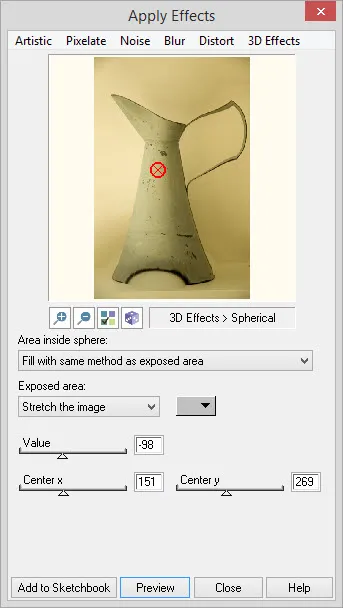
Area inside sphere: Choose from Rotate inside sphere and Fill with same method as exposed area for how to handle exposed areas inside the sphere.
Exposed area: To fill the exposed area outside the sphere, choose Fill with color to apply the color in the color indicator. Stretch the image uses the edges of the image and stretches it to fill the background area. Leave as is will use the unchanged image to fill the exposed background area.
Middle color indicator: Color used to fill background if Fill with color is selected for the Exposed area.
Value: This value is the amount of stretching. Positive values stretch the pixels toward the edges and negative values stretch the pixels toward the center. Range: -500 – 500
Center x and Center y: This point is the center of the sphere. Range: 0 – to width and/or height of image


 Electric Quilt 8

