

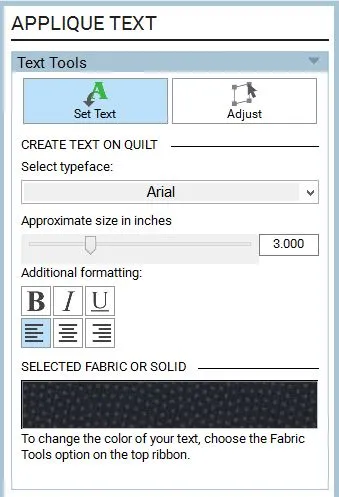
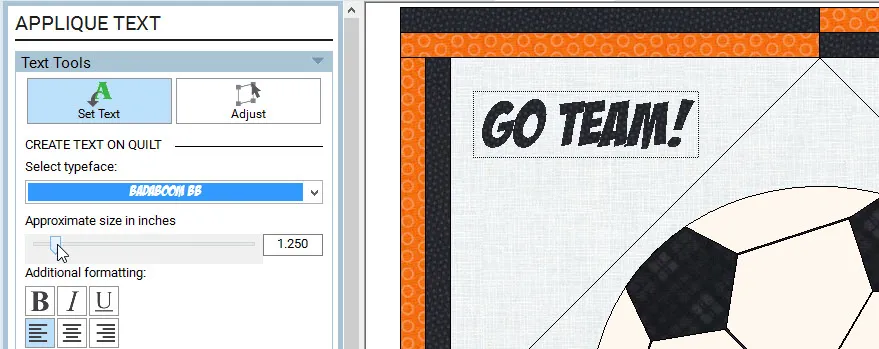
The Set Text tool allows you to put simple applique text on the quilt. The Set Text tool is only available on Layer 2.
Applique Text Basics
- When you click on the Set Text tool the first time, EQ8 will read through the list of TrueType fonts (typefaces) on your computer and load those fonts into the palette. The first time this happens you may experience a bit of a delay as EQ8 reads the fonts, depending on the number of fonts installed on your computer.
- The default text color is white if you do not already have a fabric or solid selection made.
- All formatting characteristics are applied to the entire text box. If you want different typefaces, sizes, or styles for text, you need to create separate text boxes for each.
- Some formatting styles (bold and italic) are specific to different typefaces. If you remove this style from your text using one of these typefaces, the text will disappear.
- You cannot copy and paste text within a text box. Everything needs to be typed or deleted using the Delete or the Backspace keys on your keyboard. You may copy and paste entire text boxes using the Adjust tool, however.
- Once the Set Text tool is deselected, the text box is converted into an applique block. This allows the text box to be replaced with any type of block by using the Set Block and Set Photo tools.
Using the the Set Applique Text Tool
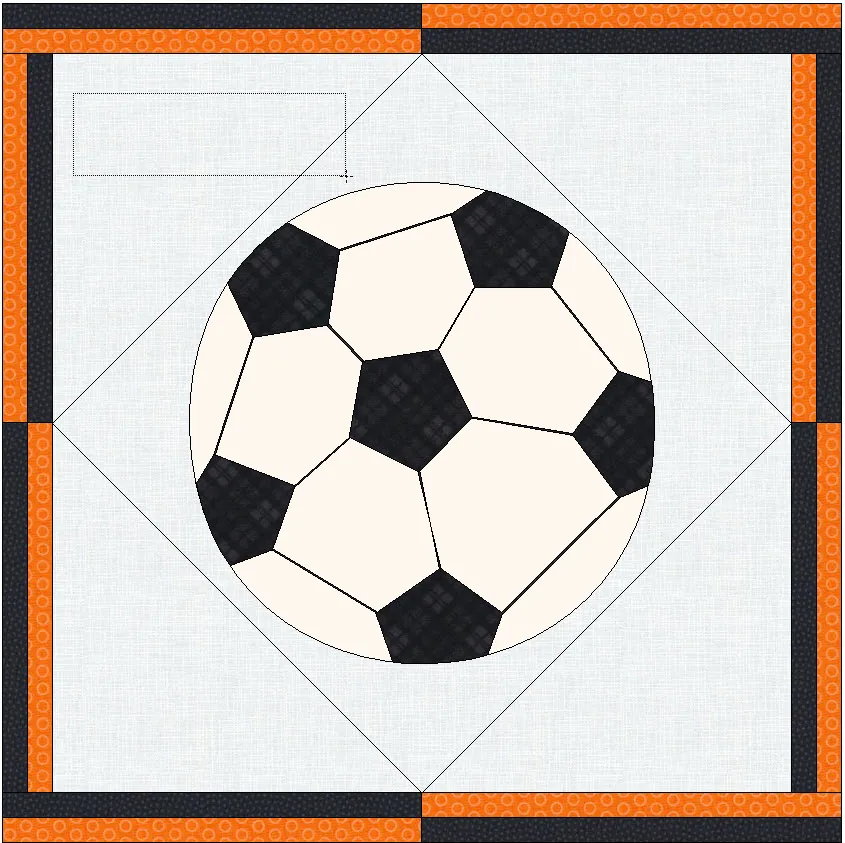
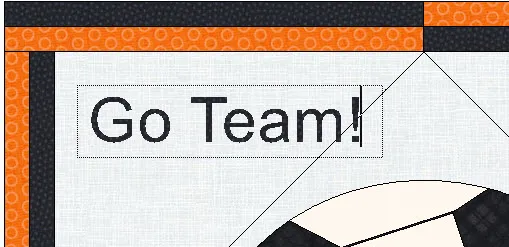
Note: Dragging a large text box is not necessary for the text box size is determined by the size of the chosen typeface and the amount of text you type.
Editing Existing Text

- Click the Set Text tool, then click to select the text box you want to edit. A flashing cursor will appear.
-
Use the arrow keys on your keyboard to move the cursor within the text string. You may add or delete characters as necessary using the keyboard.
-
Use the palette to change character properties.
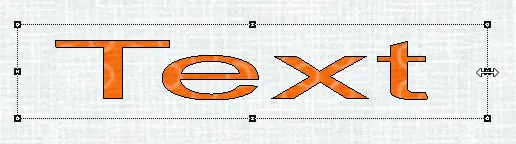
Changing Text Color

- Use the Paintbrush or Spraycan tool to recolor.
- All characters within a text box recolor at once.
- You can use fabrics or solids to color the text.
- Use the Eyedropper and the Swap tools on text just like any other block on Layer 2.
Note: When adding text over a colored patch, if the color/fabric has not been changed the text will be shown in the same color as the patch, making it hard to see.
For example: You colored the background of a block white, then click the Set Text tool. The text will initially show as white.
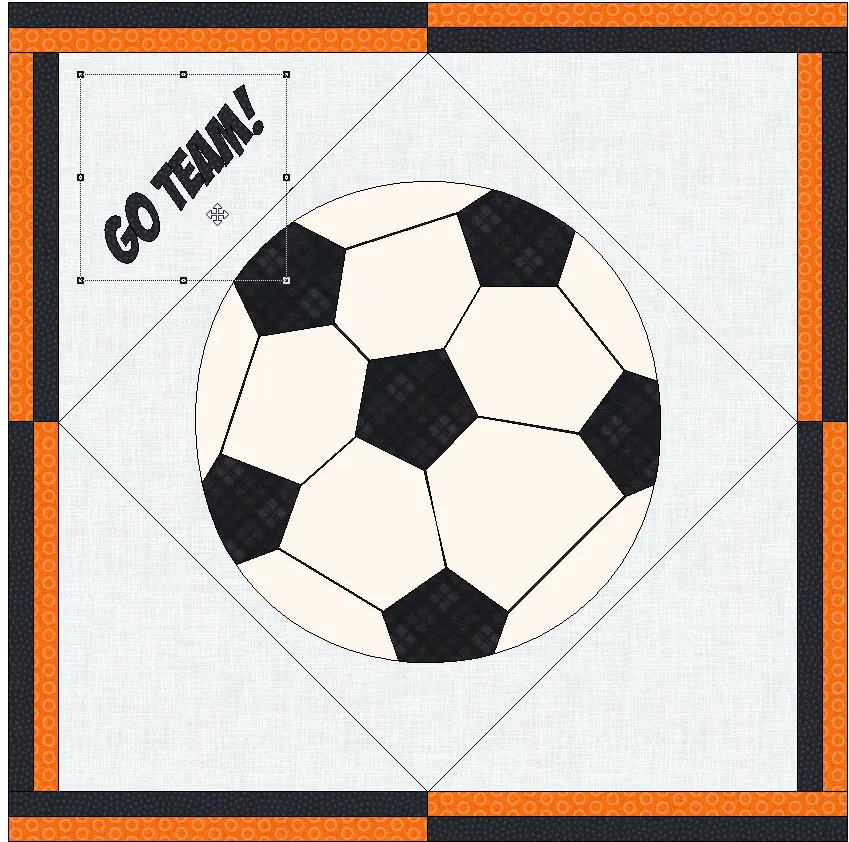
Moving, Resizing and Rotating Using the Adjust Tool
- Click the Adjust tool and then click the text box you want to adjust.
- Move, resize, and rotate like any other quilt block using the mouse or the Graph Pad.
Note: After making changes with the Adjust tool, when you return to the Set Text tool, the text will return to its original size for editing. Adjustments will need to be made again.
For example: If you rotate your text box with the Adjust tool, when you use the Set Text tool to edit the text, the rotation will be lost.
Printing Template Patterns of Your Text
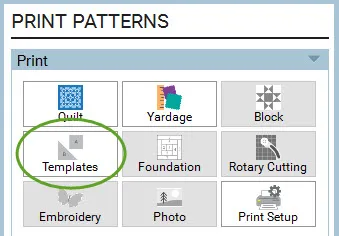
- Click the PRINT & EXPORT tab, and then click Print on the ribbon.
- Click the Templates tool in the palette.
Note: The Seam Allowance option is available for text templates, but because of the extreme angles of the letters, you may prefer to turn this off by unchecking this option in the Print Dialog.
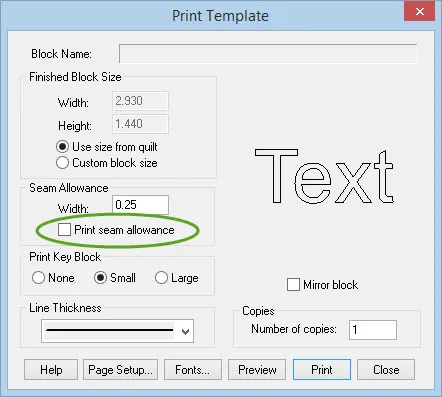
Note: If you are using fusible web for the template letters, you’ll want to check Mirror block before you print. It’s always recommended that you preview your printout before printing.


