
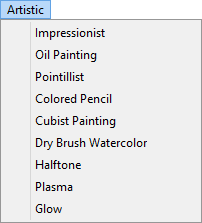
Start with an image on the worktable. Click Special Effects in the ribbon, and then click the Effects tool in the palette. The Apply Effects dialog will display. Use the Artistic menu at the top of the dialog to choose an affect.
Impressionist
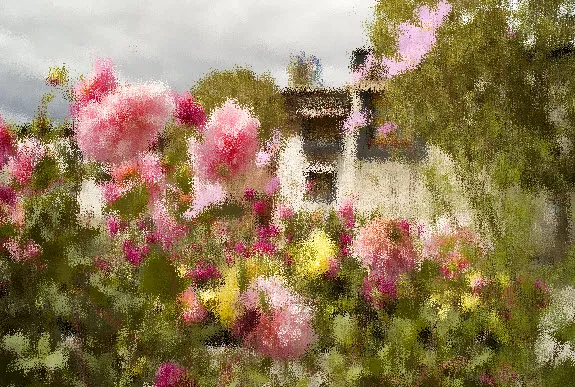
Makes an image look like it was painted by an impressionist painter using many very small brush strokes.
Impressionist Settings:
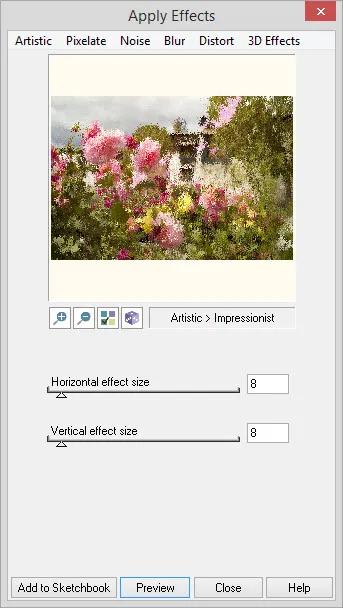
Makes an image look like it was painted by an impressionist painter using many very small brush strokes.
Oil Painting
Applies an oil-painting effect to an image.
Oil Paint Settings:
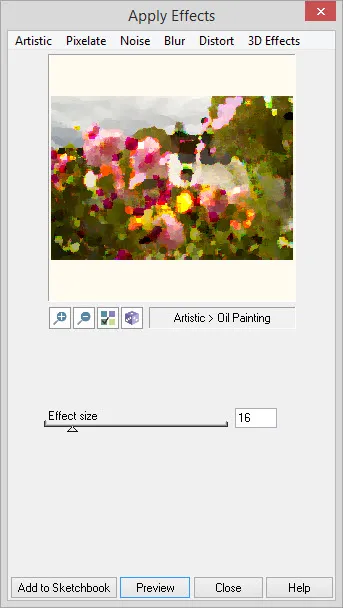
Effect Size = the neighborhood used for calculating the pixel value. Increasing the size of the neighborhood will decrease the amount of detail in the resulting image.
Effect size: Range: 1-100
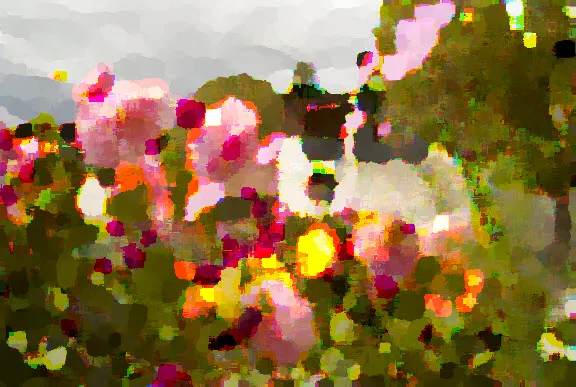
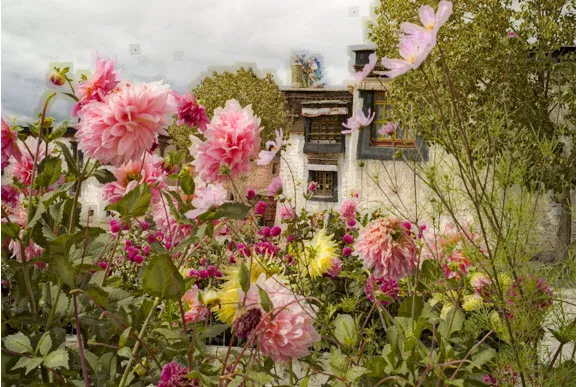
Pointillist
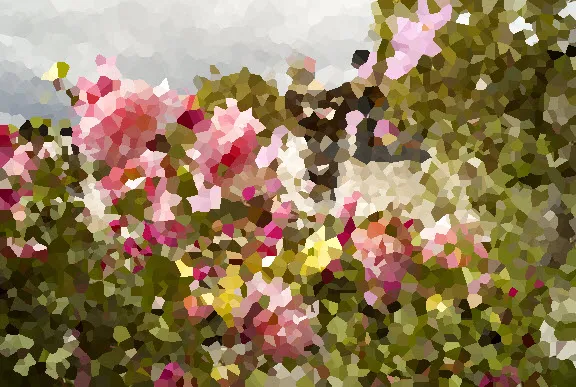
Converts the image colors into randomly placed dots to create a pointillist painting.
Pointillist settings:
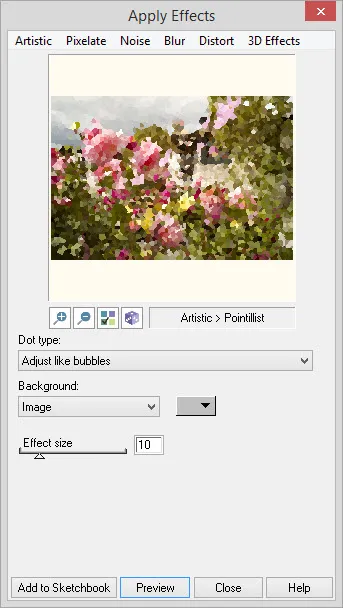
Dot type: Dots can be drawn as circles that Overlap like stickers or Adjust like bubbles
Background: Area between the dots can be filled with the Image or a specified color.
Color selector: Enabled if Color is selected for Background.
Effect size: Range: 1-50
Colored Pencil
Makes the image look like it has been drawn with colored pencils.
Colored Pencil settings:
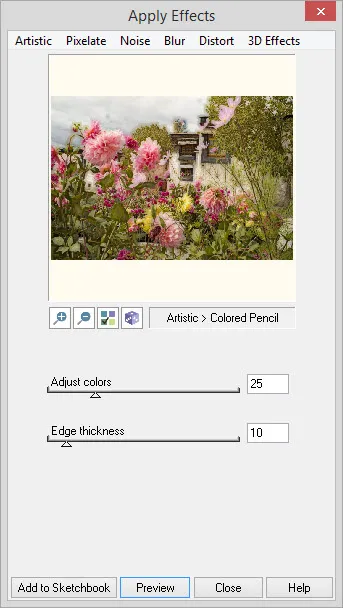
Adjust colors = how much the colors should be adjusted so they appear to be colored pencil colors. Range: 0 – 100
Edge thickness = the size of the pencil coloring neighborhood. It is the length, in pixels, of one side of a square. Range: 0 – 100
Cubist

This effect coverts the image into a collection of rotated rectangles (cubic faces) so that it appears to have been created in the Cubist art style.
Note: This effect requires more time due to the large number of calculations. Progress meter displays as a time indicator.
Cubist settings:
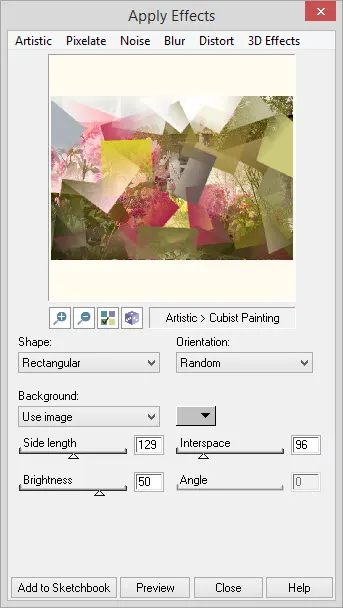
Shape: Can be Square or Rectangular
Orientation: Can be Random angle or Fixed angle
Background: Can be Image or Color
Color selector: Enabled if color is selected for Background.
Side length: This range is based on the size of the original image. The lower range is the original image’s width or height, whichever is smaller, divided by 6 and the upper range is determined by dividing by 2. For example, if the original image is 800 x 600, the range will be 100 to 300 (600 divided by 6 = 100 and 600 divided by 2 = 300). Range: varies based on size of original image.
Interspace: This range is based on the size of the original image and calculated the same way as Side length describe above. Range: varies based on size of original image.
Brightness: This value indicates the brightness of the image. Negative values darken the image and positive values lighten the image. Range: -100 – -100
Angle: Enabled if Fixed angle for Orientation. Range: -360 – 360
Dry Brush Watercolor
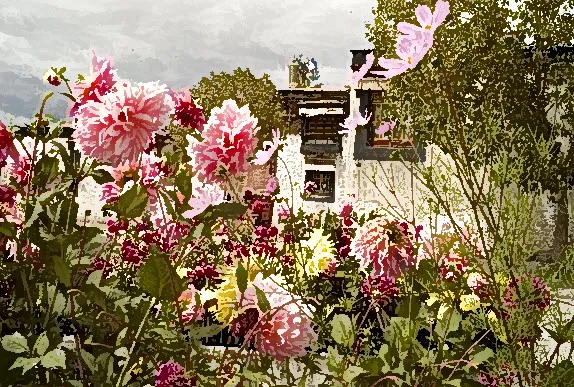
This function simulates what would happen if the image had just been painted with paints and the paints were allowed to dry. The colors become darker, with less brightness. The effect can be controlled by specifying the size of the neighborhood that is used for calculating each pixel value.
Dry Brush Watercolor settings:
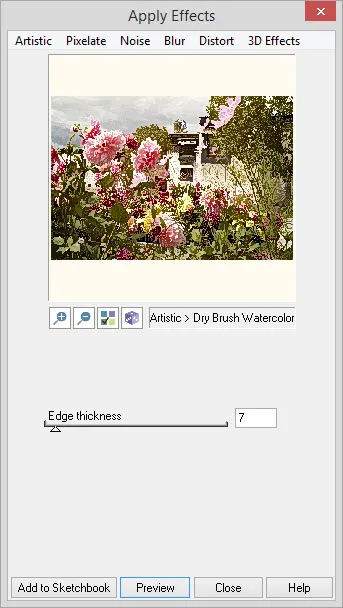
Edge thickness = the neighborhood dimensions used in creating the effect. Range: 1 – 100
Halftone

A halftoned image is a 1-bit image that has been dithered for black and white printing or display.
Halftone settings:
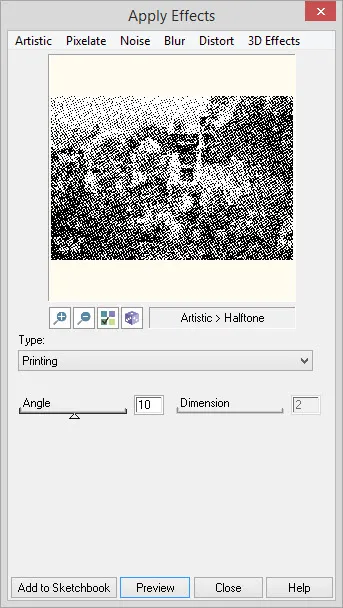
Type: Type of halftoning to perform, choose from: Printing, Display, Rectangular, Circular, Elliptical, Random and Linear.
Angle: Angle of rotation in hundredths of degrees. 0 = horizontal halftone. Positive values rotate pattern clockwise. Negative values rotate pattern counter-clockwise. Range: -360 – 360
Enabled if Type selections are: Printing, Display, Elliptical, Linear.
Dimension: Value indicates the size of the grain. Range: 1 – 20
Enabled if Type selections are: Rectangular, Circular, Elliptical, Random, Linear.
Plasma
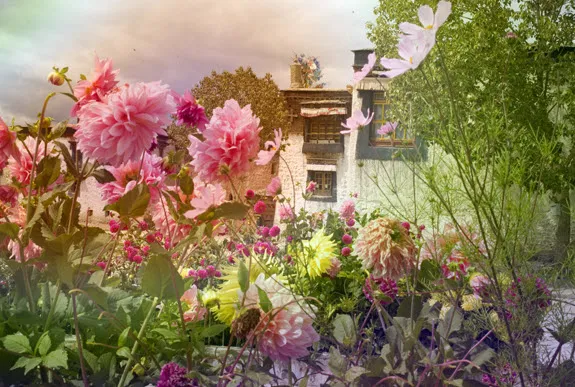
Applies color patterns that blend into each other like plasma.
Plasma settings:
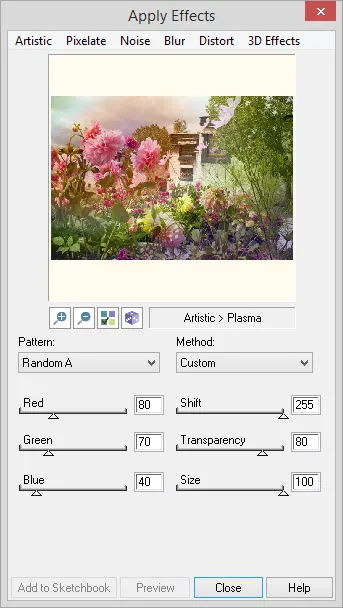
Pattern: Type of plasma effect to create: Vertical, Horizontal, Diagonal, Crossed, Circular, Random A, and Random B.
Method: Color pattern to use: Hue, RGB A, RGB B, and Custom.
Red, Green, Blue: Value that indicates which frequencies of the color should be used to create plasma patterns. Range: 0 – 255 (0 = no processing for the indicated frequencies)
Shift: Amount of color shift in the plasma color pattern. Range: 0 – 255 (0 = no color shift)
Transparency: A percentage that indicates the amount of blending between the plasma color patterns and the original image. Range: 0 – 100 (0 = all plasma, 100 = all image)
Size: Value greater than 0 that represents the plasma size in pixels. Range: 0 – 100
Glow
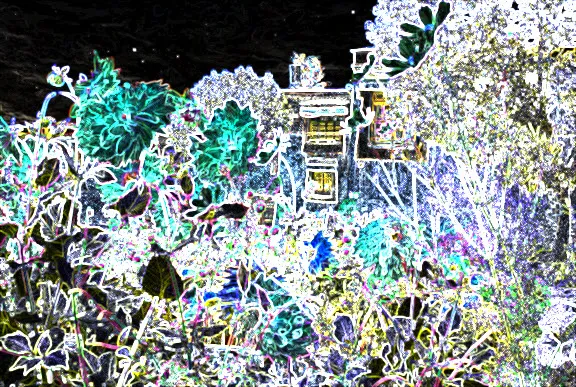
Makes the colored edges shine with a neon glow.
Glow settings:
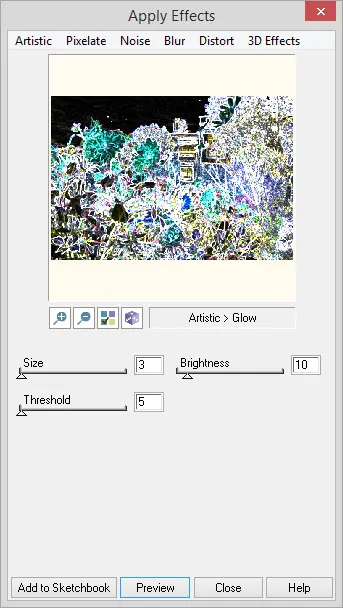
Size: Size of neighborhood to determine the width of the glow. Range: 1 – 100
Threshold: Used to determine which pixels are edge pixels. Range: 0 – 255
Brightness: Brightness factor used to create the glow. Range: 0 – 100 (0 = black)
To view the Apply Effects dialog, click Image Worktable> Image > Special Effects > Effects.


