![]()
The Draw tool works in several different ways depending on the the subtool that is selected.
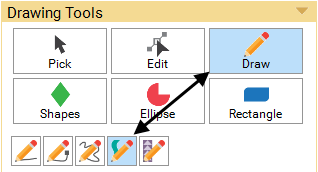
The Brush Stroke subtool draws draws pre-defined strokes surrounding a segment. This segment or “spine” of the brush stroke can be edited and shaped like any curve or line segment. The brush stroke or “hull” surrounding the spine can have varying widths and end styles. Those adjustments can be made in the palette. If you change to the COLOR tab or click the Convert to patch button in the palette, the stroke gets converted to a closed patch made up of Bezier curves.
To Draw with the Brush Stroke Tool
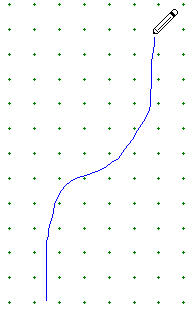
Position the cursor where you want to begin. Press and hold the left mouse button to anchor the initial node of the first segment.
Still holding the left mouse button, drag in any direction. A blue line will display the path of your mouse and the curves that are created as you move. The path will follow the actions of the mouse very closely.
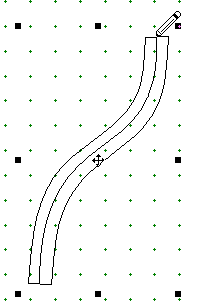
Release the mouse to drop and anchor the end node for the final segment. Your curve will draw with the current STROKE PROPERTIES.
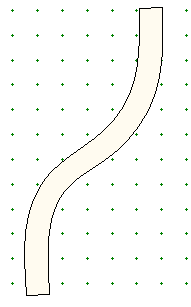
When you are finished editing and adjusting your stroke, click the Convert to patch button in the palette.
Notes
You can select the contour, end cap, width, and boldness before you draw, or you can draw the stroke with the current settings and then adjust the settings after you draw. See Adjusting the Stroke Settings below.
You can convert any segment (not patches) to a brush stroke by double-clicking on the existing Bezier curve or set of connected Bezier curves with the Brush Stroke tool.
Remember to always use Convert to patch when you’re done editing the stroke. If you forget, EQ8 will automatically convert it to a patch for you when you click the COLOR tab.
To Edit the “Spine” of the Brush Stroke
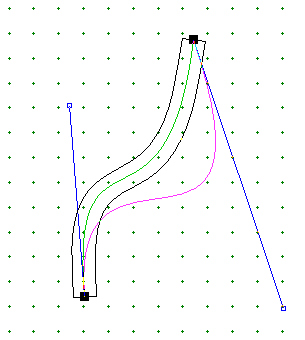
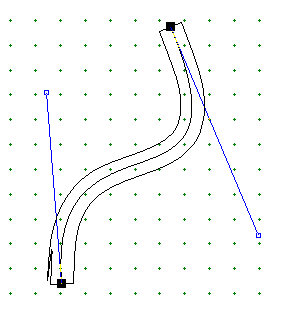
The middle “spine” of the brush stroke can be edited with the Edit tool just like any other curve. Use the handles or drag directly from the curve itself to change the curve. When you release the mouse, the “hull” will adjust to fit the “spine.”
To Edit the “Hull” of the Brush Stroke
To change the contour, end cap, minimum width, and boldness settings, select the stroke with the Brush Stroke subtool, or simply keep the stroke selected after drawing it. Use the STROKE PROPERTIES in the palette to make adjustments.
You’ll see the stroke changing as you adjust the settings. Once the stroke is deselected, the settings return to the defaults.
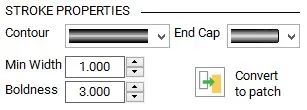
Note: To change the default settings, deselect the stroke, then adjust the stroke properties in the palette. The next stroke drawn will have the new settings.
The Contour
Select a contour by clicking the drop-down menu on Contour in the palette to make a new selection.

![]()

![]()

![]()

![]()

![]()

![]()

![]()
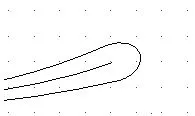
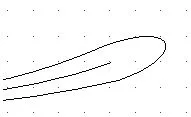
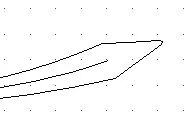
The End Caps
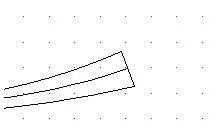
Select an end cap by clicking the drop-down menu on End Cap in the palette to make a new selection.
![]()
![]()
![]()
![]()
Adjusting the Width and Boldness
Some of the brush stroke styles taper at one or both ends. The Minimum Width refers to this tapered-down area of the stroke. If the width is zero, this area is basically flat. As this number increases, the width of this part of the stroke increases.
The Boldness refers to the area surrounding the entire spine of the stroke. As the number increases, the fatter or bolder the brush stroke becomes.


 Electric Quilt 8

