
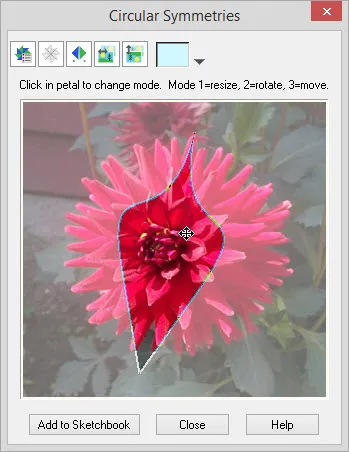
Start with an image on the worktable. Click Special Effects in the ribbon, and then click the Circular Symm tool in the palette. The Circular Symmetries dialog will display. Use the subtools at the top of the dialog to select number of petals, style and orientation of the image in the dialog.

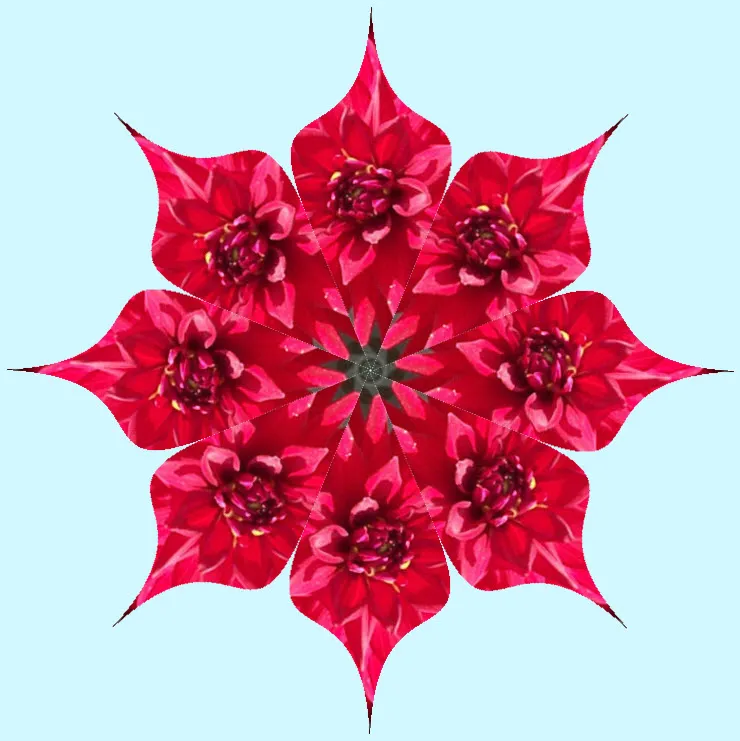
Circular Symmetries takes a pie-shaped petal of an image and turns it into a circular pattern similar to the patterns seen in kaleidoscopes. The new image will be square. The background color can be set separately. As the petal is moved in the dialog, the preview image will update automatically. Click Add to Sketchbook to place a copy of the current image in the Photo section of the Project Sketchbook.

Drag the petal in the dialog preview to move its position at any time. The petal has a 3-click mode to cycle through the things you can do with the petal.
Click #1 will display the select box for resizing. Use the corner handles to make the petal larger or smaller.

Click #2 will then put you in rotate mode. You’ll know you’re in rotate mode by the cursor . Use the corner handles to rotate the petal clockwise or counter-clockwise.

Click #3 will deselect the petal. You can always move the petal whether the select box is showing or not.
Circular Symmetry subtools
Select the shape of your petal.
![]()
Select the number of petals.
![]()

![]()
Flips the background image left and right.
![]()
Flips the background image top and bottom.
![]()
Click the down arrow next to the sample color. This will display the Create a Color dialog. Here, you can create any color you’d like to use for the background of your image.
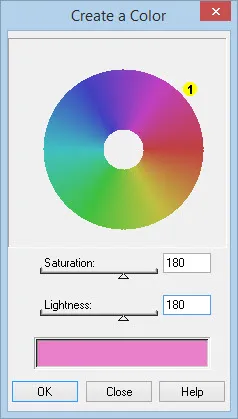
Color wheel: Drag the small yellow dot control to adjust the color. Drag it around the circle to change to the matching color on the wheel. The newly created color will appear along the bottom of the dialog.
Saturation shift: When the slider is at the maximum value, 255, all the colors will be fully saturated with ‘pure’ hues. The colors will be very intense. When the slider is at the minimum value, 0, the colors are desaturated so no hue is dominant. The colors will look grayscale.
Lightness shift: Dragging the slider to the right increases the lightness. The maximum value creates totally white colors. Dragging the slider to the left decreases the lightness making the colors darker and darker. The minimum value creates totally black colors. Values range from 0 to 255.
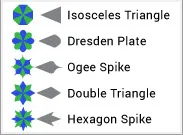
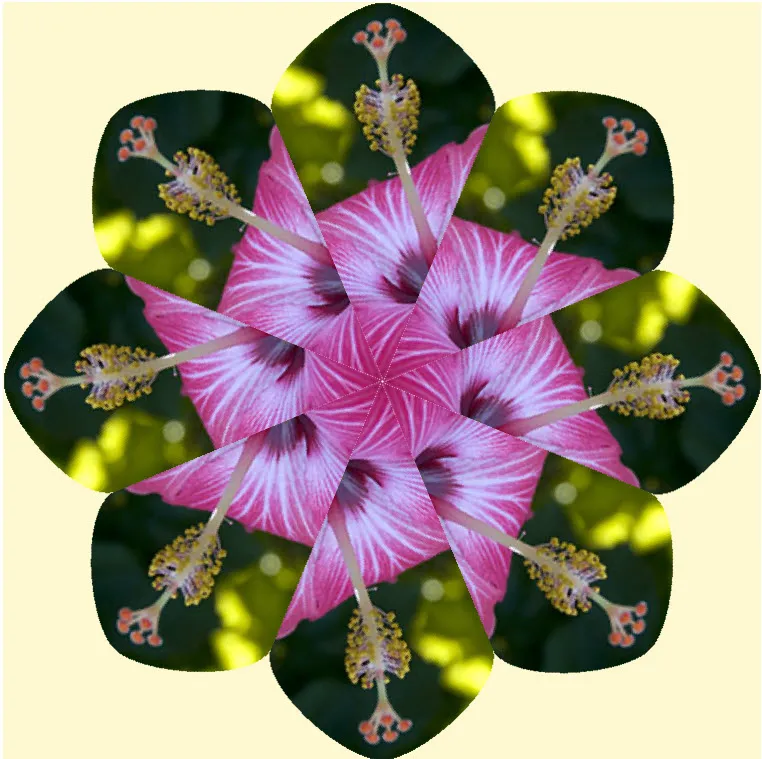
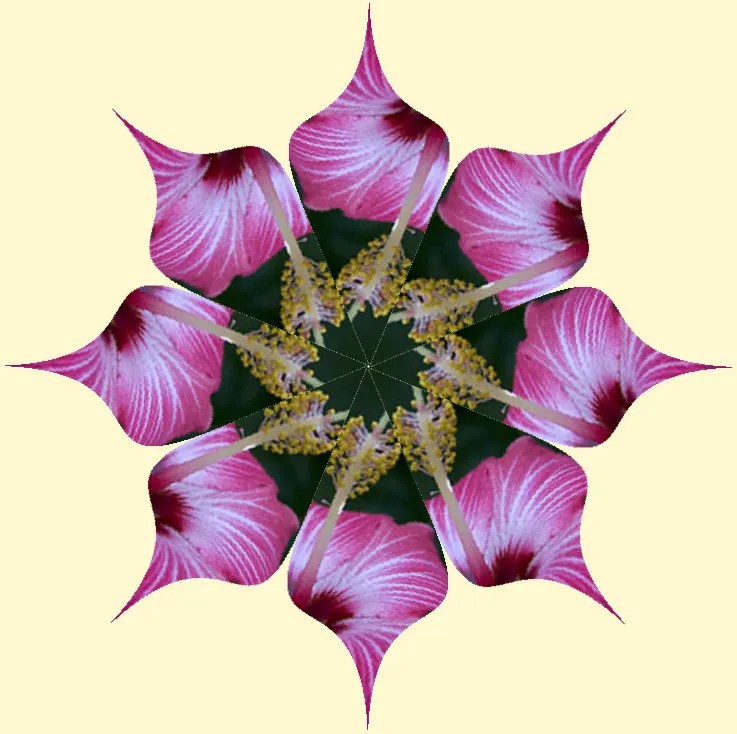
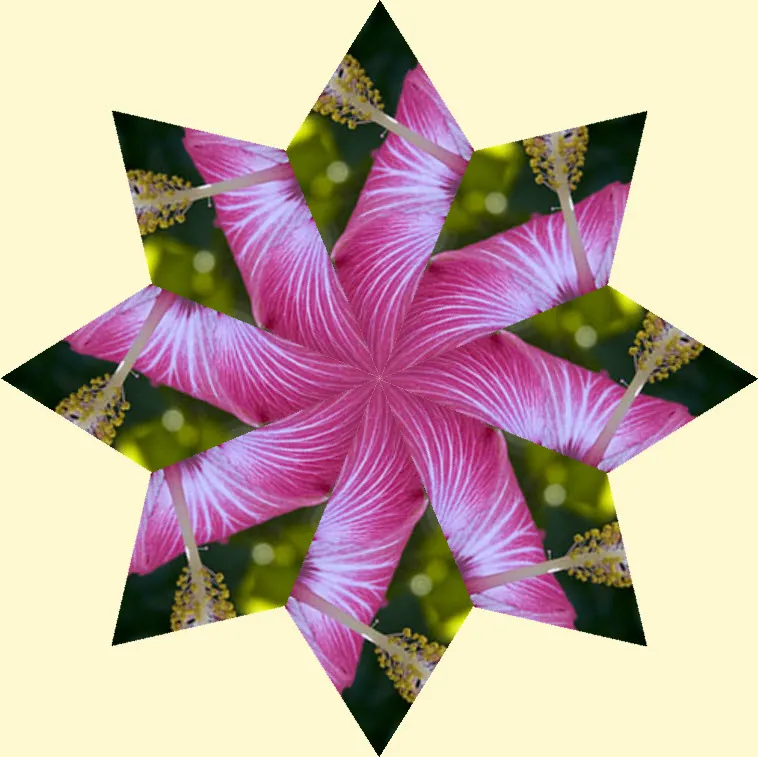
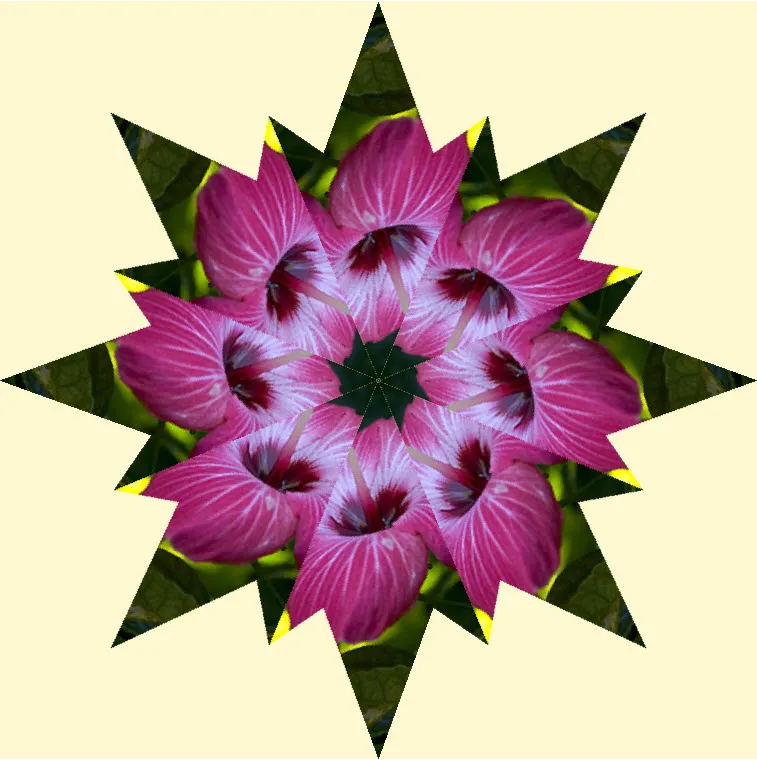
Samples of petal options
Isosceles Triangle

Dresden Plate
Ogee Spike
Double Triangle
Hexagon Spike
About the image size
When the Circular Symmetries dialog opens, the new image will automatically resize to fit to your monitor screen. In other words, EQ8 automatically zooms in or out to draw the image as large as it can to fit the whole image on screen.
Note: The rulers do not reflect the actual size of your image when applying symmetries. You are really in a preview mode when you’re creating images using the Circular Symmetries dialog.
When Add to Sketchbook is clicked, the petal portion of the image represented in the dialog will be duplicated pixel-for-pixel to create the image that gets saved to the Sketchbook. Since the new image is square, the new image size will be approximately twice the size of the petal, pixel-for-pixel.
Note: When you close the Circular Symmetries dialog, the Image worktable will display the original image.


