EQ8 lets you import several file types into the Photo Library: Windows Bitmaps, GIFs, JPEGs, PNGs, and TIFFs. Save your photo as one of these file types so you can use it in EQ8.
There are two ways to import images in EQ8. If you’d like to import an image and use it as is, follow the instructions below to import directly to the Photo Library. If you’d prefer to import an image and make adjustments to it (i.e. rotate, crop, color, etc.), use the Image Worktable to import your image.
Choose Photo Library from the LIBRARIES menu.
Click Import > From Image Files. The Import from Image Files dialog box will be displayed.
Note: Choosing the From Project option allows you to open a photo that is saved in another EQ project.

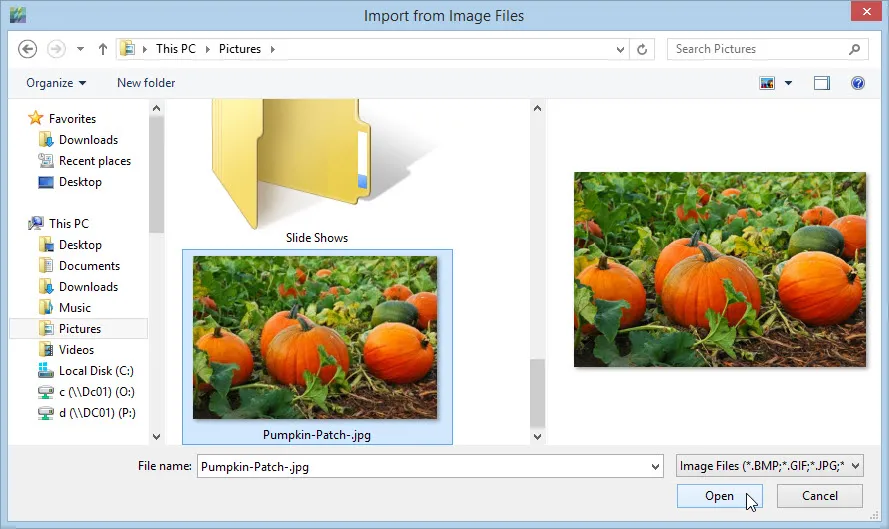
Navigate to find the folder containing the photos you wish to import.
Click to select the files you want to import. You can multiple-select by holding the Shift key and selecting a range of files, or by holding the Ctrl key and clicking on the individual files you want to import.
Note: In the Import from Image Files dialog, click the drop-down list to choose types of files. Choose the image type in which the files are saved. Leaving the option on Image Files will display all image types at once.
Click Open. The photos will be displayed in the Import Results section of the Photo Library.

Click to select the photos you want to add to this project, then click Add to Sketchbook. You may click the Select All button to select all the photos at once.
Click Close to close the Library.
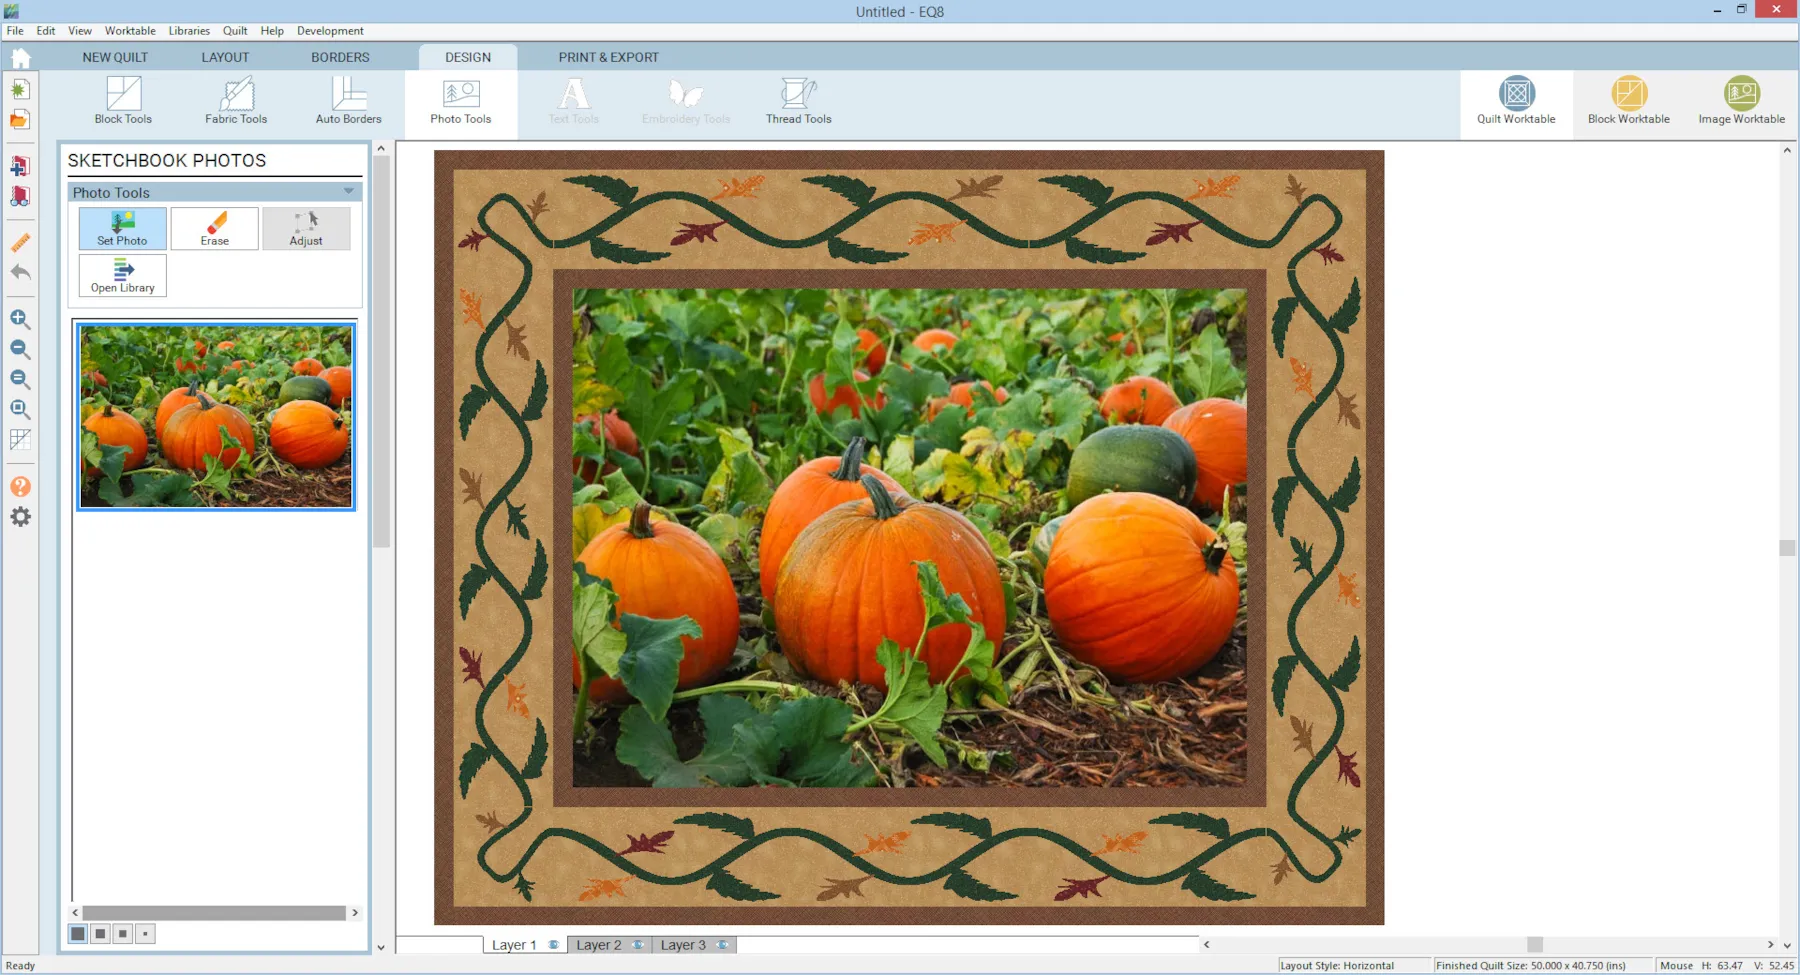
With the photo in your project’s Sketchbook, you can now place it into a quilt using the Photo Tools button in the Ribbon. Click Set Photo, choose a photo from the palette, then click in the quilt where you want to place it!