


After you have designed, colored and added your quilt to the Project Sketchbook, you may want to name the quilt and record other information about it.
To Name a Quilt in the Sketchbook
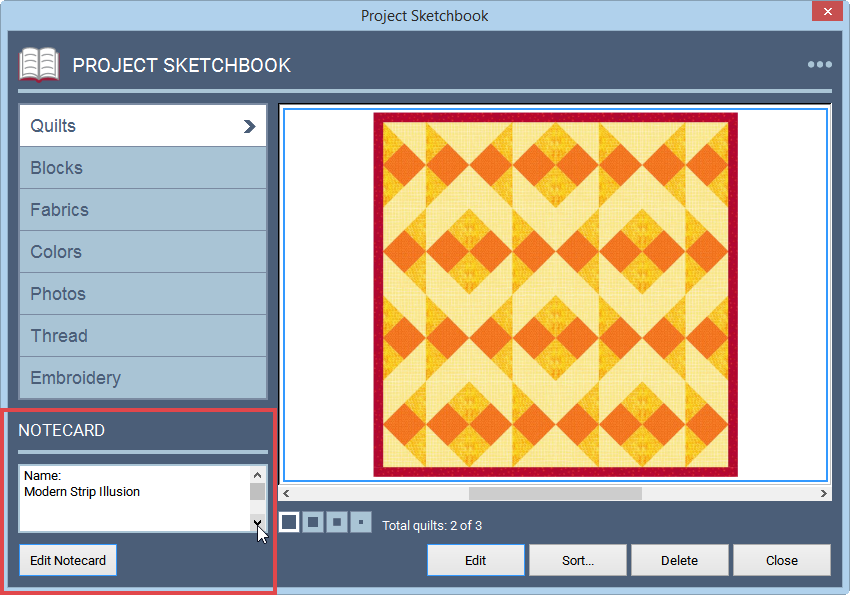
- Click on the View Project Sketchbook button to display the Project Sketchbook.
- Click on the Quilts section.
- Use the scrollbar until you see the quilt you want to name. Select the quilt by clicking on it.
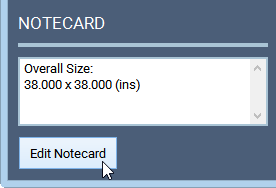
- Click the Edit Notecard button at the bottom-left of the Sketchbook window. A notecard will display.
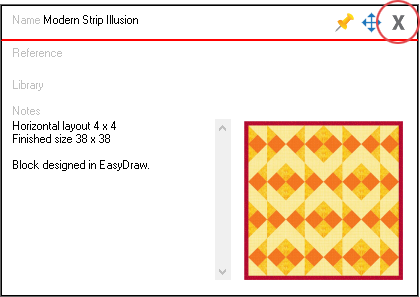
- Click on the top line next to the word Name. A flashing vertical-line cursor will appear.
- Type a name for your quilt.
- You can also type reference information and notes on the notecard. This could be any information about the quilt that would be useful to you later. For example: date, border styles, reason for design such as “Katie’s Birthday,” etc.
- Click the X button to close the notecard. The notecard information gets saved with that quilt when you close the Notecard. You can go back and edit the notecard at any time.
The name in the notecard will display in the bottom-left section of the Project Sketchbook. You will also see the name of the quilt on the printouts.
To Name a Quilt Before Printing
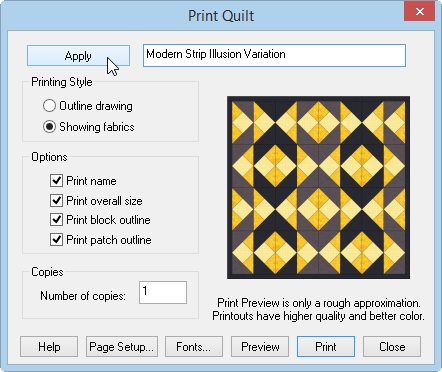
If you forgot to name your quilt before printing, you can quickly name it right in the print dialog.
- Click the PRINT & EXPORT tab on the Quilt Worktable.
- Click Quilt in the palette. The Print Quilt box will display.
- Click Edit Name at the top.
- Type a name for your quilt, then click Apply. The name will display on the printout and is now added to the Notecard for that quilt in the Project Sketchbook.
Note:
Naming a quilt in the notecard is not the same as naming the project file. The notecard name is specific to the quilt, not the project.


