

Printing a block can be done from the PRINT & EXPORT tab of the Block Worktable or the Quilt Worktable.
Note: If you want to print a block from the Quilt Worktable, click the PRINT & EXPORT tab then click directly on the block in the quilt to select it. Selecting the block in the quilt will enable the block printing options in the palette.
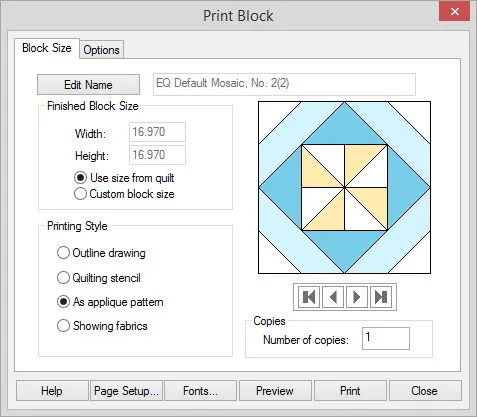
Click Block in the Print Patterns palette to display the Print Block dialog.
Edit Name
The name shown in the dialog will appear at the top of your printout. If it is a Library block, it will always have a name. If you drew the block yourself or you want to change the name, click Edit Name, type a new name in the entry, and then click Apply. This will also update the name on the Notecard.
Finished Block Size
By default, Use size from quilt (if printing from the Quilt Worktable) or Use size from Worktable (if printing from the Block Worktable) will be selected. Width and height will be displayed, but the controls will be disabled. If you want to set the size yourself, select the option for Custom block size. Then type any size you want for the block.
Printing Style
Choose from the following styles for your printout.
- Outline drawing
Black and white solid lines of the block drawing with empty patches. - Quilting stencil
Black and white dotted lines of the block drawing with empty patches. - As applique pattern
Black and white solid lines of the drawing with patches filled with white so you see the effect of the overlapping patches. - Showing fabrics
The block printed just as seen in the dialog. Make sure you have clicked through the colorings to display the colored version you want to print. If this option is disabled, click on the arrow buttons under the block until a colored version of the block displays.

Copies
Type the number of copies you want to print.


