

To rotate an image, click Edit in the ribbon and click the Rotate tool in the palette.
The palette includes several ROTATE AND SHEAR OPTIONS. Whenever you use any of these options, the image is required to display 1-to-1. This means that your image may become larger than the screen You’ll need to click Fit in Window to adjust the image to your screen.
Rotate
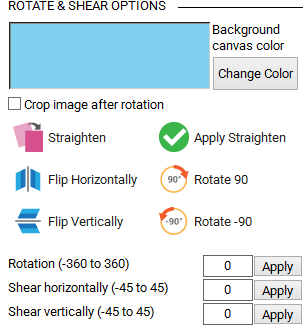
The Rotate and Flip buttons give a visual indication of what they will do to the image when clicked.
Rotate by degrees: Enter a number for degrees in the box. A negative number will rotate counter-clockwise. Click to rotate the image by the designated number. (This tool will be disabled until a number is entered.) The selected Canvas color will become part of the image. If you want the image to be cropped, place a check in the box.
Shear
Shear horizontally by degrees: Enter a number for degrees in the box. A negative number will shear counter-clockwise.Click to shear the image horizontally by the designated number. (This tool will be disabled until a number is entered.) The selected Canvas color will become part of the image.
Shear vertically by degrees: Enter a number for degrees in the box. A negative number will shear counter-clockwise. Click to shear the image vertically by the designated number. (This tool will be disabled until a number is entered.) The selected Canvas color will become part of the image.
Straighten
Click Straighten in the palette.
![]()
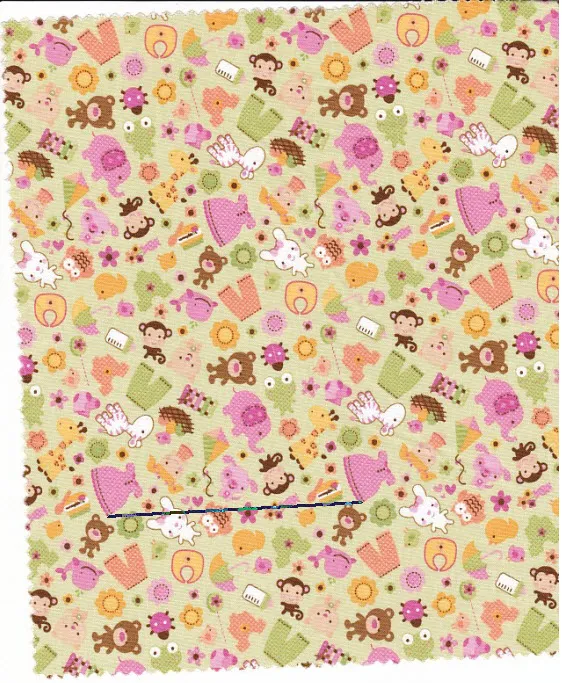
The cursor will change to a crosshair. Drag to draw a line across this image. If you are straightening fabric, you can follow something in the pattern of the fabric.
In this example, draw a line from one pink dress to the other dress. If you don’t like the line, you don’t need to erase it. Just start redrawing a new line and the old line will disappear.
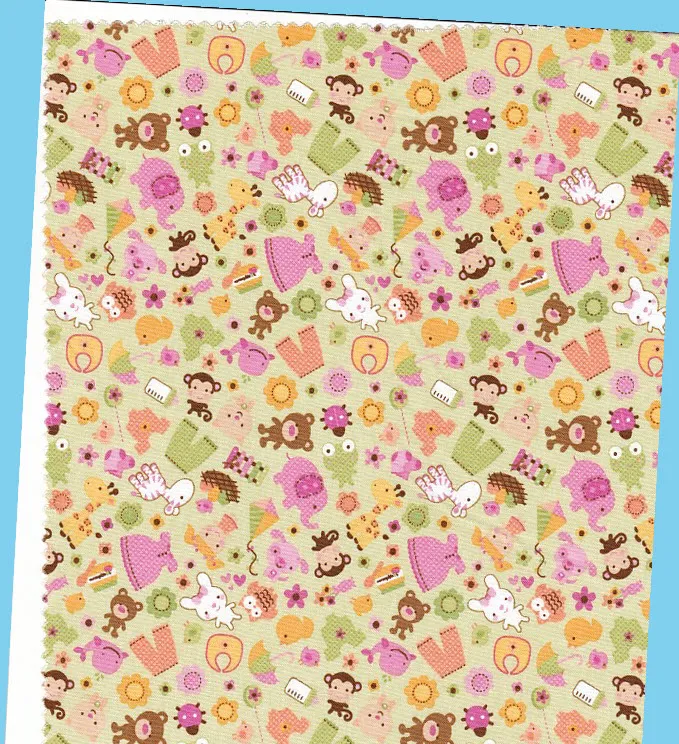
Click Apply Straighten in the palette. The fabric will straighten, either horizontally or vertically, and redraw at actual size.
![]()
Click Fit in Window so that the whole image fits in the screen again.
![]()
EQ8 fills in the background canvas with a color when the fabric straightens. Use the Crop tool to eliminate the background color. You can also check Crop image after rotation in the palette. Be aware that this will crop your image as well as some of the background canvas. If you’re not happy with the straighten, simply repeat the steps.
Change Canvas Background Color
In the palette next to the Background canvas color, click the Change Color button. This will display the Create a Color dialog. Here, you can create any color you’d like to use for the background of your image as you rotate, shear or straighten.
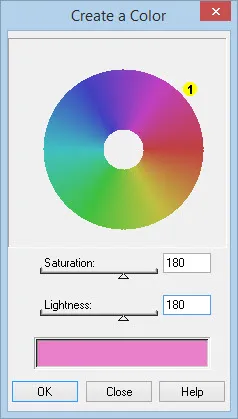
Color wheel
Drag the small yellow dot control to adjust the color. Drag it around the circle to change to the matching color on the wheel. The newly created color will appear along the bottom of the dialog.
Saturation shift
When the slider is at the maximum value, 255, all the colors will be fully saturated with ‘pure’ hues. The colors will be very intense. When the slider is at the minimum value, 0, the colors are desaturated so no hue is dominant. The colors will look grayscale.
Lightness shift
Dragging the slider to the right increases the lightness. The maximum value creates totally white colors. Dragging the slider to the left decreases the lightness making the colors darker and darker. The minimum value creates totally black colors. Values range from 0 to 255.


