

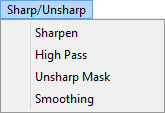
Start with an image on the worktable. Click Special Effects in the ribbon, and then click the Filters tool in the palette. The Image Filters dialog will display. Use the Sharp/Unsharp menu at the top of the dialog to choose a filter.
Sharpen
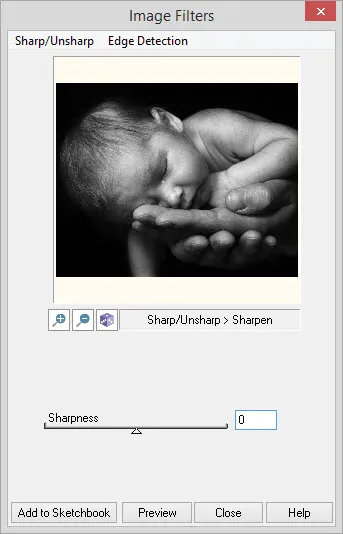
This filter will adjust the sharpness of the image. Negative values decrease the sharpness. Specify -1000 for minimum sharpness. Positive values increase the sharpness. Specify +1000 for maximum sharpness.
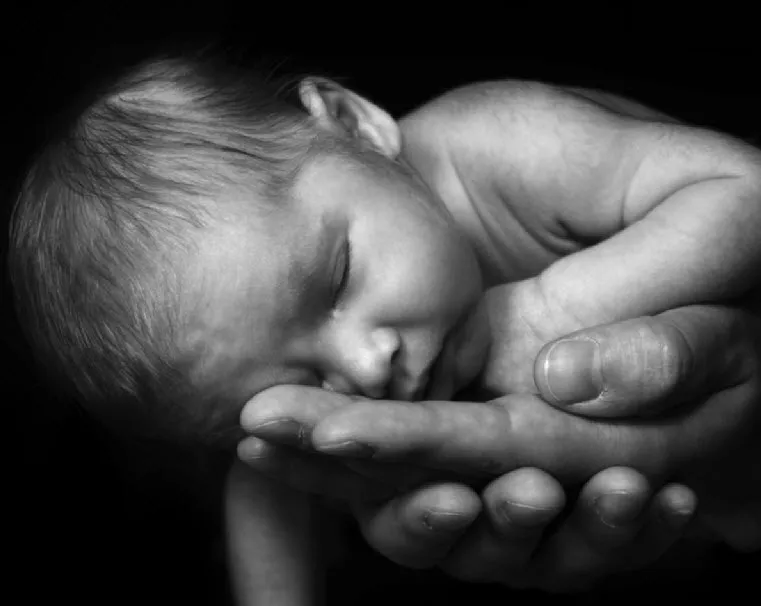
-1000 Sharp |
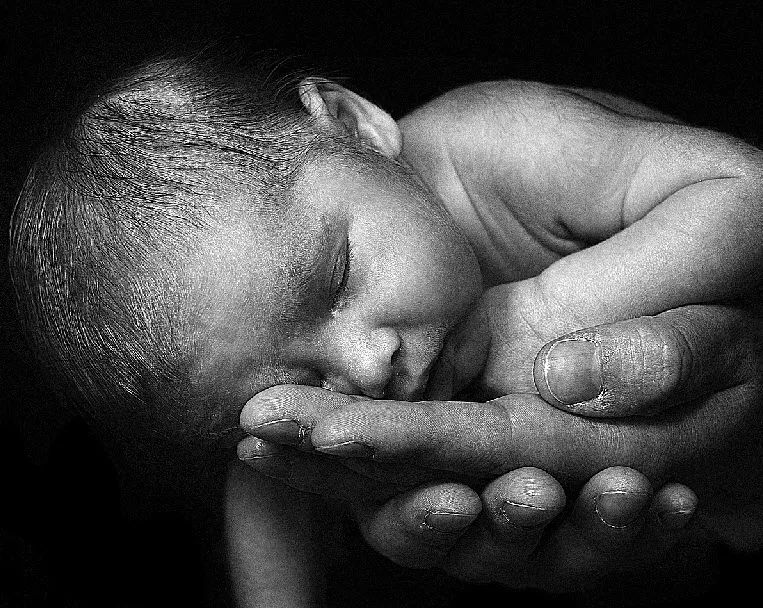
1000 Sharp |
Sharpen settings:
Sharpness: The amount to change the sharpness. Range: -1000 – 1000
High Pass
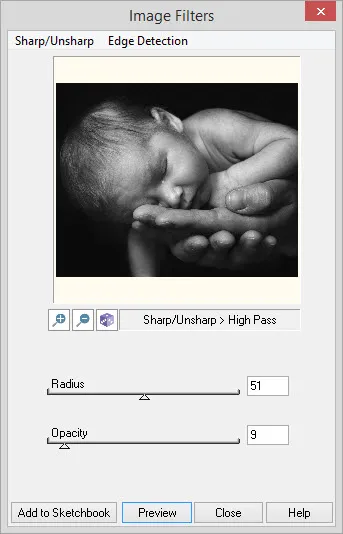
This filter removes low frequency details in an image resulting in a sharpened image. Low-frequency details are large objects and the background, while high-frequency details are the edges.
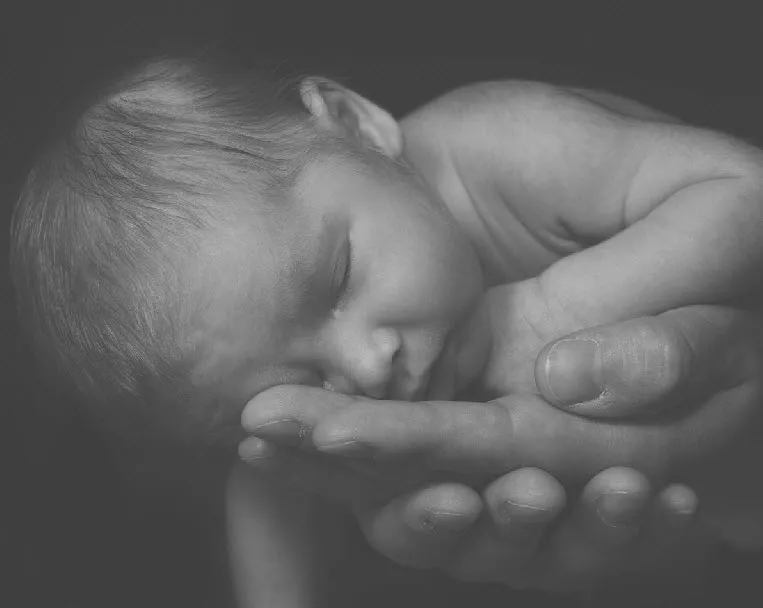
Radius 0 Opacity 50 |
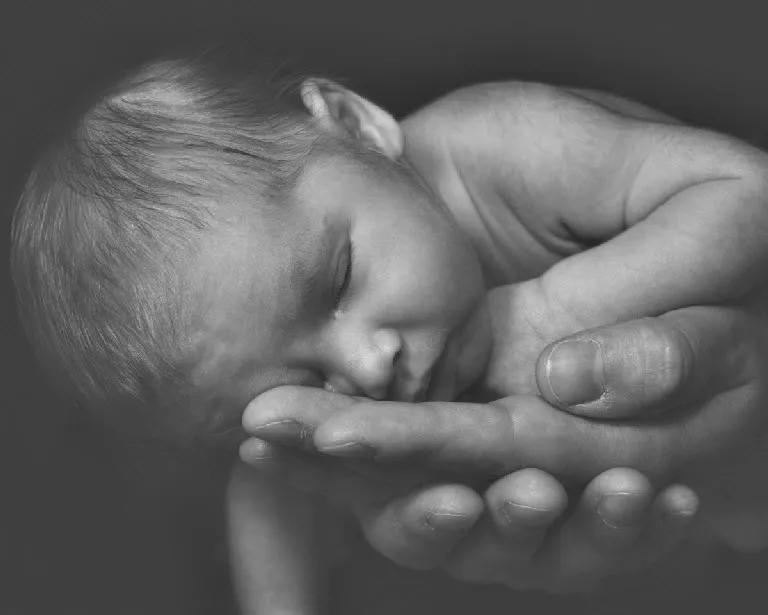
Radius 100 Opacity 50 |
High Pass settings:
Radius: The area of the edges where the filter is applied. Usually a low value for Radius is better. High radius may be useful in close-up photos. range: 1 -100
Opacity: This value represents the intensity of the effect. At the highest value of 100 and a low Radius value, only the object outlines remain. range: 0 -100
Unsharp Mask

This filter is actually considered a sharpening filter. It is used to sharpen the image with a minimum of noise. To reduce the noise, it starts by blurring a copy of the original image. The amount of blur depends on Radius value. The filter then determines the difference between each pixel’s value of the original image and the corresponding pixel’s value in the blurred image. If the difference is greater than the Threshold value, then the difference between the pixel values is multiplied by the Amount value and added to the original pixel value.
Unsharp Mask settings:
Mask: Indicates the color space to apply the mask. Choose from RGB color space or YUV color space. Using the YUV color space decreases the processing time but some colors may shift a bit.
Amount: Value that represents an adjustment factor as described above. To increase the amount of sharpness, increase the value of Amount. Range: 1 – 100
Radius: Value that indicates the size of the neighborhood used for blurring each pixel of the image. To increase the thickness of the sharpened edges, increase the value of Radius. Range: 0 – 100
Threshold: This value represents the threshold for determining if the original image will be adjusted. If the difference between the original and blurred is greater than this value, then the image is adjusted. To reduce the noise and eliminate the small edges or individual pixels that will produce noise in image, increase the value of Threshold. Range: 0 – 255
Smoothing
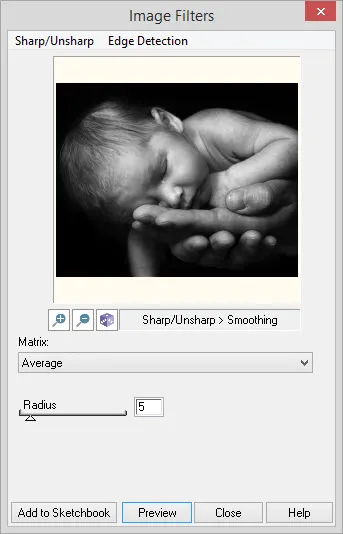
This filter unsharpens the image by applying different blurs.
Radius 5 Average |

Radius 50 Average |
Smoothing settings:
Matrix: Choose from Average, Median, or Gaussian for the type of blur.
Average changes the color of each pixel in to the average color of pixels in its neighborhood.
Median changes the color of each pixel in the image to the median (middle) color of pixels in its neighborhood. This is similar to the Average, but it is used for noise reduction, rather than a blur effect.
Gaussian blurs each pixel in the image based on neighborhood pixels.
Radius: The size of the neighborhood to apply the blur. Range: 0 –- 50


