
Start with an image on the worktable. Click Special Effects in the ribbon, and then click the Square Symm tool in the palette. The Square Symmetries dialog will display. Use the subtools at the top of the dialog to select number of squares, repeat pattern and orientation of the image in the dialog.

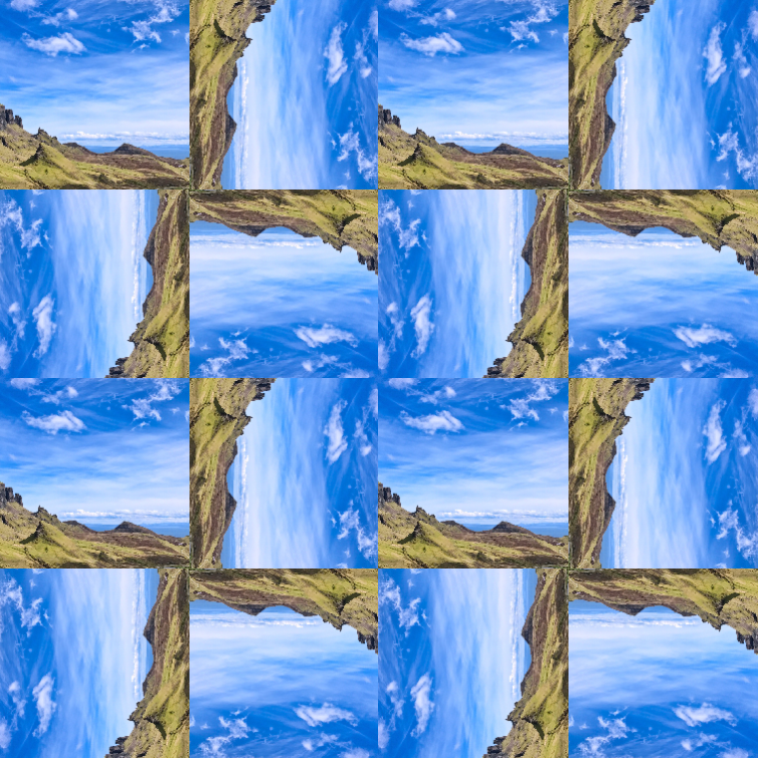
Square Symmetries uses a square portion of the photo to create symmetries within a new 4-quadrant image. Each quadrant will show the square portion flipped and rotated based on the style and size you select in the dialog. These new squares, or tiles, are repeated in each quadrant.
A tile group or plane symmetry group is a mathematical classification of a two-dimensional repetitive pattern, based on the symmetries found in 17 possible distinct groups.
The symmetries are created in various methods. First, there is translation in a given direction by a given distance. Second, we have rotation about a point called the center of rotation. Next reflection through a line referred to as the line of reflection. A glide-reflection consists of reflecting through a line and then translating parallel to this line some set distance. Mathematicians use notations to name each of the symmetries such as p2, pm, cm, pgg and so on.
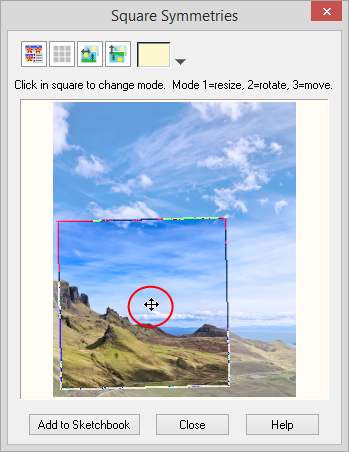
In the Square Symmetries dialog, you can choose from 9 symmetry styles and 4 sizes. You’ll see your image and a square selector box in the preview. As the square is moved in the dialog, the preview image will update automatically. Click Add to Sketchbook to place a copy of the current image in the Photo section of the Project Sketchbook.
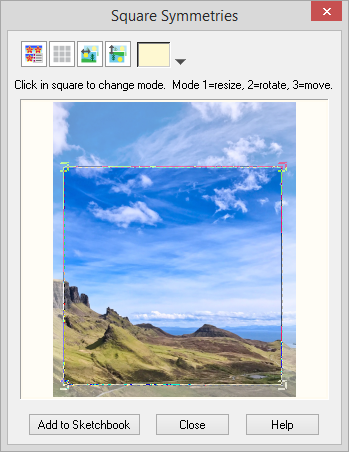
Drag the square in the dialog preview to move its position at any time. The square has a 3-click mode to cycle through the things you can do with the square.
Click #1 will display the select box for resizing. Use the corner handles to make the square larger or smaller.
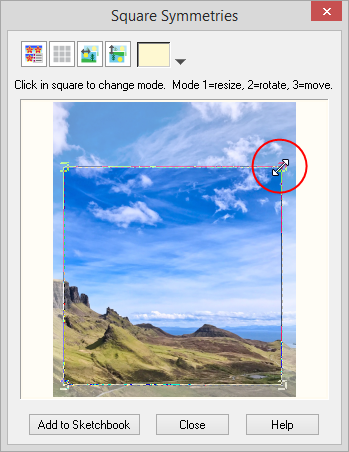
Click #2 will then put you in rotate mode. You’ll know you’re in rotate mode by the cursor . Use the corner handles to rotate the square clockwise or counter-clockwise.
Click #3 will deselect the box. You can always move the square whether the select box is showing or not.
Square Symmetry subtools
Displays a list of square symmetries.
Displays tile options for each quadrant.
Flips the background image left and right.
![]()
Flips the background image top and bottom.
![]()
Click the down arrow next to the sample color. This will display the Create a Color dialog. Here, you can create any color you’d like to use for the background of your image.
![]()
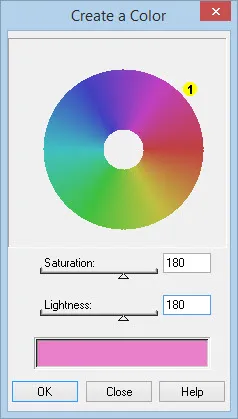
Color wheel: Drag the small yellow dot control to adjust the color. Drag it around the circle to change to the matching color on the wheel. The newly created color will appear along the bottom of the dialog.
Saturation shift: When the slider is at the maximum value, 255, all the colors will be fully saturated with ‘pure’ hues. The colors will be very intense. When the slider is at the minimum value, 0, the colors are desaturated so no hue is dominant. The colors will look grayscale.
Lightness shift: Dragging the slider to the right increases the lightness. The maximum value creates totally white colors. Dragging the slider to the left decreases the lightness making the colors darker and darker. The minimum value creates totally black colors. Values range from 0 to 255.
Note: You will only see this color on your new image if you move the square outside of the image in the preview window.
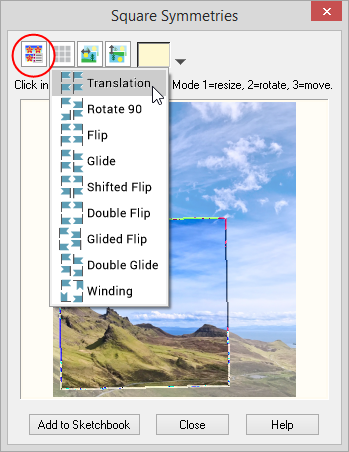
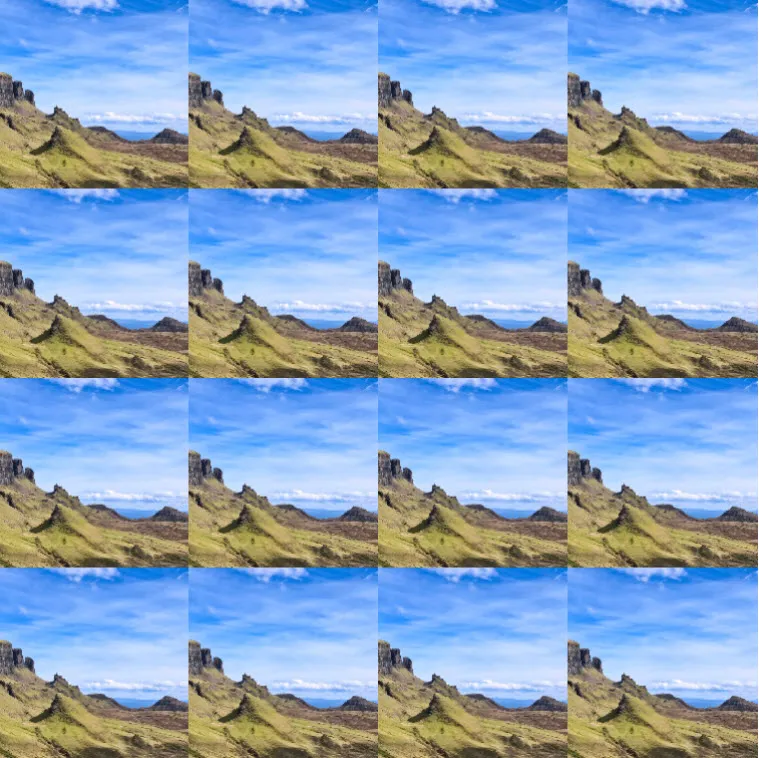
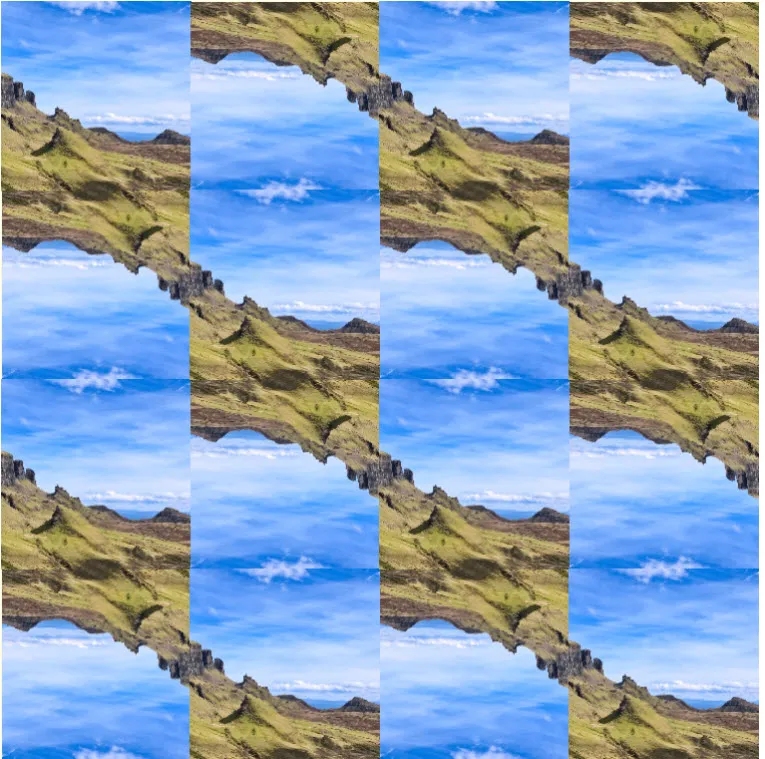
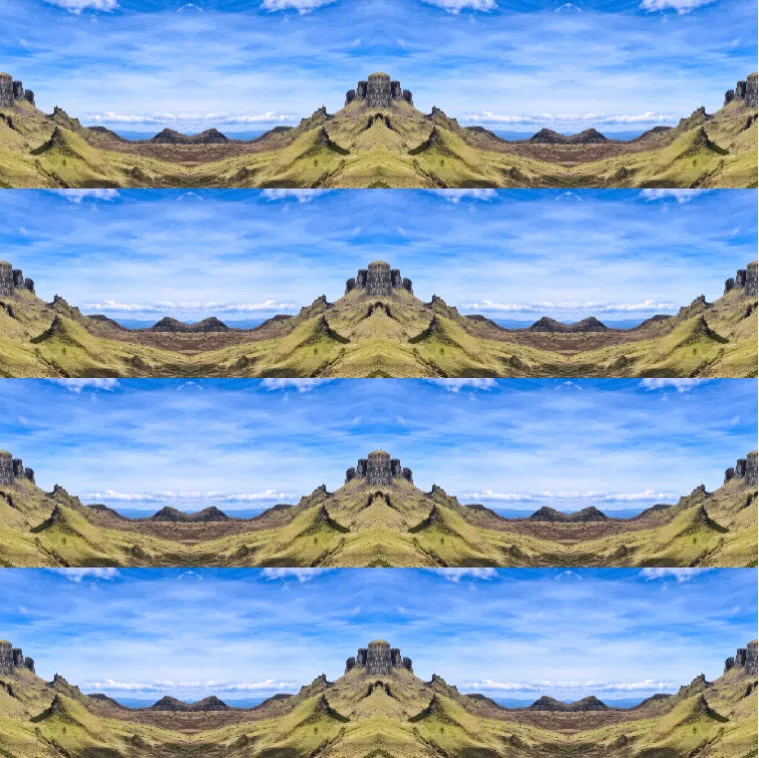
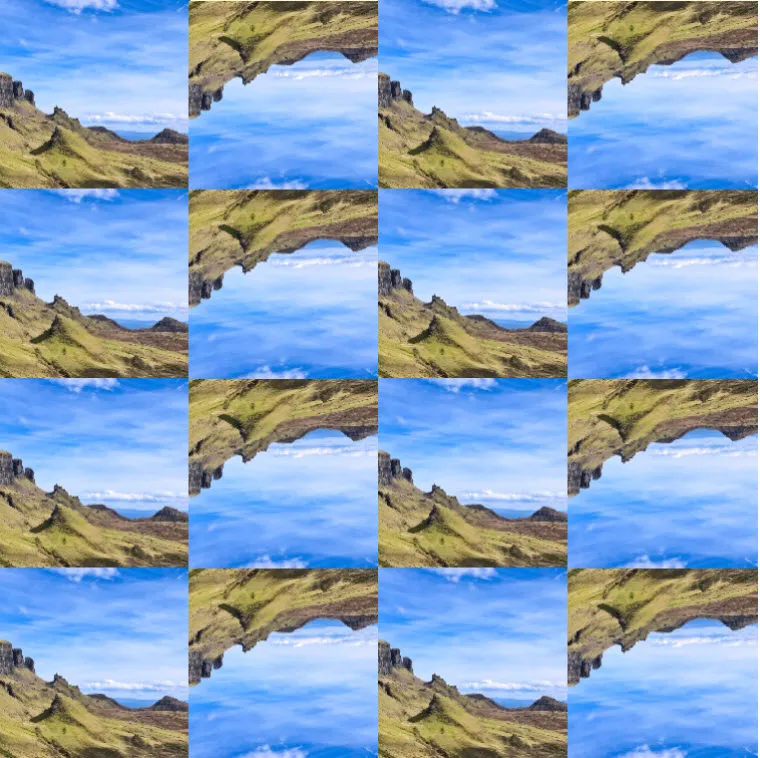
Samples of Symmetry Style options
Click the Symmetry Style button to display the list of symmetries.
Translation
Rotate 90
Flip
Glide
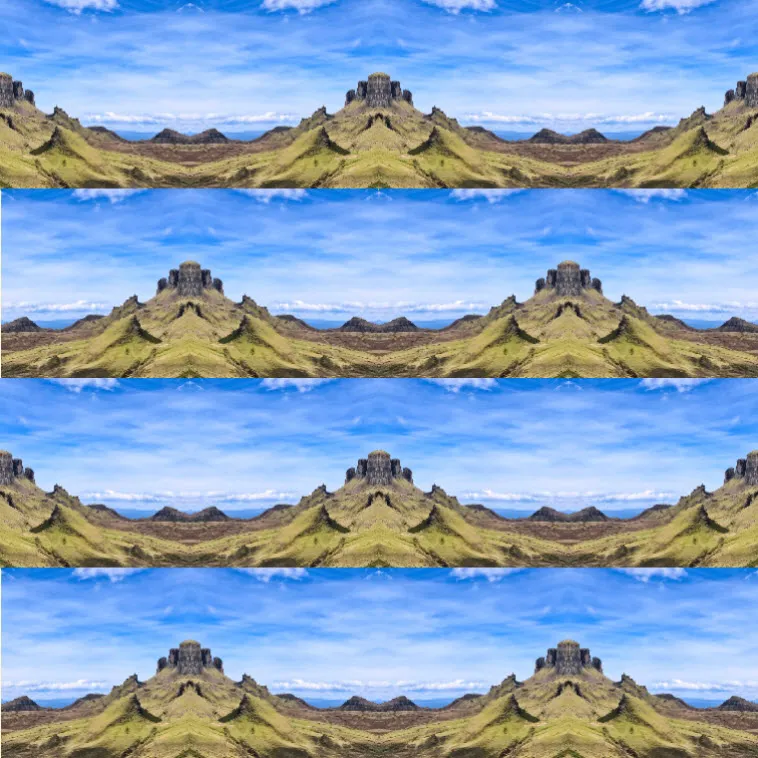
Shifted Flip
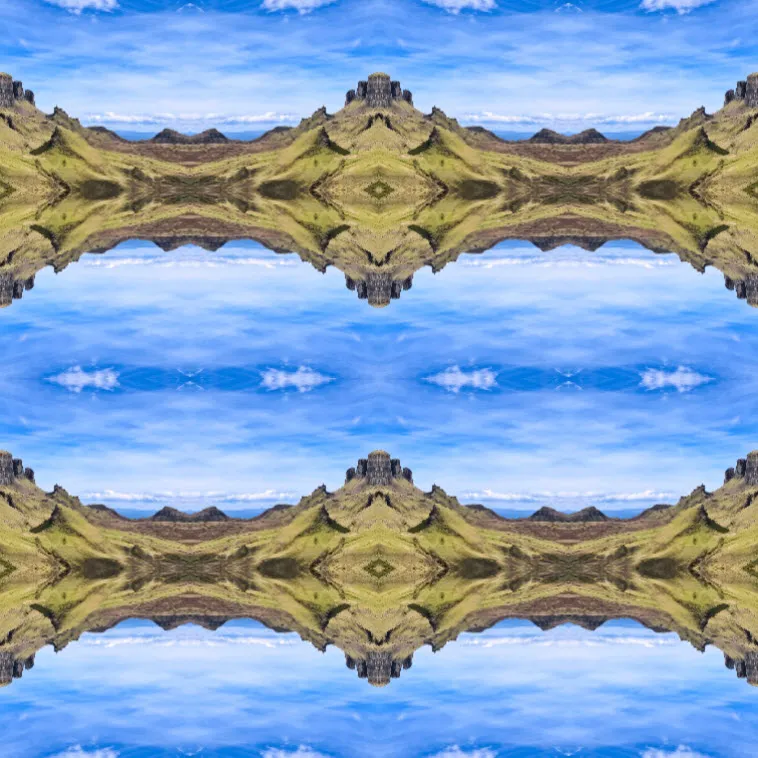
Double Flip
Glided Flip
Double Glide
Winding
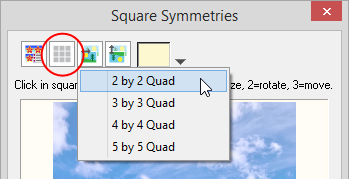
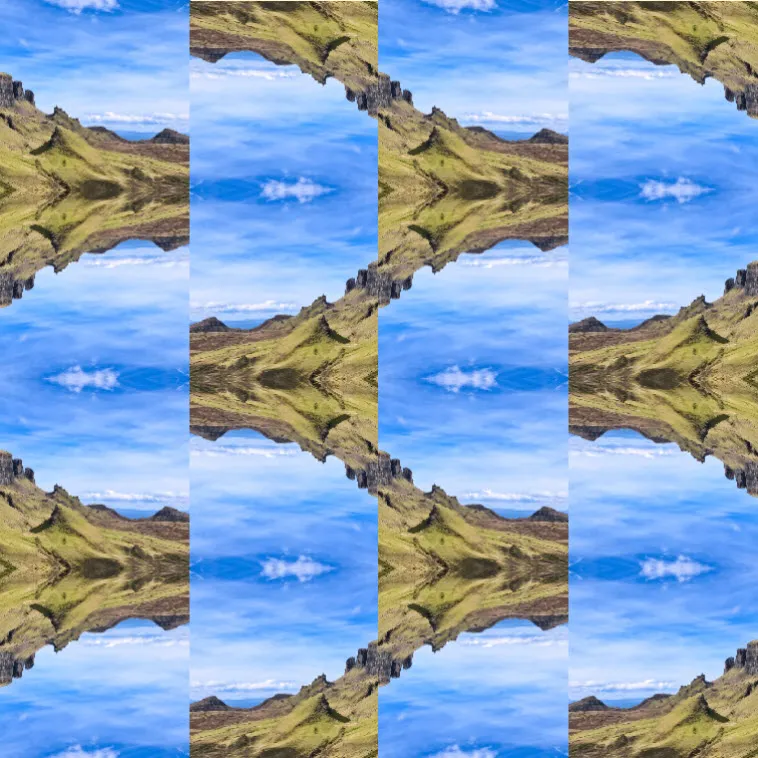
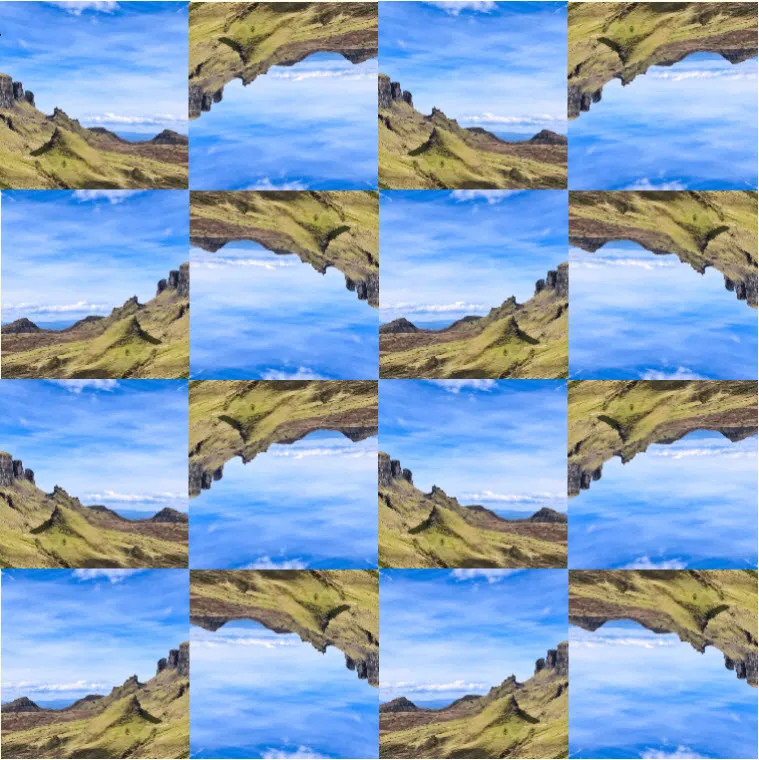
Selecting a tile group
Click the Size button to display the list of tile groups that will be shown in each quadrant.
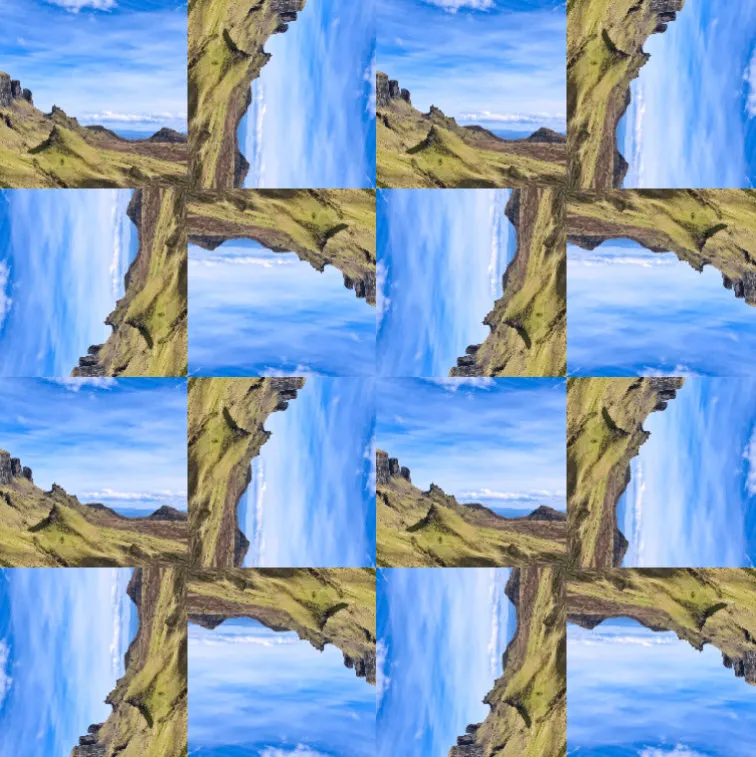
2×2 quad
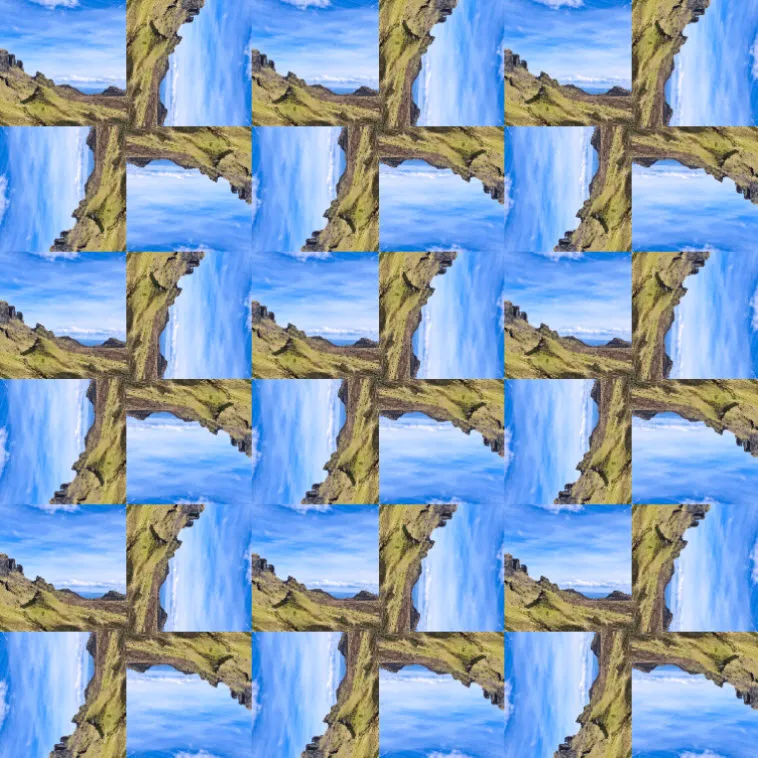
3×3 quad
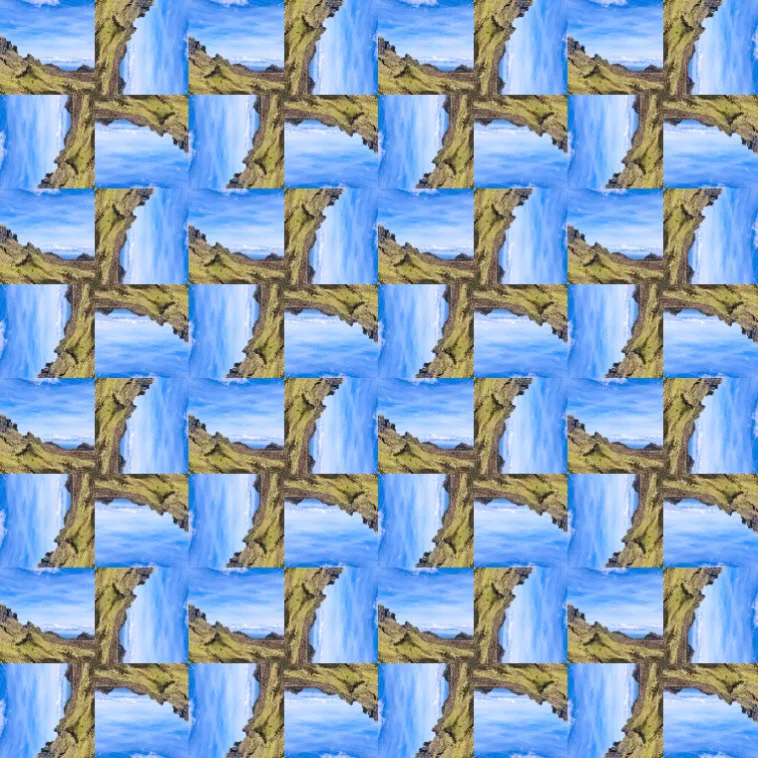
4×4 quad
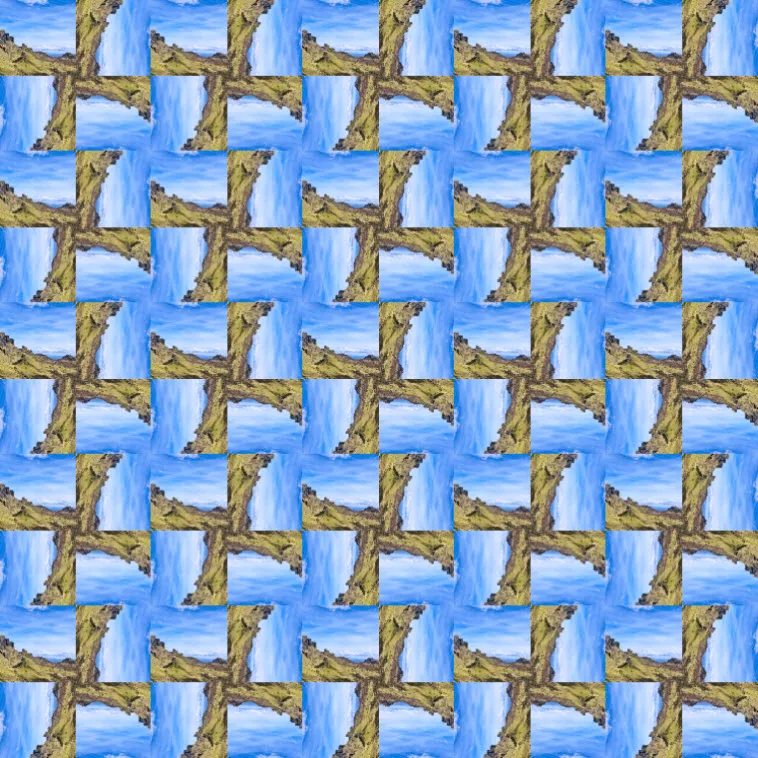
5×5 quad
About the image size
When the Square Symmetries dialog opens, the new tiled image will automatically resize to fit to your screen. In other words, EQ automatically zooms in or out to draw the image as large as it can to fit the whole image on screen. When Add to Sketchbook is clicked, the square-petal portion of the image represented in the dialog, will be duplicated pixel-for-pixel to create the image that gets saved to the Sketchbook.
The size of the newly created image will depend on the original image’s size and pixels per inch, and on the number of tiles. In other words, if the square is 2 inches in a 100 ppi image and you choose 4 x 4 Tiles (this means 4 groups by 4 groups or 8 little pictures by 8 little pictures, then the final image when saved will be 16 inches at 100 ppi.
Note: When you close the Square Symmetries dialog, the Image worktable will display the original image.


