
Getting Ready to Import
EQ8 will import an image, fit it to your block size, place it in the background of the Block worktable, and let you turn the image on and off as you trace it. You can import any of the following file formats: BMP, GIF, JPEG, PNG and TIFF.
Since the image file you import is to be used as a guide for your block drawing, it is not important for fine details to display. EQ8 will also manipulate the image by fading it for easier tracing, so it is not necessary to import a high resolution image. We strongly recommend that you reduce the size of the image before you import it. This will keep EQ8 running efficiently without requiring extra processing time to redraw the image. Try reducing the image’s width or height to 600 pixels or less and then import the image. You must use your scanning software or other imaging software to resize your images. EQ8 can import and display the image, but it cannot resize it.
Since EQ8 requires the image fit to the Block worktable, you should think about the overall shape of the image you plan to import and the shape of the block you plan to draw. In other words, if you plan to draw a border block, and you want to import a long narrow grapevine image, then you’ll want to make your drawing board long and narrow and import an image that is also long and narrow. If you want to trace a tall and narrow flower vase, but put it in the center of a square block, then make sure the image of the vase is square before you import it.
Import for Tracing can be used in conjunction with EasyDraw™, PolyDraw or EasyDraw+Polydraw blocks. You’ll find it most useful for creating appliqué blocks with PolyDraw.
Import Image for Tracing
When you are ready to import an image for tracing, go to the Draw tab of the Block Worktable. In the ribbon below, click on the Tracing Image button. Then, choose Import Image in the Tracing Image Tools palette.

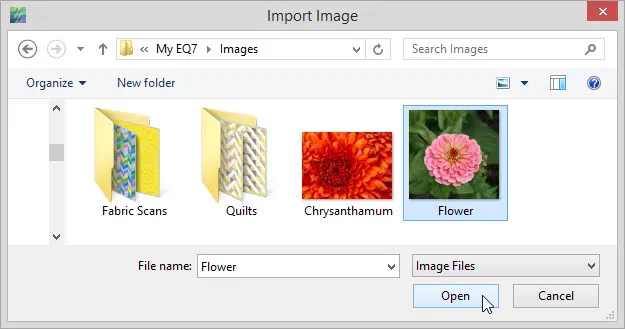
The Import Image for Tracing dialog box will display. Browse to find the file you wish to import. By default, the filter for is set to display all image files. If you would like to filter which file formats display, click the down arrow in the box to the right of the File name box and select the file format you would like. Select the file you want to import, then click Open. The Crop Image dialog will appear.
Using the Crop Dialog
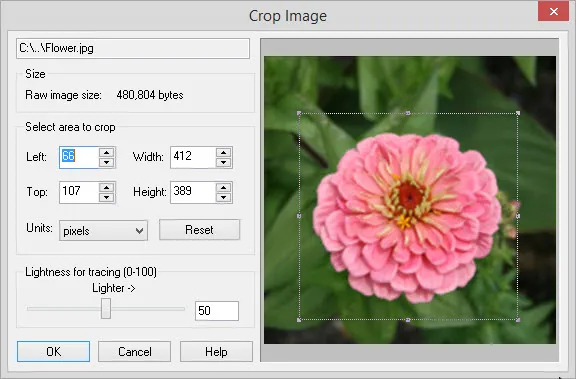
This dialog lets you crop the image very precisely before placing it on the worktable. Cropping and resizing can also be done once the image is placed on the worktable.
Crop using the mouse
The crop edges can be adjusted by dragging the nodes over the image. Corner nodes will maintain the original proportions. Middle nodes adjust width and height separately.
Click and drag any of the corners or edges to the desired crop size.
Position the mouse anywhere inside the cropping box until the cross-hair cursor displays. Click and drag the cropping box to the desired position. Size and position entries update automatically in the dialog.
Crop using the dialog entries
Adjustment of the crop edges can be done by typing values or clicking the arrow buttons to adjust the values. When typing values, press the space bar or Enter key to complete the entry.
Units of measurement include the cultural units, (inches, centimeters, millimeters) and pixels. The most precise unit to use for cropping is pixels. Rounding may occur in the width and height entries if using cultural units. This is because the value needs to be rounded to the closest pixel. Pixels cannot be cut in half.
To reset the crop selection entries, click Reset to start over.
Lightness for tracing
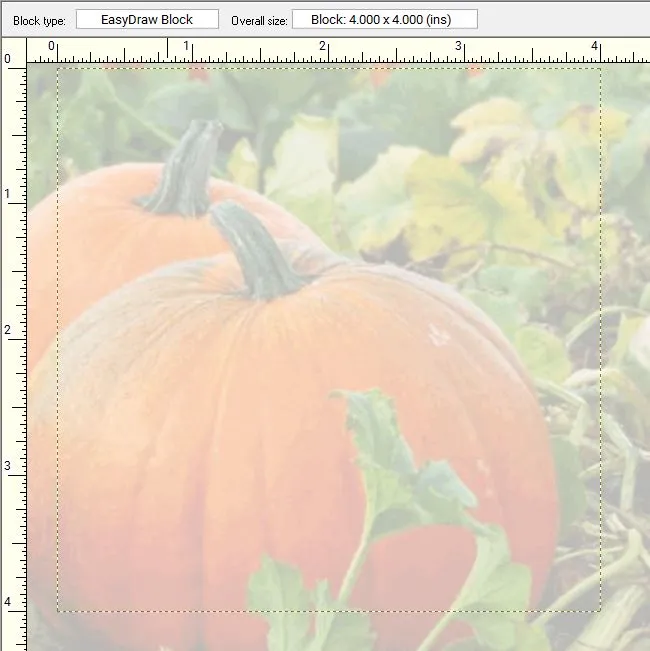
The lightness control determines how faded the image will be on the drawing board. By default, the lightness adjustment will be set to 50. You’ll want the image to be somewhat faded to make it easier to see the lines of your drawing when tracing. This control gives you the flexibility you need to adjust for both light and dark images.
Drag the slider or type a new value to adjust the lightness. The results of the lightness indicator won’t be displayed until the dialog closes.
Click OK to close the Crop dialog box and the image will open on the worktable.
Placing the image on the worktable
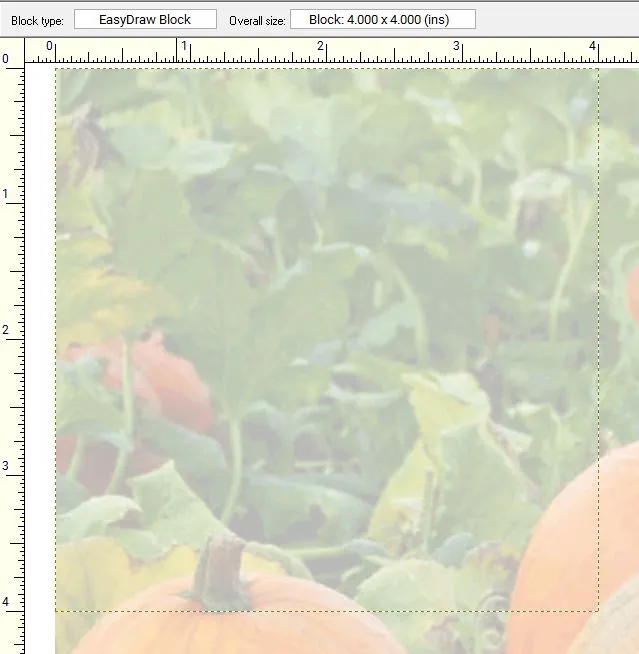
With the image now on the worktable, you can now make adjustments to how your image fits into the block.
With an image on the worktable, click the Position & Resize tool. Use the “Relative to Block” settings in the palette to quickly position and resize the image.
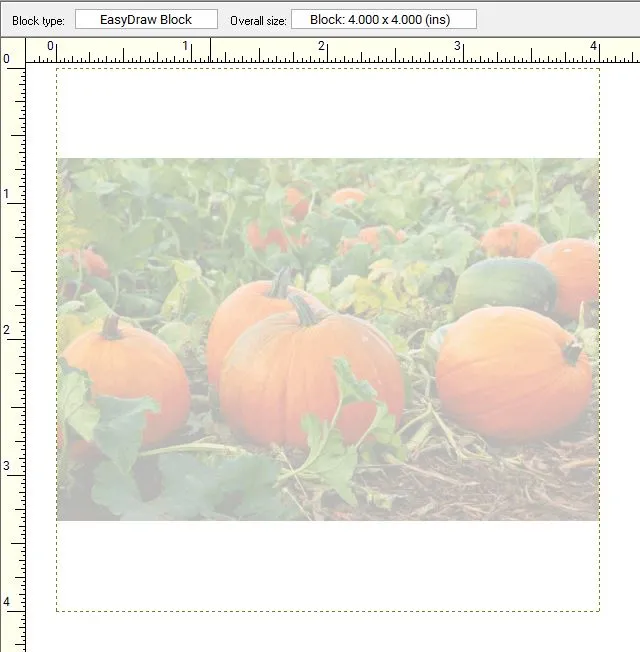
Inside Fit
![]()
This means the whole image will fit inside the block. The largest dimension scales to the block’s width or height.
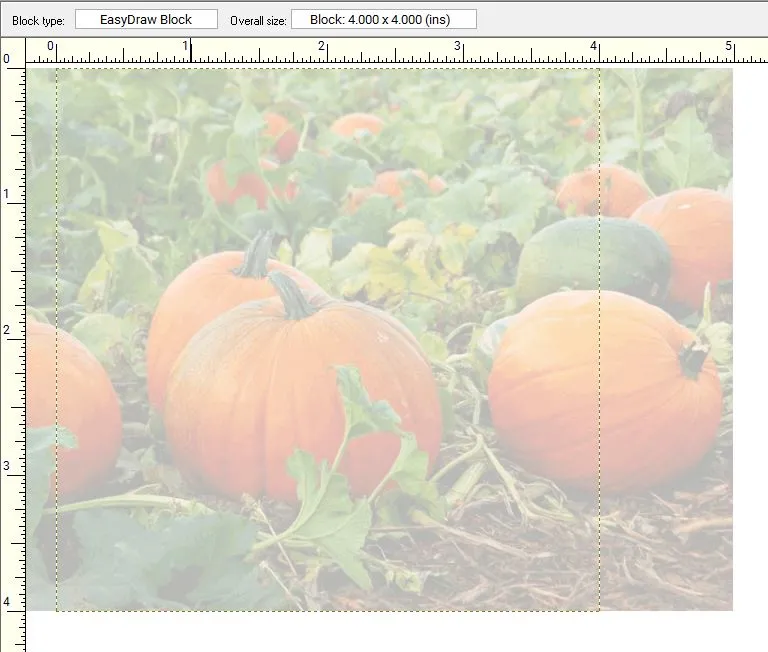
Outside Fit
![]()
This means the smallest dimension scales to the block’s width or height and the other dimension spills outside the block edge.
Center Image
![]()
This means that the image will stay at its original size and the center of the image will align with the center of the block.
Upper Left Image
![]()
This means that the image will stay at its original size and the upper left corner of the image will align with the upper left corner of the block.
Distort Fit
![]()
This means that the image will stretch or shrink to fill the size of the block. Your image will not maintain its original proportions and may look distorted.

Tracing the Image
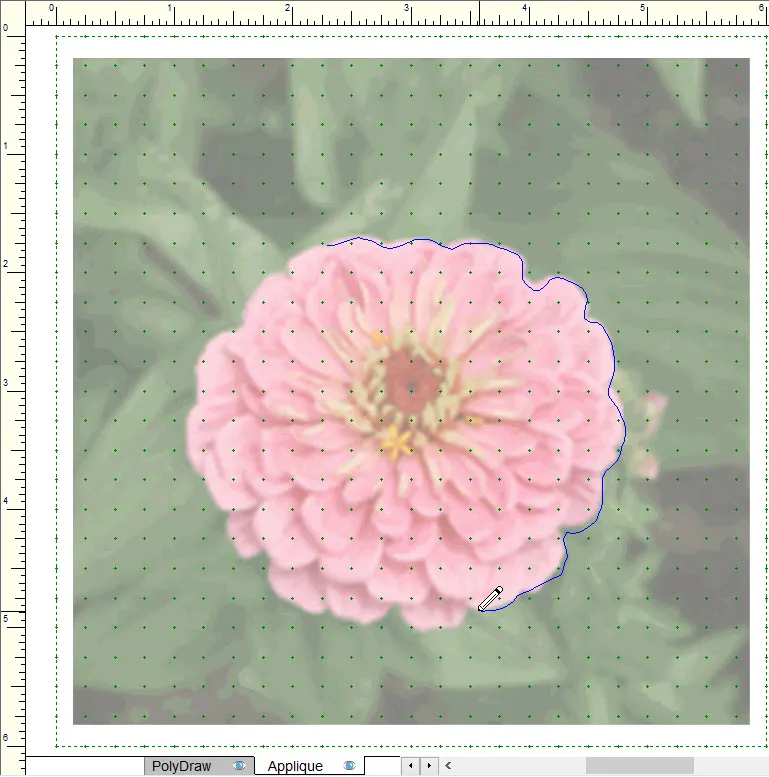
Once you’ve imported an image for tracing, click on Drawing Tools in the ribbon.
The Freehand ![]() tool on the Appliqué layer is a good option to use for tracing.
tool on the Appliqué layer is a good option to use for tracing.
Click on the Hide/Show image ![]() button on the Precision Bar to turn the image on and off as you are tracing. When you turn off the image, the block drawing is much easier to see.
button on the Precision Bar to turn the image on and off as you are tracing. When you turn off the image, the block drawing is much easier to see.
Click ![]() to turn off Auto fill when patch is closed. Since it is difficult to see the image you are tracing with Auto Fill turned on, we recommend that you turn it off. You can toggle Auto Fill on and off by clicking the Auto Fill button
to turn off Auto fill when patch is closed. Since it is difficult to see the image you are tracing with Auto Fill turned on, we recommend that you turn it off. You can toggle Auto Fill on and off by clicking the Auto Fill button ![]() on the Precision Bar.
on the Precision Bar.
Remember that there is no automatic conversion of the imported image into a quilt block. The imported image is to serve as a guide for tracing. You are creating the block by drawing it, and you are drawing it based on looking at the image in the background and tracing around it.
Saving your work-in-progress drawing
When you add your unfinished drawing to your Sketchbook, the block and the photo you are tracing will be added to their respective sections in the Sketchbook. When you open your project later to continue working on your drawing, you’ll need to edit both the block and the photo to the worktable.
- Open the EQ8 project and open the project’s Sketchbook.
- Click the Blocks section.
- Select the work-in-progress block.
- Click Edit.
- Click View Sketchbook button.
- Click the Photos section.
- Select the image you were using to trace your block.
- Click Edit to Block worktable.
- You now can continue tracing your photo.


