The Crop tool allows you to crop the image you’re going to trace.
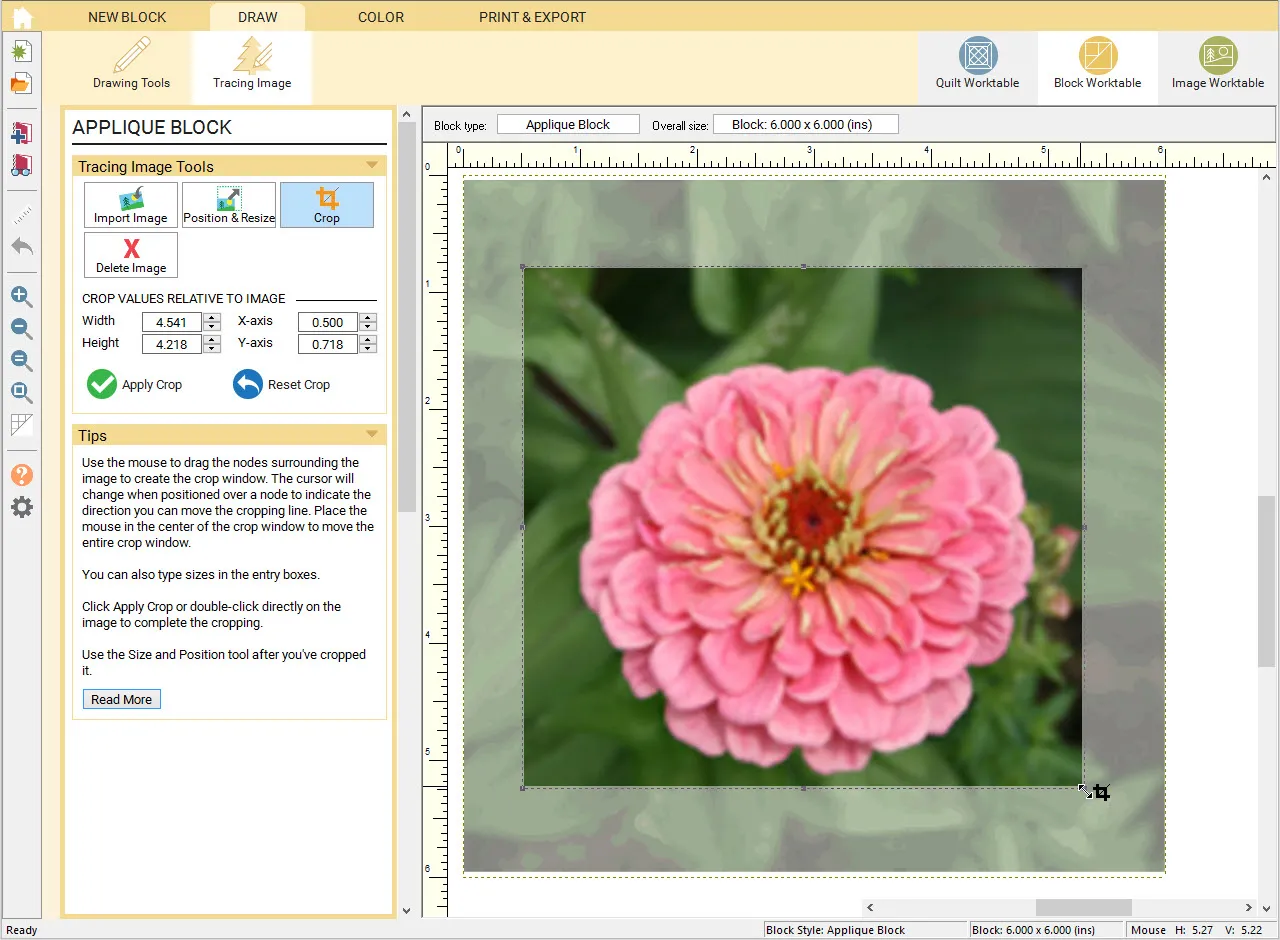
Select the Crop tool from the Tracing Image Tools palette. You’ll see the image is now outlined in a dotted line with nodes around the edges and corners.
Use the mouse to drag the nodes surrounding the image to create the crop window. The cursor will change to double arrows to indicate the cropping position.
You can also move the entire image. Place the mouse in the center of the crop window and click and drag to move the image around within the crop lines.
The entries in the Palette will adjust as you make these changes.
You can also use the entries in the Palette to create the size and position of the crop window.
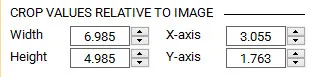
Use the arrow buttons next to the width and height values to adjust the size of the crop box. Or, click inside the box and type a new number for the width or height.
To complete the crop, click the Apply button.
![]()
To reset the crop window to select the whole image, click the Reset button.
![]()
Use the Undo button on left-hand toolbar to undo a crop after you’ve clicked Apply if necessary.
Notes:
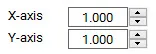
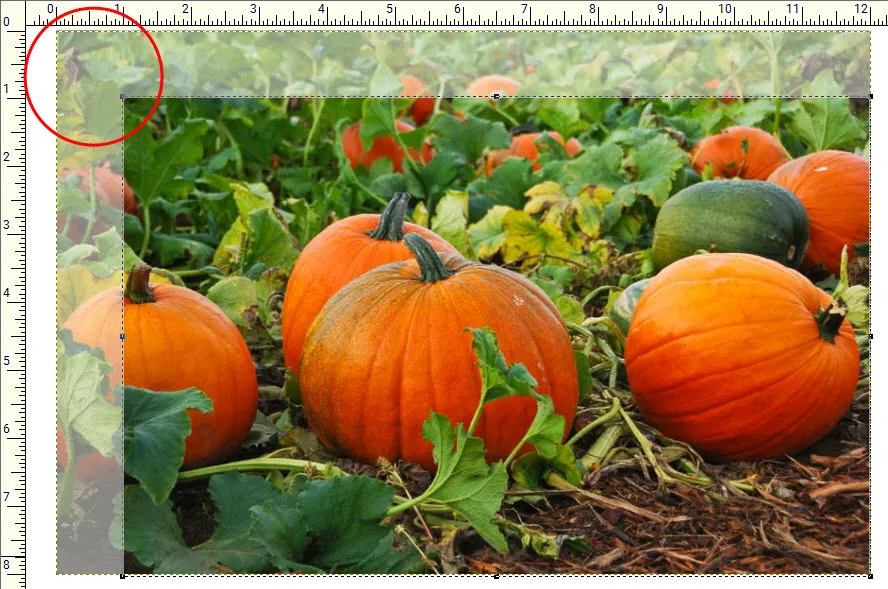
When using the x/y values to position the crop box, keep in mind that the values are relative to the image, not to the worktable. Example A below is positioned in the upper-left corner of the block. Therefore, its x/y value for the upper-left corner is 0,0—the same as the block’s x/y value. So that example is easy to follow on the ruler since the block and the image are positioned the same.
Example A:
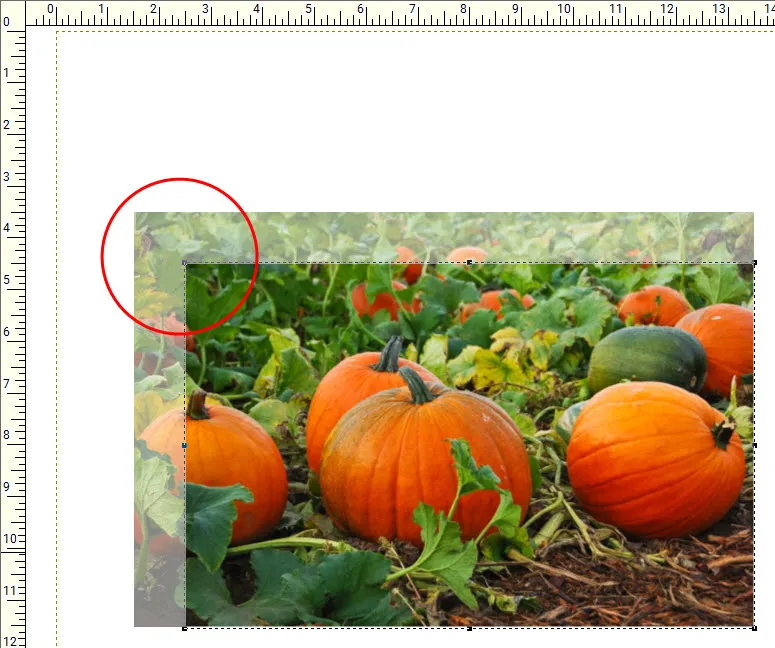
Example B, however, is centered within the block, making its x/y values for the upper-left corner of the image about 1.5 and 3.5. So when you use the x/y values to position this image, the values in the box do not match what is on the ruler. It’s based on the upper-left edge of the photo, not the block, so it will have the x/y values of about 2.5 and 4.5 (adding 1 inch to the image’s x/y values).
Example B: