The Position and Resize tool provides different choices for moving and placing an image to trace.
To Position the Image Manually
With an image on the worktable, click the Position & Resize tool and click anywhere on the image to select it. Position the cursor over the image. The cursor will change to a crosshair. Click, hold and drag the image to the desired location and release the mouse.
To Resize the Image Manually
With an image on the worktable, click the Position & Resize tool and click anywhere on the image to select it. Position the cursor over one of the corners or a side of the image. The cursor will change to double arrows. Click, hold and drag the handle in the desired direction. A dotted outline box will grow or shrink as you drag. Release the mouse when the image is the desired size.
To Position and Resize Using the Block Settings
With an image on the worktable, click the Position & Resize tool. Use the “Relative to Block” settings in the palette to quickly position and resize the image.
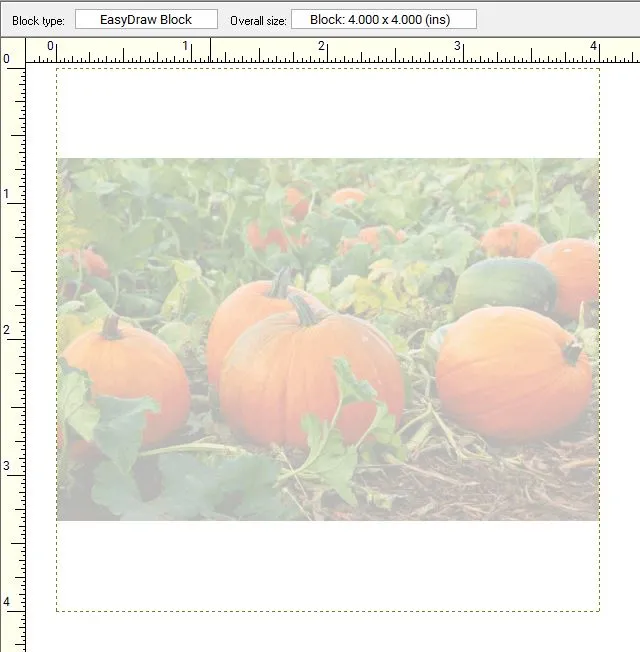
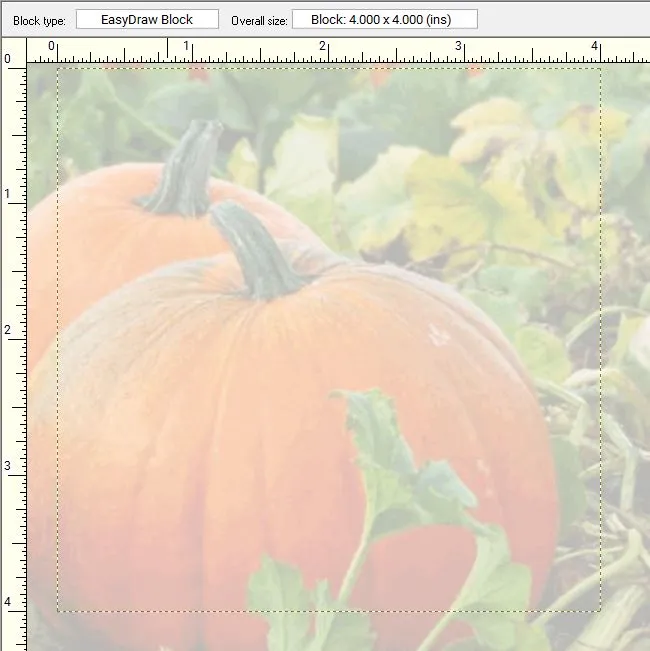
Inside Fit
![]()
This means the whole image will fit inside the block. The largest dimension scales to the block’s width or height.
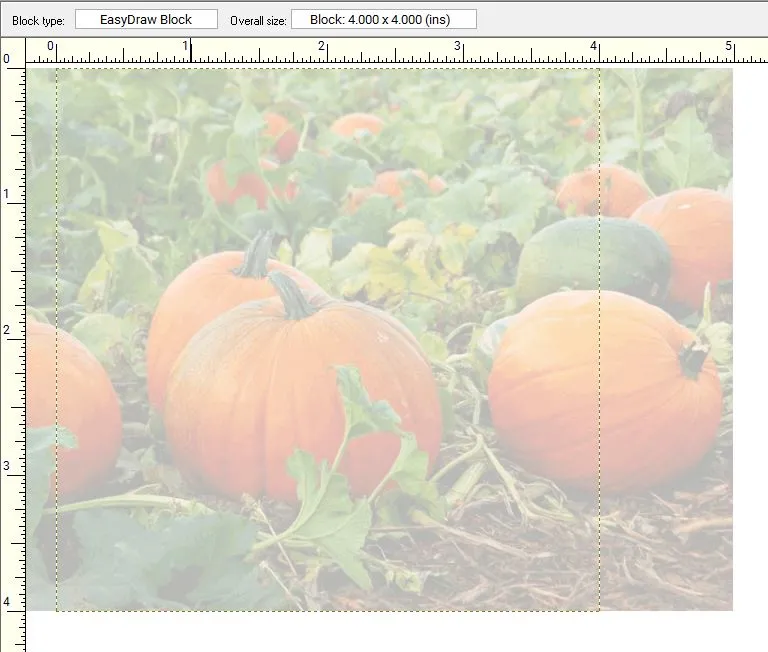
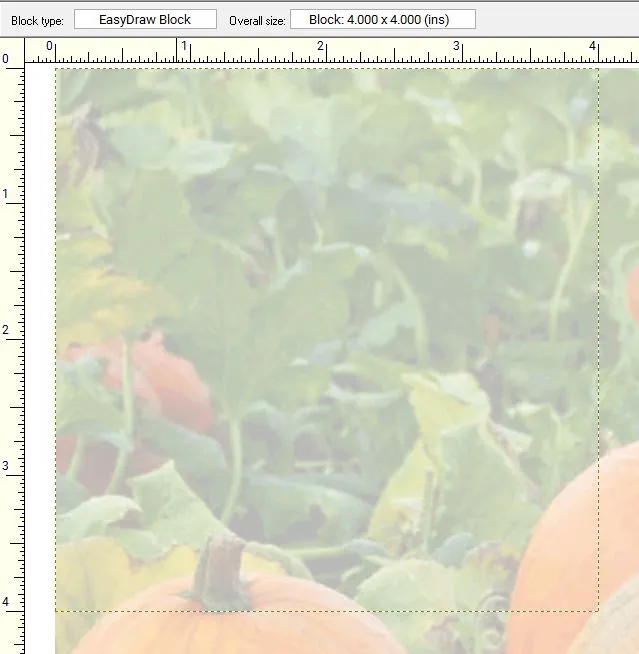
Outside Fit
![]()
This means the smallest dimension scales to the block’s width or height and the other dimension spills outside the block edge.
Center Image
![]()
This means that the image will stay at its original size and the center of the image will align with the center of the block.
Upper Left Image
![]()
This means that the image will stay at its original size and the upper left corner of the image will align with the upper left corner of the block.
Distort Fit
![]()
This means that the image will stretch or shrink to fill the size of the block. Your image will not maintain its original proportions and may look distorted.

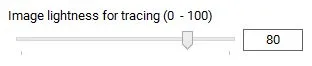
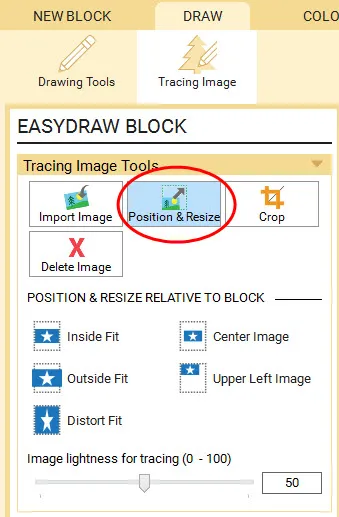
Image Lightness for Tracing
The lightness control determines how faded the image will be on the drawing board. By default, the lightness adjustment will be set to 50. You’ll want the image to be somewhat faded to make it easier to see the lines of your drawing when tracing. This control gives you the flexibility you need to adjust for both light and dark images.
Drag the slider to adjust the lightness. You’ll see your image change as you drag.
The lower the number, the more opaque the image appears.


The higher the number, the more faded the image appears.