You can easily turn your favorite photo into a full-sized quilt using the Photo Patchwork feature. Click the NEW QUILT tab, then scroll to the right on the ribbon to choose Photo Patchwork to get started. You can also click Quilt > New Quilt > Photo Patchwork. You’ll be taken to the Photo tab of the Photo Patchwork layout.
You can click the Import Image tool, right-click and choose Import Image, or use the Quilt menu > Import Image for Photo Patchwork. Select any image saved on your computer (it does not need to be in the EQ8 Library).

Resizing the photo
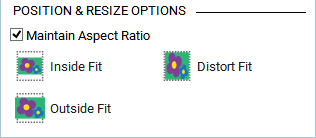
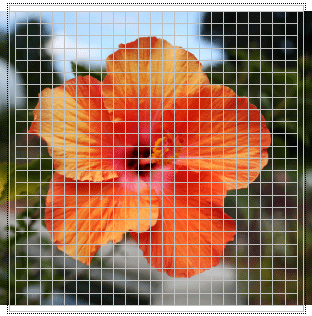
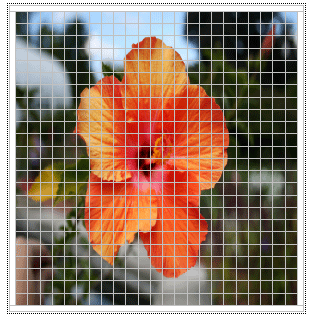
Once your image is imported, you have three predetermined settings on the palette for your photo: Inside fit, Outside fit, or Distort fit.
![]()
![]()
![]()
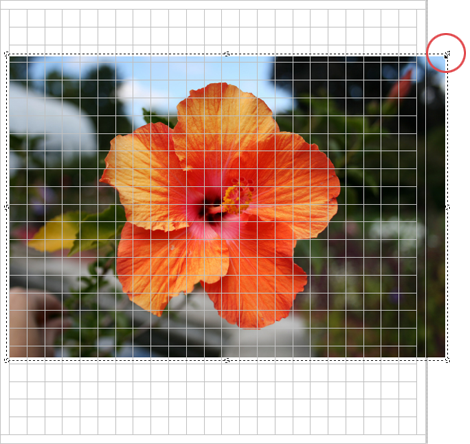
Or, you can use the Position & Resize tool in the palette to manually resize the photo by dragging each edge of the photo to the desired location on the quilt.

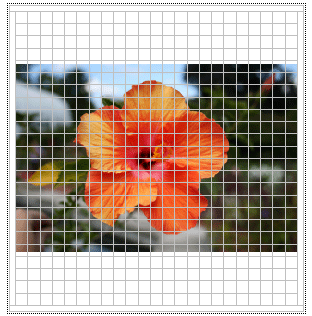
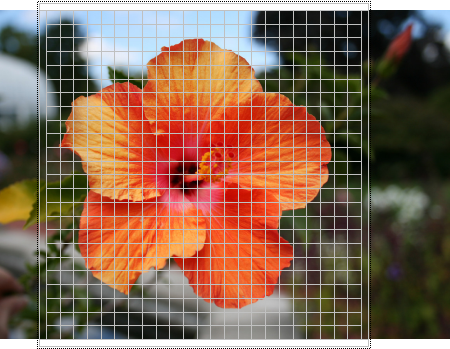
Masking the photo
Click the Mask tool in the palette.

If your photo falls off the edge of your quilt, click Auto Mask in the palette to make the photo crop to the inside edges of the quilt. Or, with the Mask tool still selected, you can manually mask the photo by dragging each edge of the photo to the desired location on the quilt. Click the Reset Mask button in the palette to start over.
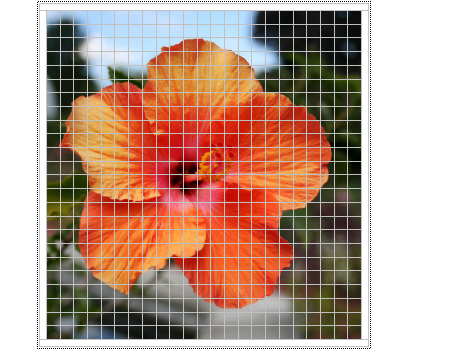
When you’re ready to convert your photo into a quilt, click the Show Quilt button. EQ8 turns each patch into a color that closely matches the color in the photo, also known as the average color.
![]()

Any time you click Add to Project Sketchbook when you’re on the Photo layer, you are only adding the photo to the Project Sketchbook, not the quilt. You must click the Layer 1 tab, then click Add to Project Sketchbook to add the quilt to the Project Sketchbook. It’s highly recommended that you do this before using the Random Recolor tool for coloring (see below).
Mapping the Quilt to Fabrics
The easiest way to color your quilt with fabrics is to use the Randomize tool.

- Click the Layer 1 tab.
- On the DESIGN ribbon, click Fabric Tools.
- Click the Randomize tool.
- Select Map to fabrics.
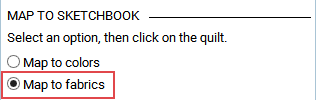
- Click once on your quilt. The solid colors will turn to fabrics.
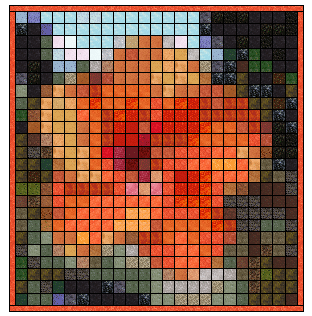
Photo Patchwork quilt with fabrics
Note:
The key to getting the best results when mapping to fabrics is to load your Project Sketchbook with fabrics that are similar to the colors you see in your photo. Click LIBRARIES > Fabric Library and add as many fabrics as you’d like to your Project Sketchbook before clicking Map to Fabrics.
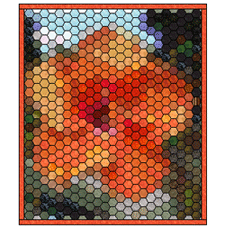
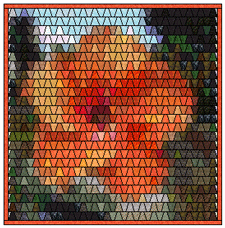
Try Different One Patch Styles
Change the look of your quilt by choosing a different patch style and number of patches on the Layout tab. Here are a few examples: