Graph Paper is available to provide guidelines when drawing your blocks. These are just for visual reference. No snapping can be done to the graph paper lines.
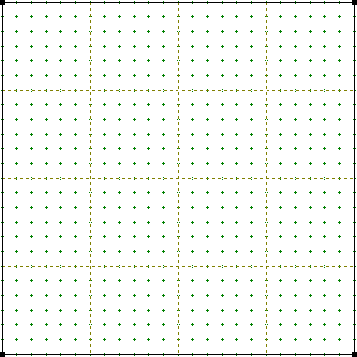
By default, the graph paper will show 4 cells horizontally and 4 cells vertically. You will need to change these settings based on the snap points and the type of block you want to draw.
Viewing the Graph Paper
You can view the graph paper by clicking the Hide/Show graph paper button on the Precision Bar. You can also turn on the graph paper through the Drawing Board Setup.
![]()
Changing the Graph Paper Settings
To change the number of cells horizontally and vertically, type new numbers (2-48) in the Horizontal and Vertical input boxes on the Precision Bar. Press the keyboard’s Enter key or the TAB key to update the worktable.
To change the graph paper settings using the Drawing Board Setup, click the Block Worktable Options button on the left toolbar, then choose General > Graph Paper.
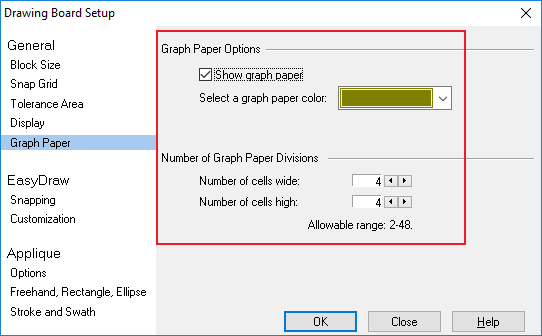
Graph Paper Options
- Check to show graph paper, uncheck to hide graph paper.
- Click the drop-down list to view color options for the graph paper lines.
Number of Graph Paper Divisions
Change these numbers (2-48) to whatever setup you’d like. They do not have to be the same numbers for cells wide and cells high.
These numbers should work well with the Block Size and the Snap Grid. See below for more information.
Using the Correct Graph Paper Divisions
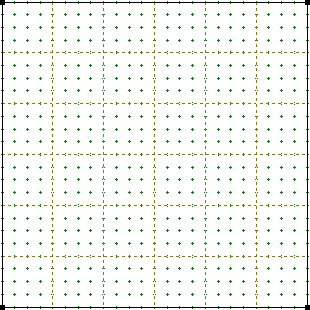
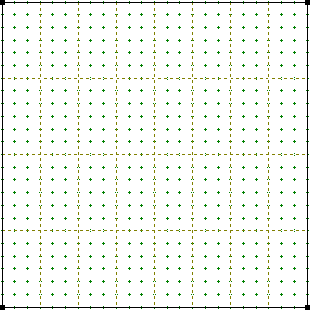
It’s important to make the graph paper divisions agree with the number of grid points. When you’re drawing your blocks, your lines and curves will be snapping to the grid points, not the graph paper. Therefore, if your graph paper doesn’t align with the grid points, then your drawing won’t be following the graph paper as you expect.
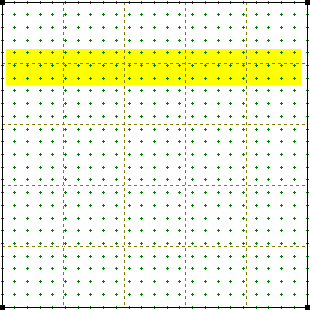
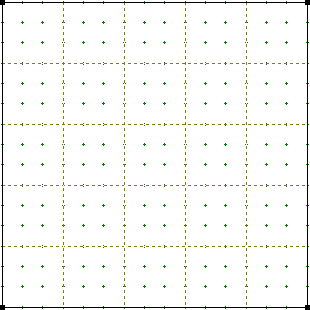
To make sure your graph paper and snap points are correct, always be sure your snap point number is divisible by the graph paper number. For example, in the first illustration below, the snap points are set to 24. The graph paper has been set to 6, since 24 can be divided by 6 evenly.




 Electric Quilt 8


