

There are two free AccuQuilt downloads available on the Do You EQ site:
AccuQuilt Go! Appliqué Shapes #1
AccuQuilt Go! Appliqué Shapes #2
There are also many AccuQuilt downloads available for purchase at the Lori Miller Design Shop. If you are installing Lori’s downloads please follow her directions.
Other Helpful AccuQuilt Go! Resources
Accuquilt Go! Equivalent Cutting Chart – Remember that EQ8 always shows finished sizes, so match the finished size of the shape in EQ8 with the Finished Sewn Size on the chart.
EQ8 Lessons with Lori – Exploring Nine Patch Blocks for Accuquilt GO! Qubes
EQ8 Lessons with Lori – Designing for the Accuquilt GO! Qube
Adding the AccuQuilt Shapes to the Block Library
These downloads were originally created for EQ7, but you can use them with EQ8 too.
- After downloading each of these BLK files, navigate to your Downloads folder and copy the two BLK files.
- Next, navigate to your My EQ8 > Add-on Libraries folder. Create a new folder in this location and name it AccuQuilt.
- Open the new AccuQuilt folder and paste in the two BLK files.
When you open EQ8 and go to the Block Library, you’ll see the new AccuQuilt library listing below all the built-in libraries:
Using Accuquilt Go Shapes in EQ8
Adding AccuQuilt Shapes to your Project Sketchbook
- On the main menu bar, click Libraries > Block Library.
- Use the vertical scrollbar to scroll past the built-in libraries until you see the AccuQuilt listing. Click on AccuQuilt to select it, and then you’ll see a plus sign appear.
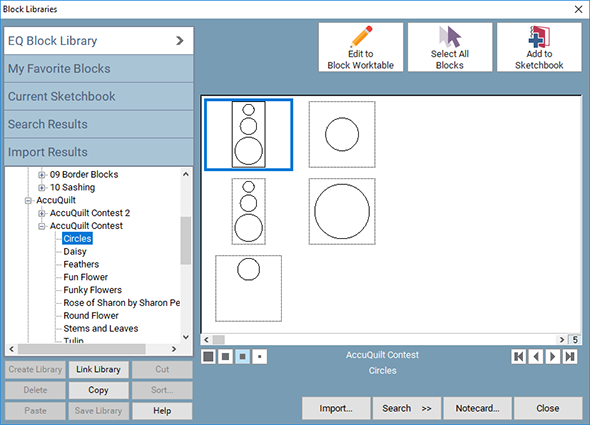
- Click the plus sign [+] next to AccuQuilt, then click the plus sign [+] next to AccuQuilt Contest or AccuQuilt Contest 2 to see the styles included in each library.
- Click on one of the style names to select it and see the designs available. (You won’t see any designs appear in the viewer until you select a style name.)
- Click on a design to select it and then click Add to Sketchbook. If you’d like to add all the designs in the styles, click Select All Blocks and then click Add to Sketchbook.
- When you are done, click Close.
Placing AccuQuilt Shapes on your Quilt
- On the Quilt Worktable, click the DESIGN tab and choose Block Tools in the ribbon.
- Click the Layer 2 tab below the quilt.
- Click the Set Block tool and click the Stencils tab in the palette.
Note: When these shapes were originally drawn, they were not filled with a fabric or solid color. Because they are only line drawings, they appear on the Stencils tab. After you set the shapes on Layer 2, you can use the Fabric Tools to color the shapes. - Click on the AccuQuilt shape you want to use to select it, then drag it from the palette to the quilt.
- Use the Adjust tool to reposition the shape on the quilt. Remember, do not resize the shape.
- Remember to click Add to Project Sketchbook to save your quilt design when you are finished.


