 EQ Mini
Start a New Quilt
Let’s get started making an on-point quilt.
- Start EQ Mini.
- When the Welcome to EQ Mini box displays, click Close.
- When the Tip of the Day appears, read as many tips as you like or just click Close.
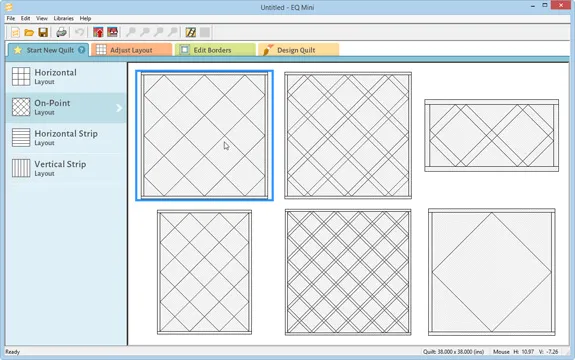
- Click On-Point Layout along the left to see the sample on-point layouts.

- Click the first sample. Notice the gray frame turns blue when you click on it.
- Click the Adjust Layout tab along the top.

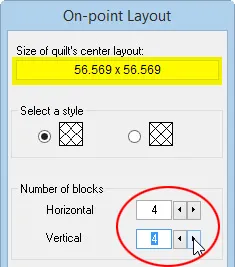
- Change the number of blocks Horizontal and Vertical to 4 by clicking the arrows in the palette. Leave all the other settings unchanged. You can see the overall size of the center of the quilt at the top of the palette. You can see the overall size of the quilt with its borders on the bottom status bar.

Name the Project
Remember that the project name appears at the very top of the EQ Mini window. This project says Untitled. Let’s name this project.
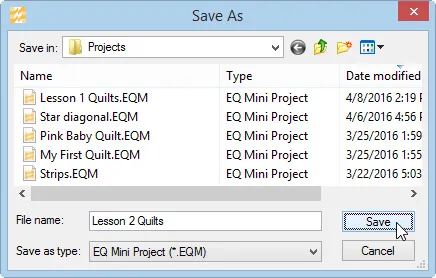
- On the top toolbar click the Save button
 . The Save As box will display.
 - In the File name box type Lesson 2 Quilts.
- Click Save. The box will close. Notice the project name Untitled has been replaced with Lesson 2 Quilts. Now that our project is named, we don’t need to click the Save button anymore. Now we’ll just be clicking Add to Sketchbook. Let’s continue.
- Click the Edit Borders tab along the top. The Borders palette will display.
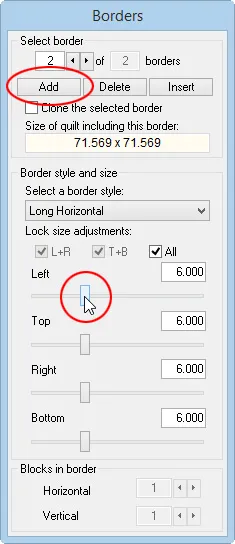
- Let’s make this first border just a bit wider. Make sure there is a check in front of All. Click directly on the line to the right of the rectangle for Left. Click until the border size is 1.500.

- Click the Add button in the palette. This time drag one of the rectangles until the selected border size is 6.000.
Add Blocks and Color Borders
- Click the Design Quilt tab along the top. Let’s get some blocks to set in the layout.
- Click the Set Block tool
 .
.
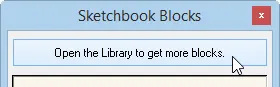
- At the top of the Blocks palette, click Open the Library to get more blocks.
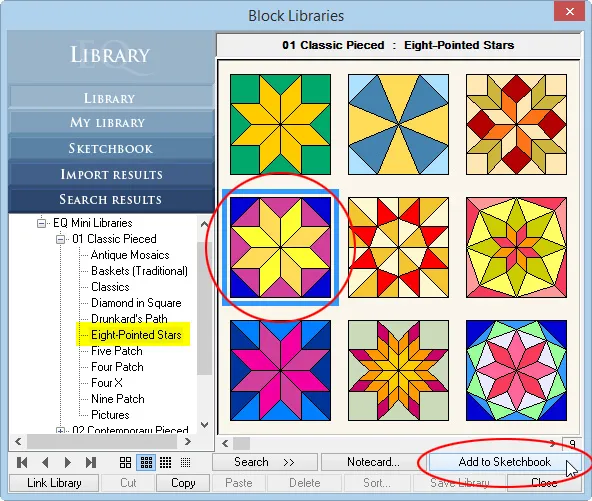
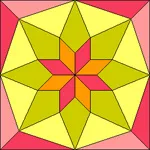
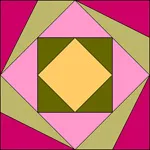
- Under 01 Classic Pieced, click the Eight-Pointed Stars style.
- Click the second block, LeMoyne Star 2.
- Click Add to Sketchbook.
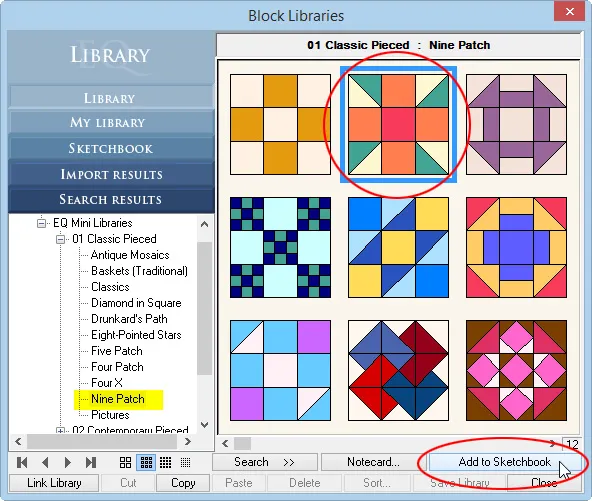
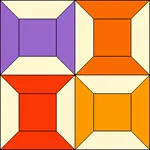
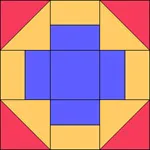
- Click the Nine Patch style.
- Click the Calico Puzzle block.
- Click Add to Sketchbook. Add any other blocks to the Sketchbook that you like if you want to play with more designs at the end of the lesson.
- Click Close. The blocks from the library will now appear in the palette. This means they have been added to our project.
- Click the first block, LeMoyne Star 2, in the palette, and CTRL+click (Command+click for Mac users) in the top row of the quilt.

- Click the Calico Puzzle block in the palette, and CTRL+click (Command+click for Mac users) in one of the empty spaces in the quilt.
- Click the Paintbrush tool
 on the right-hand toolbar.
 - Click any fabric in the palette and CTRL+click (Command+click) on the inner border.
- Click another fabric in the palette. CTRL+click (Command+click) on the outer border.
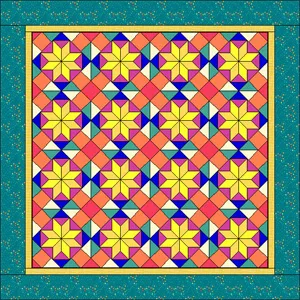
Add to Sketchbook and Name Quilt
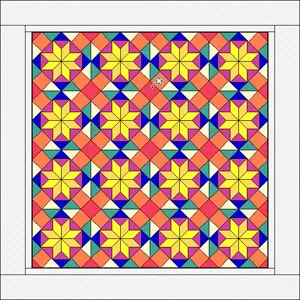
- The quilt is complete. Click the Add to Sketchbook button (the red button with the red arrow on the top toolbar
 ) to make this quilt part of your project.
 - Click the View Sketchbook button (the red button with the eyeglasses on the top toolbar
 ) to see the Project Sketchbook. The Sketchbook will appear.
 - You should see your quilt when the Sketchbook displays. If you don’t, click the Quilts section along the left.
- Click the Notecard button to display it. Let’s name this quilt.

- Type Lesson 2: Quilt 1 on the Name line.

- Click the X in the top-right corner of the notecard to close it. You will see Lesson 2: Quilt 1 below the quilt.
- Click Close in the bottom-right corner of the Sketchbook.
Print Quilt
- Click the Print button
 in the top toolbar and choose Quilt from the menu that displays. (Or choose FILE > Print > Quilt.)
 - Under Printing Style, choose Showing fabrics.
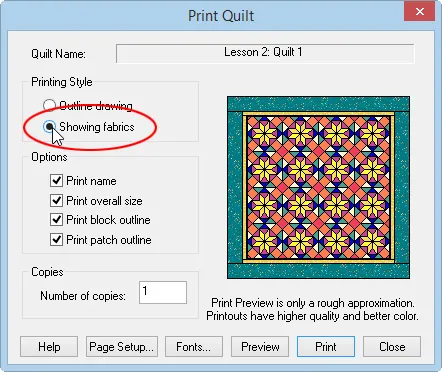
- Click Preview. It is always a good idea to preview before you print. This will ensure that you have the settings that you want for your printout before you actually print.

- Click Print at the top of the preview. If you want to do more during this session of EQ Mini, then see the homework assignment at the end of this lesson. Otherwise, continue to the next step.
- Click FILE > Exit to close EQ Mini.
You’re done with Lesson 2. You are learning the basic steps for starting a new project, naming it and saving it. Let’s continue reviewing these steps by making a Horizontal Strip Quilt in Lesson 3.
If you want a little homework…
Find these blocks in the library and add them to the Sketchbook.
|
|
|
|
|
|
|
|


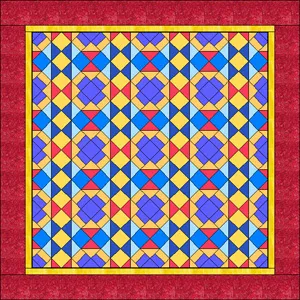
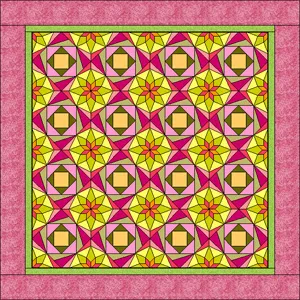
Then replace blocks in the current quilt to create these quilts. Don’t forget to click the Add to Sketchbook button ![]() to save these quilts in your project.
to save these quilts in your project.
Print them if you like.