
On the Quilt Worktable
If you have overlapping blocks or motifs on Layer 1 of a Custom quilt or on Layer 2 of any style quilt, you may want to adjust the stacking order of the blocks. The tools for adjusting the stacking order are in the Adjust Block palette.
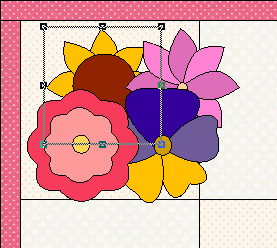
First, be sure you’re on the same layer on which your block is set. Click on the Adjust tool, and then click on the block you want to move. You’ll know it is selected by the eight small boxes that appear around it.

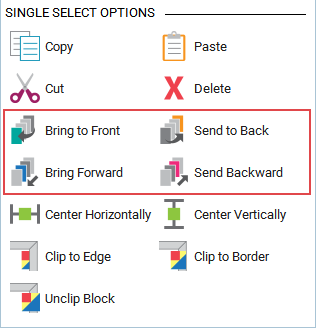
Click one of the following tools:
- Bring to Front—Brings the block to the top of all the other blocks on that layer.
- Send to Back—Sends the block to the back of all other blocks on that layer.
- Bring Forward*—Sends the block up one step in the stack of blocks.
- Send Backward*—Sends the block below one step in the stack of blocks.
*Using the Bring Forward and Send Backward tools effectively requires a thorough understanding of the way this feature works. The order in which blocks are set on a layer is the order in which they’re stacked in a list in EQ’s memory. The first block on the list is the first block that was set. This means it is the bottom-most block in the stack. The last block on the list is the last block that was set. This means it is the top-most block in the stack. To change the stacking order in a quilt, you must change the block order in the list. To do this, click the block you want to adjust, and click the Bring Forward or Send Backward tool.
You will notice that sometimes it takes several clicks to get the desired effect. Remember that each click moves the block up or down in the list of blocks drawn. Many times you will get no visual clue that the block has moved in the list because not all blocks in the quilt overlap the block you are adjusting. Just continue clicking until you get the desired result.
On the Block Worktable
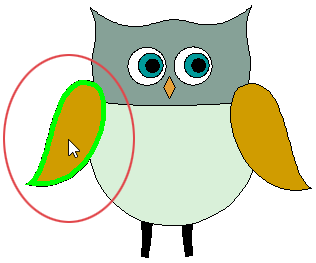
For applique designs, you can choose the stacking order of the patches. Like sheets of paper stacked on a desk, patches form layers on your block. When you draw the patches, the default order of the patches is the same as the order in which you create them. New patches are placed on top, or in front of older patches. If you want to change this order, you can, using the Send to Front and Send to Back commands. After you change the layering order of the patches, click the Add to Project Sketchbook button and a new block will be saved in the Project Sketchbook with the new layering order.
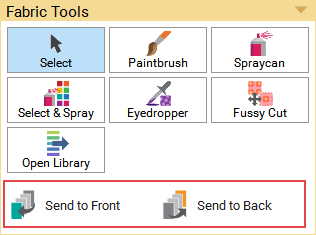
Send to Front
- Click the Select tool to select it.
- Click on the patch you want to bring forward. Use Shift+click to select multiple patches.
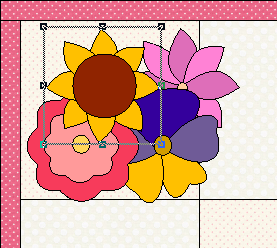
- Choose Send to Front to move the selected patch to the front of all other patches in the block.


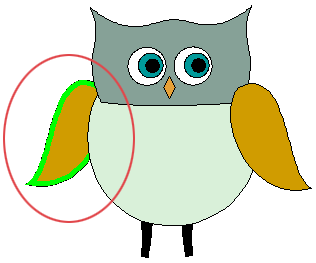
Send to Back
- Click the Select tool to select it.
- Click on the patch you want to send backward. Use Shift+click to select multiple patches.
- Choose Send to Back to move the selected patch to the back of all other patches in the block.
Note:
The Send to Front and Send to Back commands are only available with applique.


