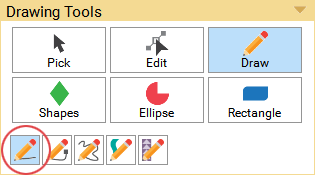
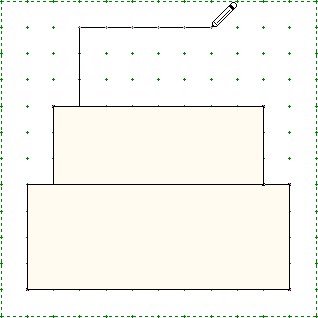
Drawing Lines
- Click on the Draw tool, then choose the Line sub-tool. The cursor changes to a pencil.
- Move the cursor to the point where you want the line to start.
- Hold down the left mouse button and drag to where the line is to end.
- Release the mouse to complete the action.
Notes:
- If you want to draw a second line connected to the first, start your drag from the end node of the first line. If you just get close, EQ will join them for you. You can always join two lines later using the Edit tool, but it is easier if you draw so segments are joined automatically by choosing the Auto join segments when drawing button on the Precision Bar.
- Pressing the Spacebar will toggle between the Line tool and the Edit tool.
- Zoom in as closely as possible to check your drawing. This is especially helpful when editing, because a small area in normal view can appear quite large when you zoom.
Drawing Curves
Click on the Draw tool, then choose the appropriate sub-tool listed below.
Using the Bezier Tool
The Bezier tool draws curves one segment at a time.
- Position the cursor where you want the segment to begin.
- Press the left mouse button to anchor the initial node.
- Drag the mouse and the curve will follow from the initial node.
- Release the mouse to drop and anchor the end node for the segment. This single segment is called a Bezier curve.
Notes:
- The Bezier curve draws to its own restrictions, which may not be what you had envisioned your curve to look like. This is where you would use the Edit tool to make adjustments to the curve.
- Hold the keyboard Ctrl key (Command key) while drawing your Bezier curve. The Ctrl key (Command key) will change the curve into a line segment.
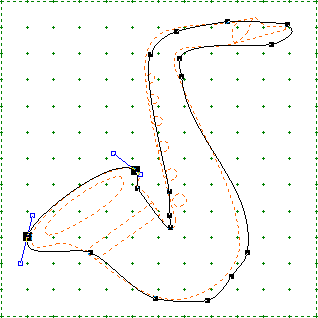
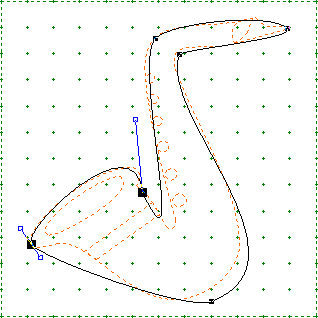
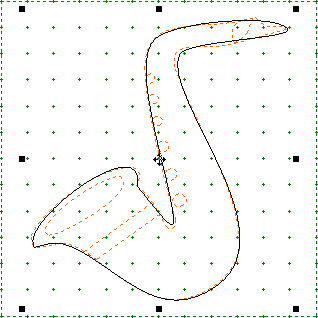
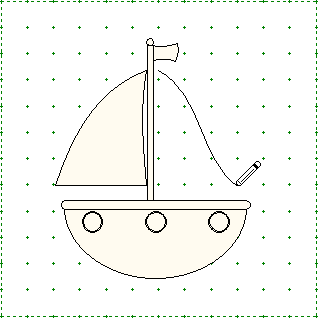
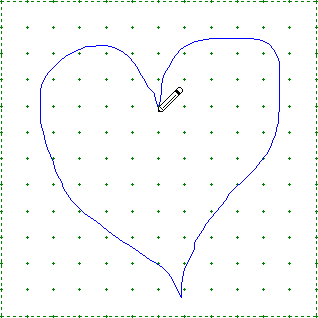
Using the Freehand Tool
The Freehand tool, in one continuous motion, draws multiple Bezier curves connected to one another.
- Position the cursor where you want to begin.
- Press the left mouse button to anchor the initial node of the first segment.
- Drag the mouse in any direction. A blue line will display the path of your mouse and all the Bezier curves that are created as you move. The path will follow the actions of the mouse.
- Release the mouse to drop and anchor the end node for the final segment.
Notes:
- Before releasing the mouse button, you can erase a portion of a freehand curve by holding down the keyboard Shift key and dragging backwards over the curve.
- The Freehand curve may not be what you had envisioned your curve to look like. Change the settings in the Drawing Board Setup to make smoother curves as you draw. Use the Edit tool to adjust and perfect your drawing.
Adjusting the Freehand Smoothness
The Freehand tool is a great way to trace images and guides. Bezier curves are made up of several nodes which determine the smoothness and accuracy of the drawing. The more nodes created by the curve, the choppier the drawing can be. Fewer nodes create smoother curves and segments.
To adjust the smoothness settings, click the Block Worktable Options button on the left toolbar to display the Drawing Board Setup dialog. You can make the adjustments under Applique > Freehand, Rectangle, Ellipse.