
Setting Photos on Layer 1
Photos can be set onto your quilt in much the same way as blocks, motifs, or stencils. You can set your photo onto each of the three layers of all the quilt layouts except for One Patch. You can only set photos onto Layer 2 and Layer 3 for One Patch.
To Set a Photo
If you don’t already have a photo in your palette, click the Open Library button to add some. Close the library.

Choose Photo Tools on the DESIGN tab, then click on the Set Photo tool to display the Sketchbook Photos palette. Select a photo in the palette that you want to set.
- Click on a space in the quilt to set the photo. The photo will resize to fit the block size of your layout.
- Use Ctrl+click (Command+click) to set the selected photo in all positions.
- Use Alt+click (Option+click) to set the selected photo in alternating positions.
Note:
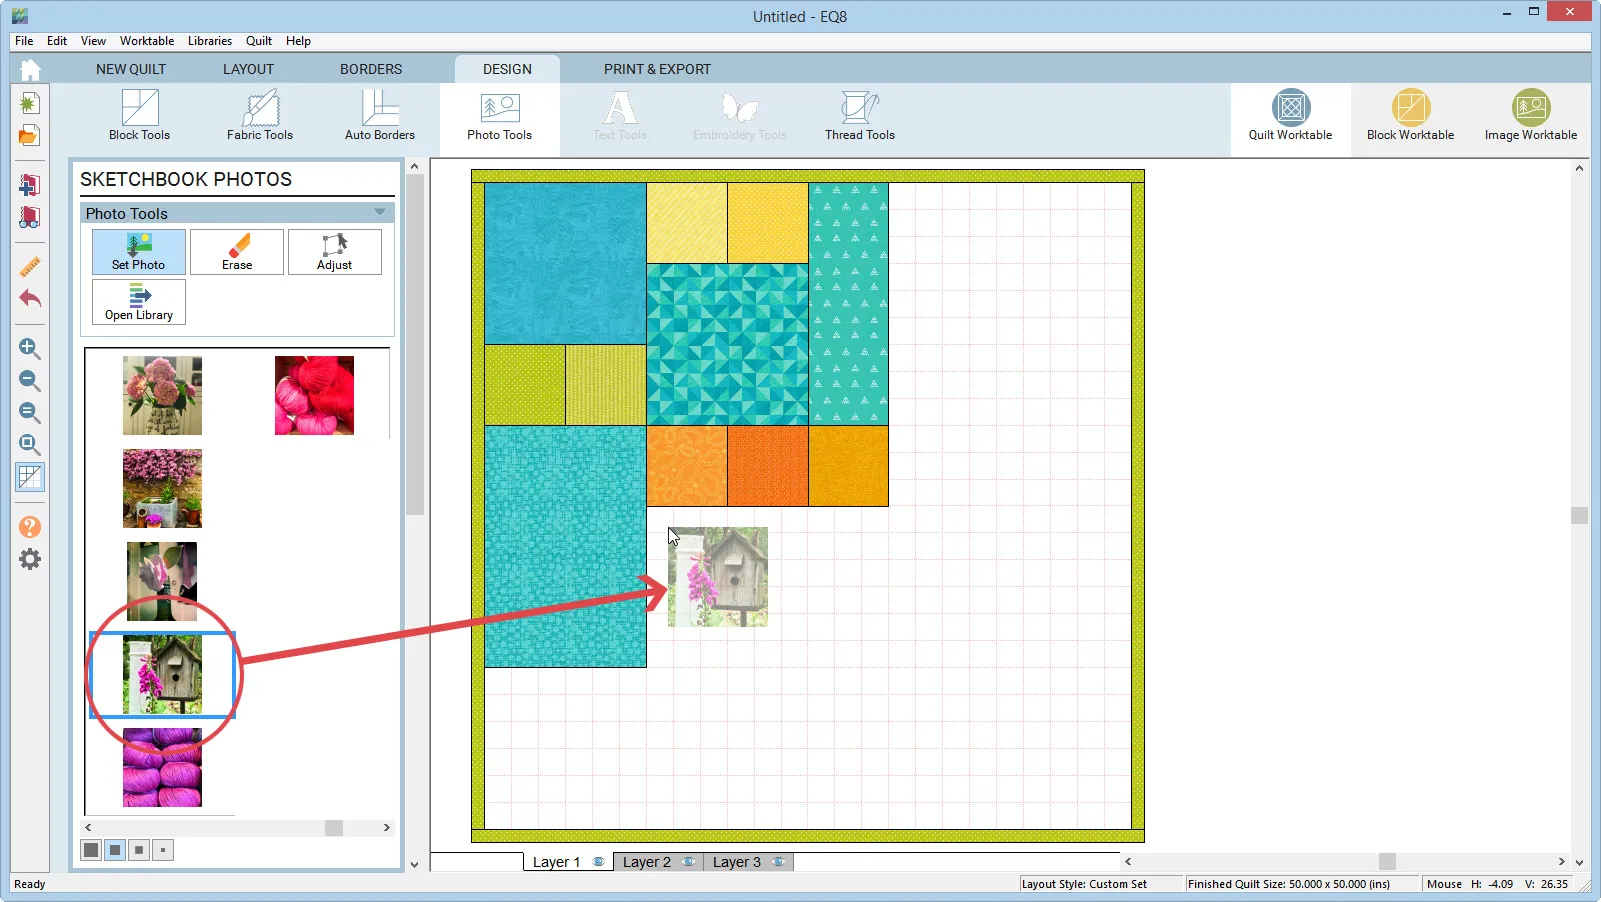
You can also Drag and Drop a photo on a space in the layout. Select a photo in the palette. Click, hold, and drag that photo from the palette to the quilt layout. Release the mouse to drop the photo on a block space. Hold the Ctrl key (Command key) down to set the photo in all positions, or the Alt key (Option key) to set in alternating positions when released.
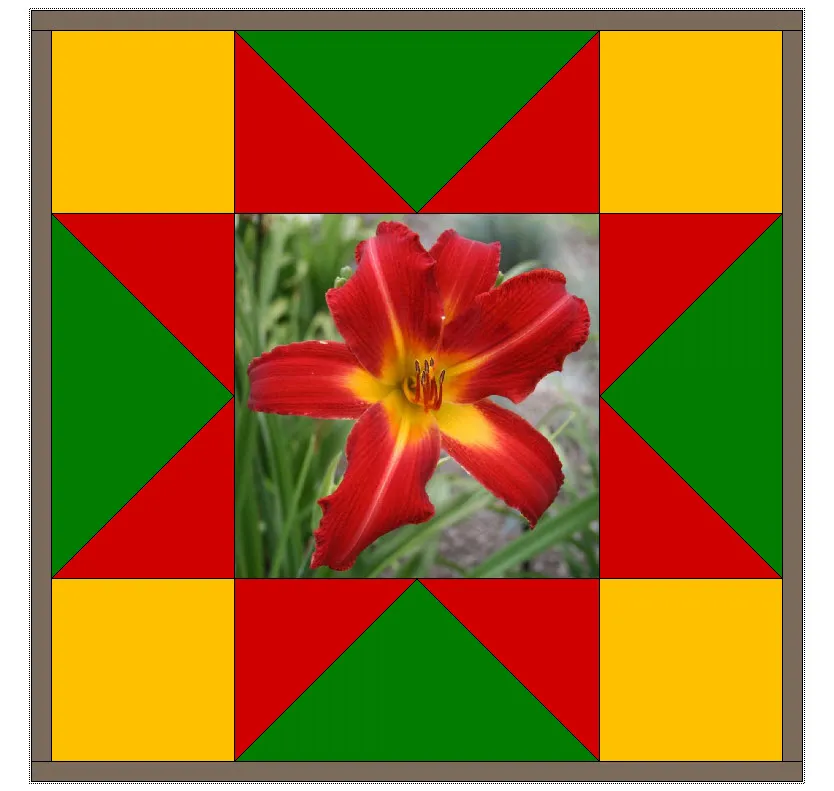
Photos set on Layer 1 cannot be rotated or flipped.
To Replace a Photo on Layer 1
Once you’ve placed a photo on Layer 1, it’s easy to replace it. To replace a photo on Layer 1, select a new photo in the palette, then on the quilt, click on the old photo you want to replace to set the new photo.
Setting Photos on Layers 2 or 3, or on Layer 1 of a Custom Set Quilt
To Set a Photo
Choose Photo Tools on the DESIGN tab, then click on the Set Photo tool to display the Sketchbook Photos palette. Select a photo in the palette that you want to set.
You can Drag and Drop a photo anywhere on the layout.
- Select a photo in the palette.
- Click, hold, and drag that photo from the palette to the quilt layout.
- Release the mouse to drop the photo on the quilt. All photos will set at the photo’s actual dimensions.
- Use the Adjust tool to make changes to the size and position of the photo.

Note:
Another way to set photos on the quilt is to manually size the photo as you set it. Hold down the Shift key and move your mouse over the quilt on the worktable. The cursor will change into a small crosshair. With the Shift key pressed, click, hold, and drag a rectangular marquee of the approximate size and location of the photo. When you release the mouse, the photo will appear.
To Replace a Photo
Once you’ve placed a photo on Layer 2 or 3 of standard quilts, or Layer 1 of a Custom Set quilt, it’s easy to replace it. To replace a photo, select a new photo in the palette, then on the quilt, click on the old photo you want to replace to set the new photo. Drag and drop will not work to replace a photo, but will instead overlap a new photo on top of the original photo.


