Click Print on the Block toolbar and choose Block from the menu.
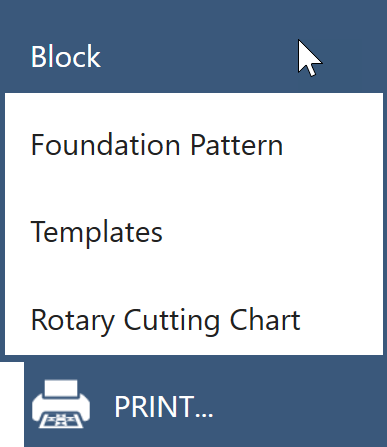
You can also click File > Print > Block.
The Print Block dialog will display.
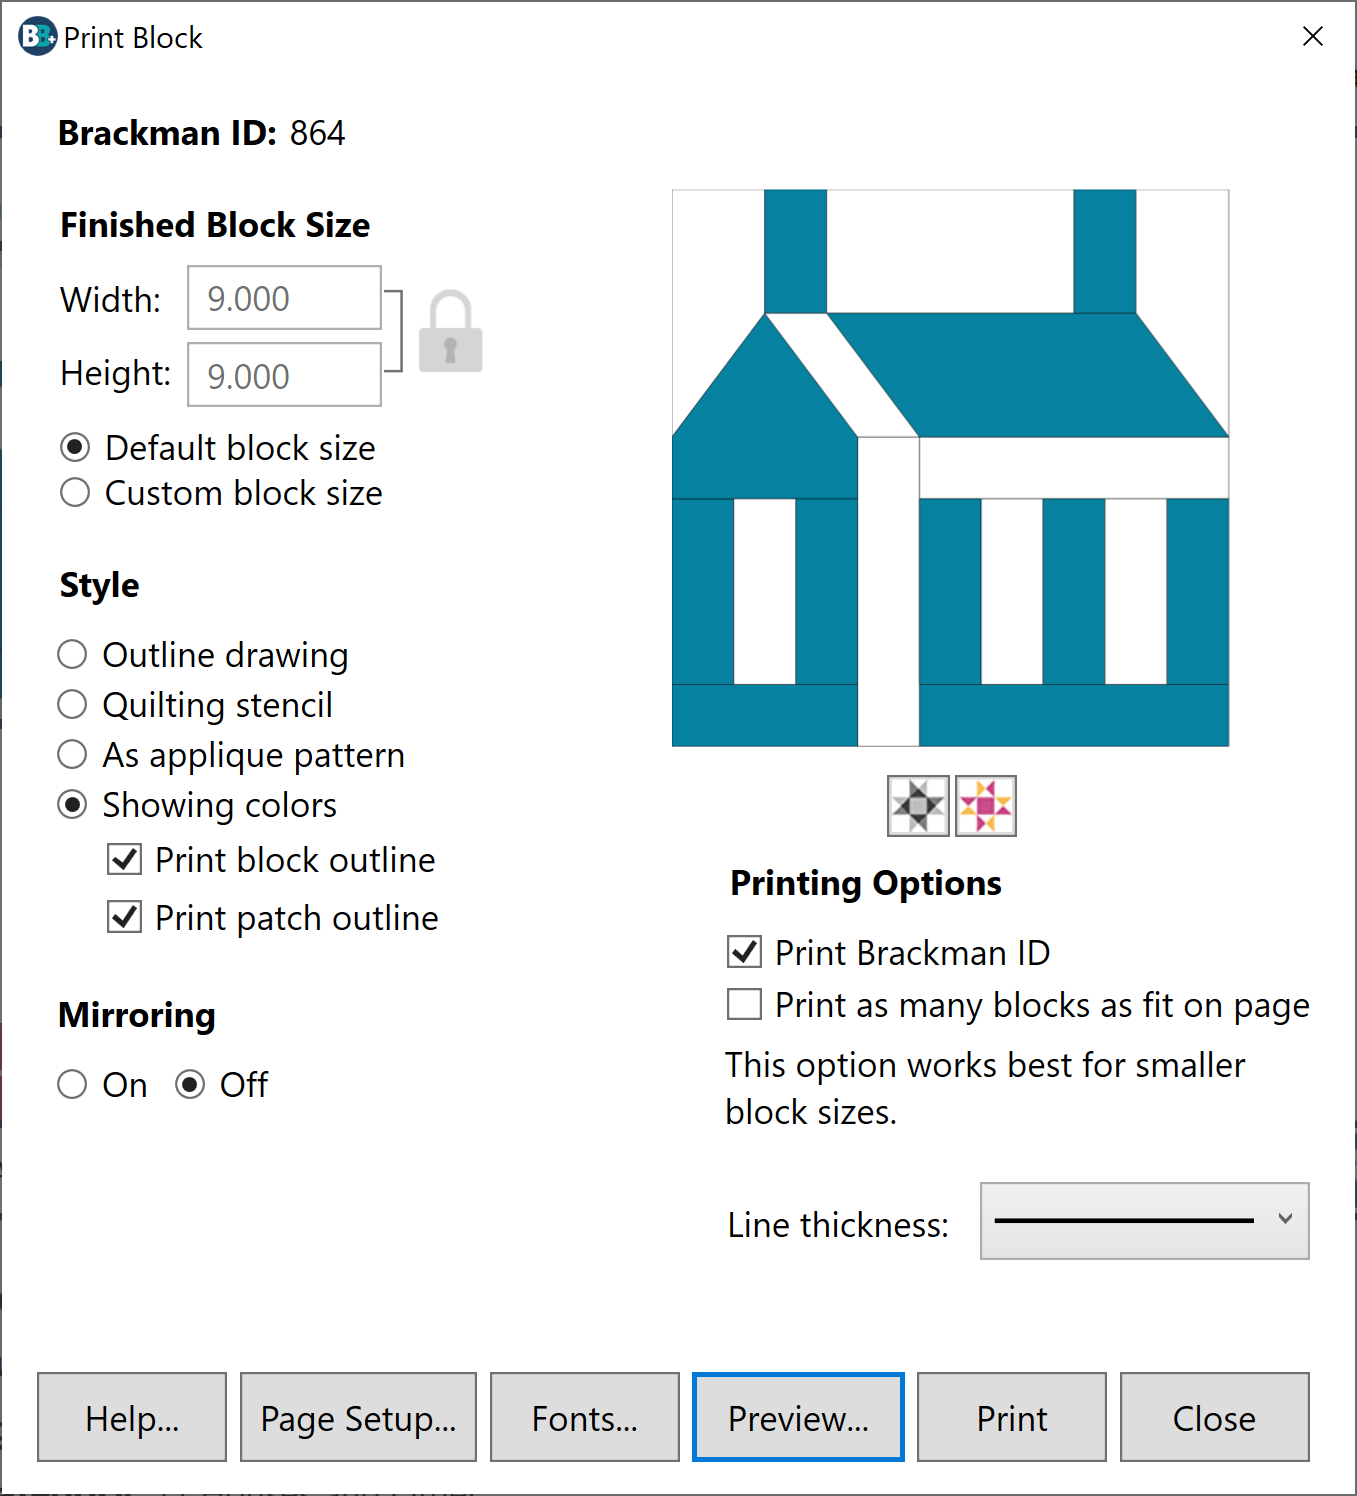
Finished Block Size
The Finished Block Size is the size of the block after all the seams have been sewn. The Default block size is automatically selected for you. This is the size of the block as it was originally drawn.
Since this dialog is for printing an image of the block, the finished size may, or may not be important to you. You may want to print the block large enough to fit the page, yet not too big to cause it to tile over multiple pages.
To change the block size, click Custom block size and then type a new size in the Width or Height box. If you want to change the proportions of the block, click the Lock icon next to the Width and Height boxes to unlock the entries. Then you can change each dimension independently.
Allowable Width and Height values: 1 to 150.
Style
Choose from the following styles for your printout:
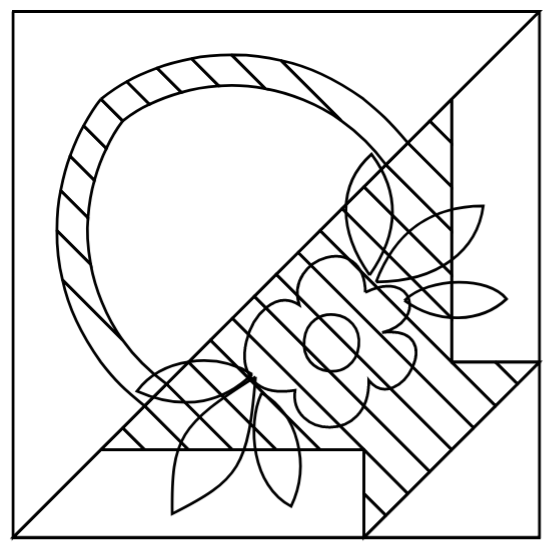
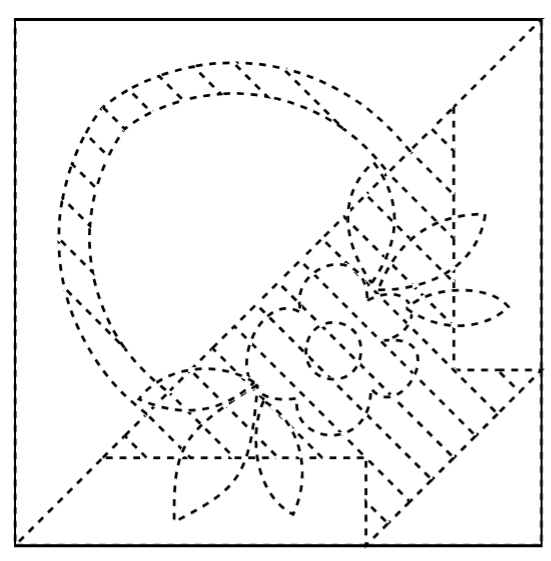
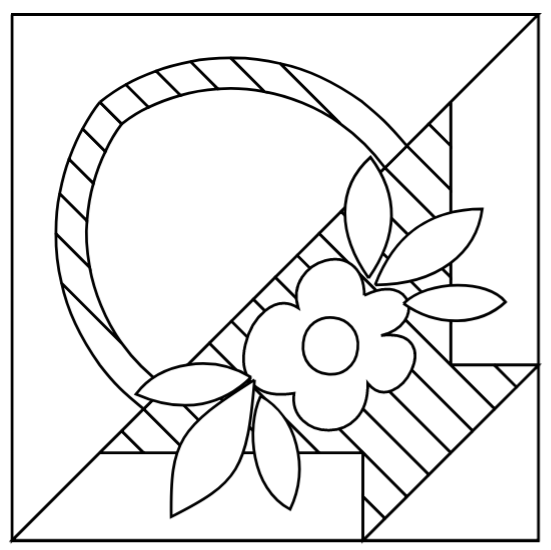
- Outline drawing
Black and white solid lines of the block drawing with empty patches. - Quilting stencil
Black and white dashed lines of the block drawing with empty patches. - As applique pattern
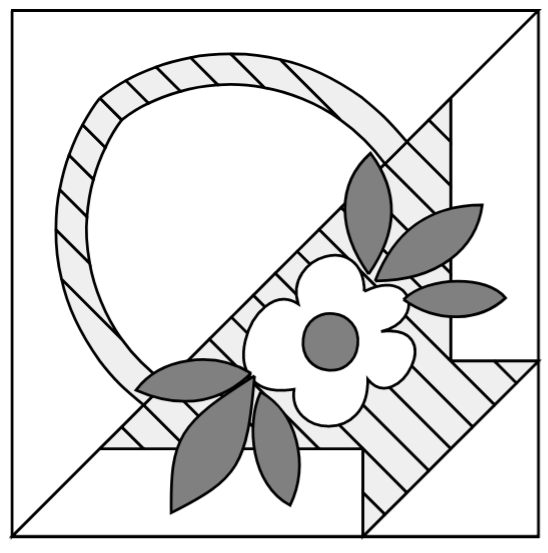
Black and white solid lines of the drawing with patches filled with white so you see the effect of the overlapping patches. - Showing colors

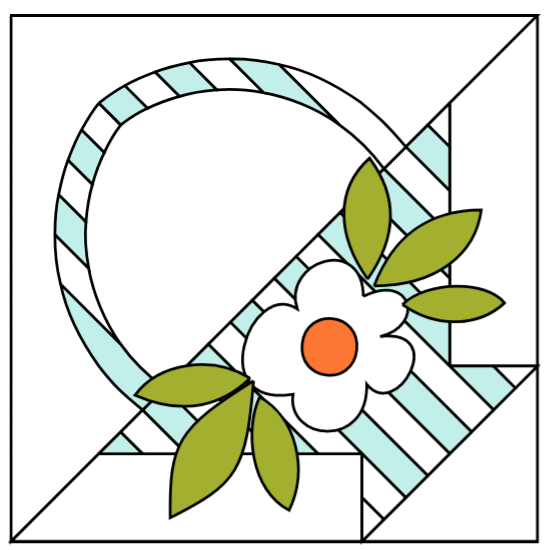
Blocks will print in grayscale or color depending on the colorway shown in the dialog. Use the Colorway buttons positioned below the large block to display the desired option you want to print.- Print block outline: When Showing colors is selected, check this option to print a thin black line outlining the block size.
- Print patch outline: When Showing colors is selected, check this option to print a thin black line outlining each patch of the design.
Mirroring
Mirroring is off by default. Turn this option on if you would like to print a reverse image of the block.
Printing Options
Print Brackman ID
This option prints the Brackman ID number at the top of the printout.
Print as many blocks as fit on page
This option prints several blocks tiled over the entire page. Adjusting page margins and block size will affect the number of blocks horizontally and vertically. Simple trial and error will create the best fit. This option works best with square or rectangular blocks creating equal spacing between each design. This option can be a fun way to create wrapping paper showing colored designs or using the Outline drawing option to create coloring book pages.
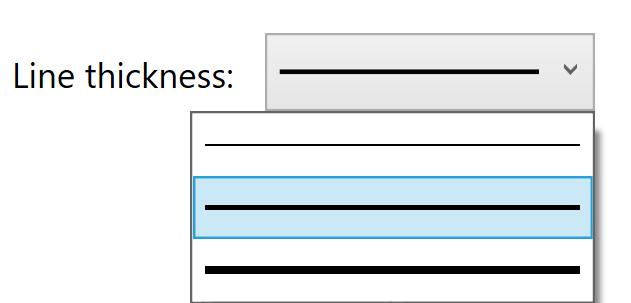
Line Thickness
Choose the line thickness you prefer for your printouts by clicking the down arrow to display the examples. Then click directly on the line thickness you want in order to select it.
It is strongly recommended that you preview before printing by clicking the Preview button. Please be aware that the printouts will be of higher quality and color than the on-screen previews.

 BlockBase+

