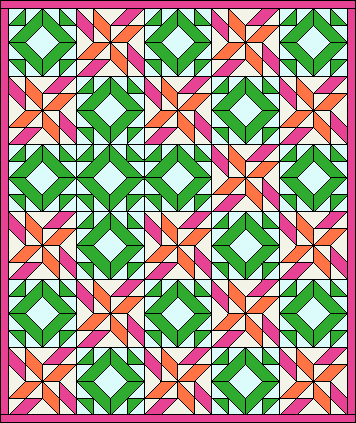
Erasing a Block on Layer 1
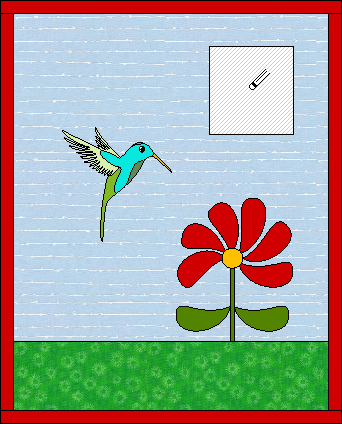
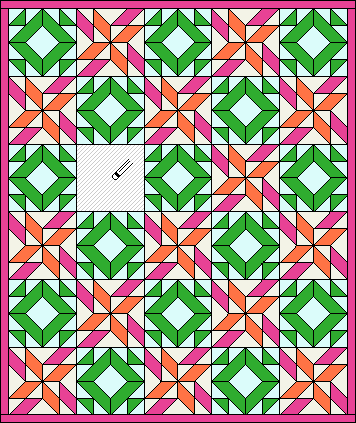
To erase a block (or photo or plain fabric block) set on Layer 1, click the Erase Block tool. The Erase Block tool can be found in Block Tools on the DESIGN ribbon.
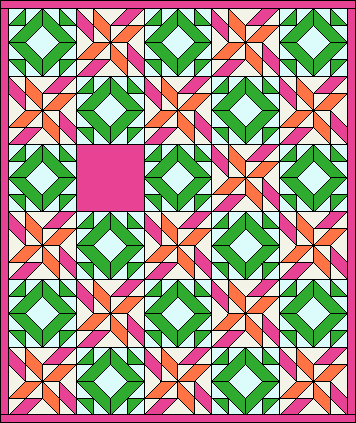
Click on the block you want to erase. The space will now be empty.
![]()
Keep in mind, you never really need to bother erasing a block from Layer 1 of your quilt, unless you want to replace the pieced block with an unpieced block.
![]()
Otherwise, simply replace the block with a new block. Make sure to click in the center of the block you want to replace. The old block will be replaced with the new one—no erasing is necessary.
![]()
Erasing a Block Set on Layers 2 and 3
Blocks set on Layers 2 or 3, or on Layer 1 of a Custom quilt, can be deleted using the Adjust tool. The Adjust tool can be found in Block Tools on the DESIGN ribbon.
(These steps apply to anything set on these layers, not just blocks.)

- Click on the Adjust tool.
- Click directly on the block you want to delete.
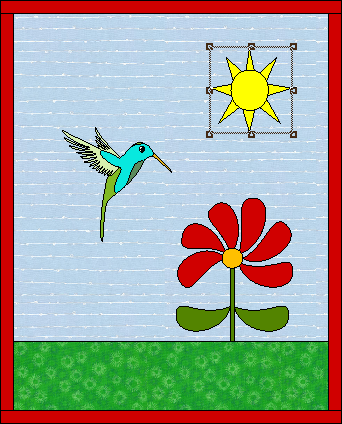
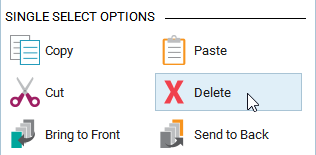
- Click the Delete button in the Adjust palette, or simply press the Delete key on your keyboard.

Quilt with block deleted.
To replace a block on Layer 2 or 3, choose a new block in the palette, then click directly on the block you want to replace to set a new block.
Note:
If you use the Erase tool on a block set on Layers 2, 3, or Layer 1 of a Custom Set quilt, the block space will be left behind. You need to use the Adjust tool to remove the block space completely.