
If you’d like to use a panel fabric in your EQ8 quilt design, you can! The best way is to find an image of the panel online. Once you’ve acquired the image and saved it to your computer follow the steps below for an easy way to use the panel in a quilt. Take note of the panel’s size and where you saved the image on your computer!
For this example, we used a panel from the “Planted with Love” collection by Cherry Guidry for Benartex.
Import the panel image
- After you’ve saved the image of the panel to your computer (and noted where it’s saved), open EQ8.
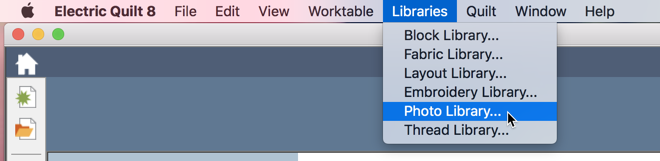
- Open the Photo Library (Libraries > Photo Library).
- Click the Import >> From Image Files button.

- Navigate to where you saved the panel image, select and open it.
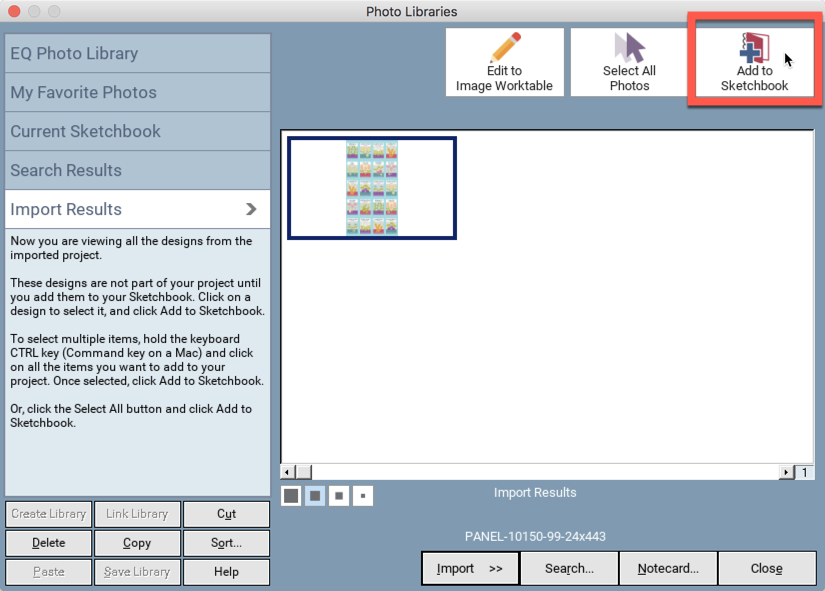
- Click the Add to Sketchbook button and close the Photo Library. The photo is now in the Photos section of your Sketchbook, ready for you to place in your quilt.
Set up your quilt for the panel
In this example, we’re going to use the panel as is, and simply add borders around it.
- Go to the Quilt Worktable and click New Quilt > Horizontal > then click the Layout tab.

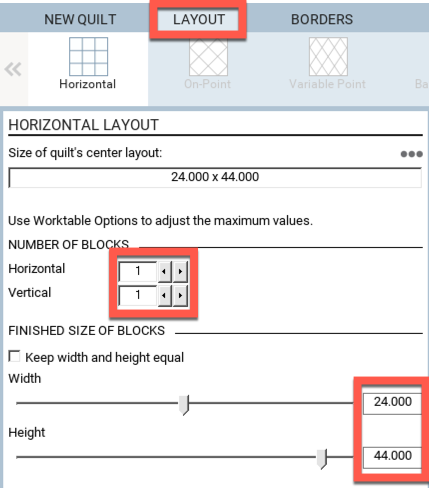
- On the layout tab, select “1” for number of blocks horizontal and vertical.
- Make the block width and height the same size as the panel you are using. Your numbers will probably be different from the image below. (In this example, we’re using a panel that is 24″ by 44″).
Note: By default, EQ’s maximum block size is 48″. If necessary, you can increase this number by clicking the Settings icon on the left toolbar (gear icon). In the window that appears, click All Styles and change the number for maximum size of blocks.
- Switch to the Borders tab and add borders if you’d like (or you can come back to borders later).
- Switch to the Design tab, click Photo Tools in the ribbon, then click the Set Photo tool. You’ll see a small thumbnail of the panel photo you imported. Click on the thumbnail, then click in the center of the quilt.
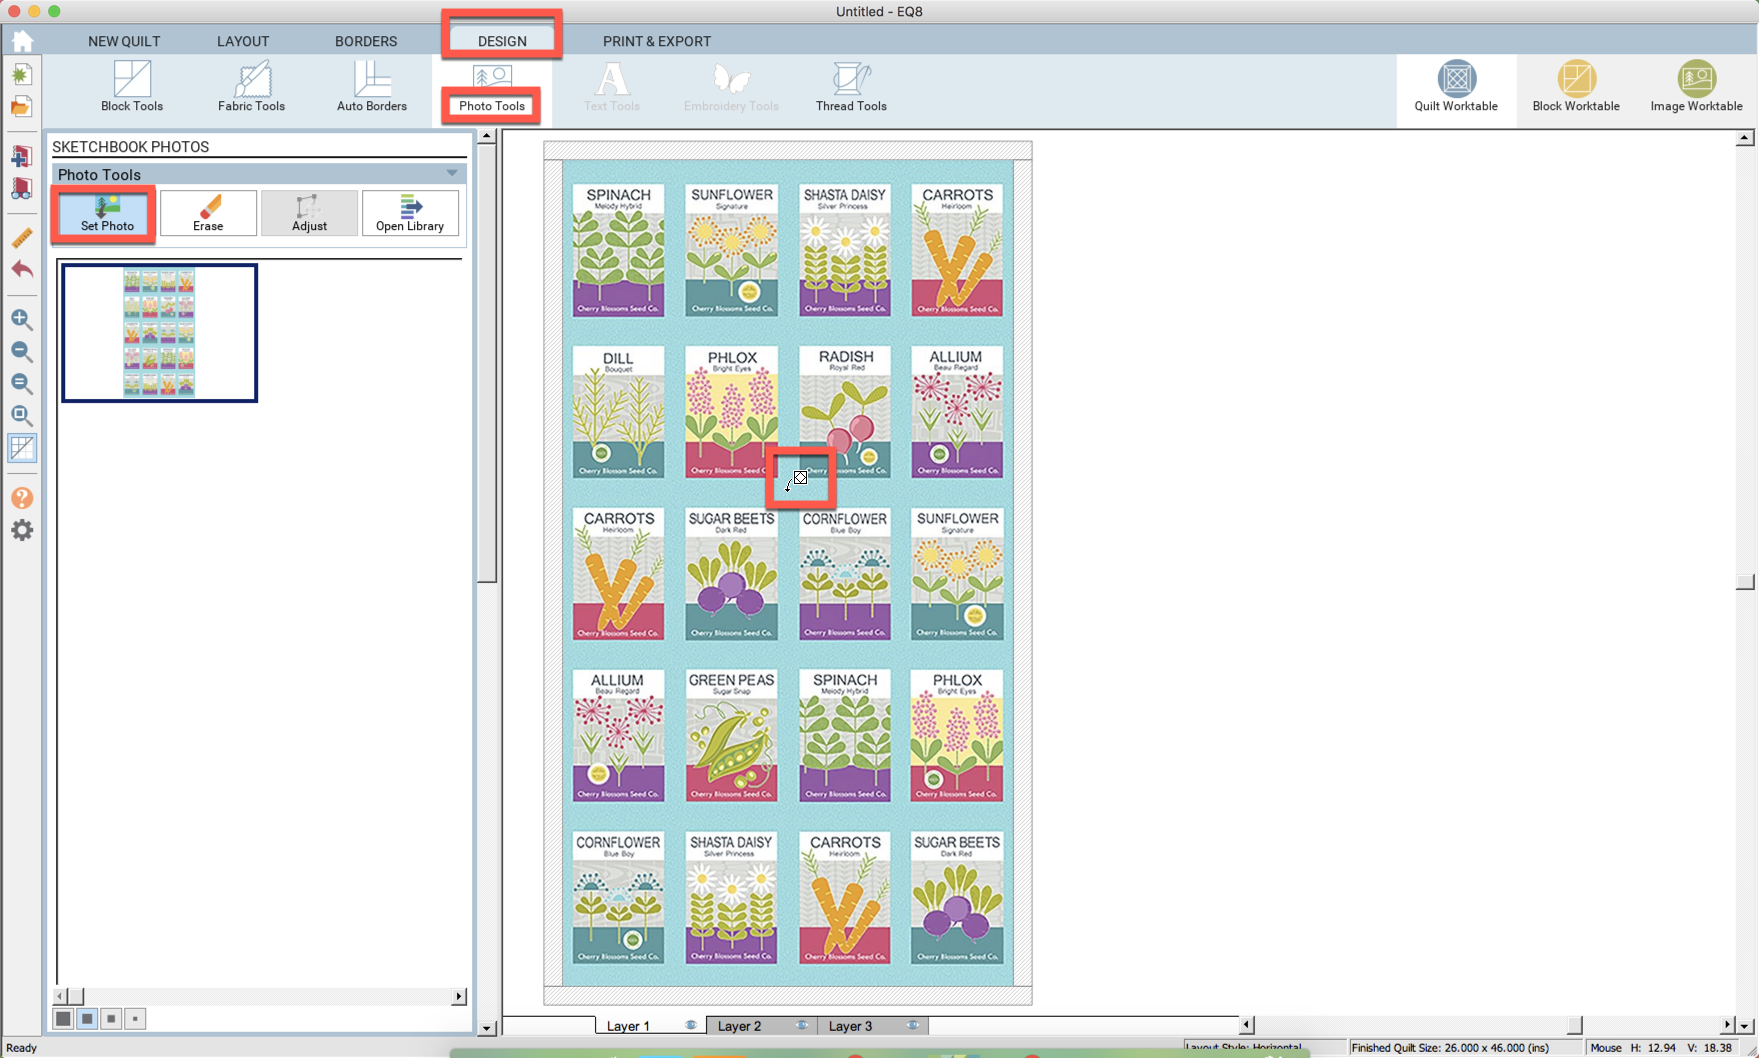
Note: If the photo looks skewed, your quilt center must not match the size of the panel. Double check your sizes on the Layout Tab.
After you’ve placed the panel image in your quilt, you can add borders, blocks, and color the quilt!
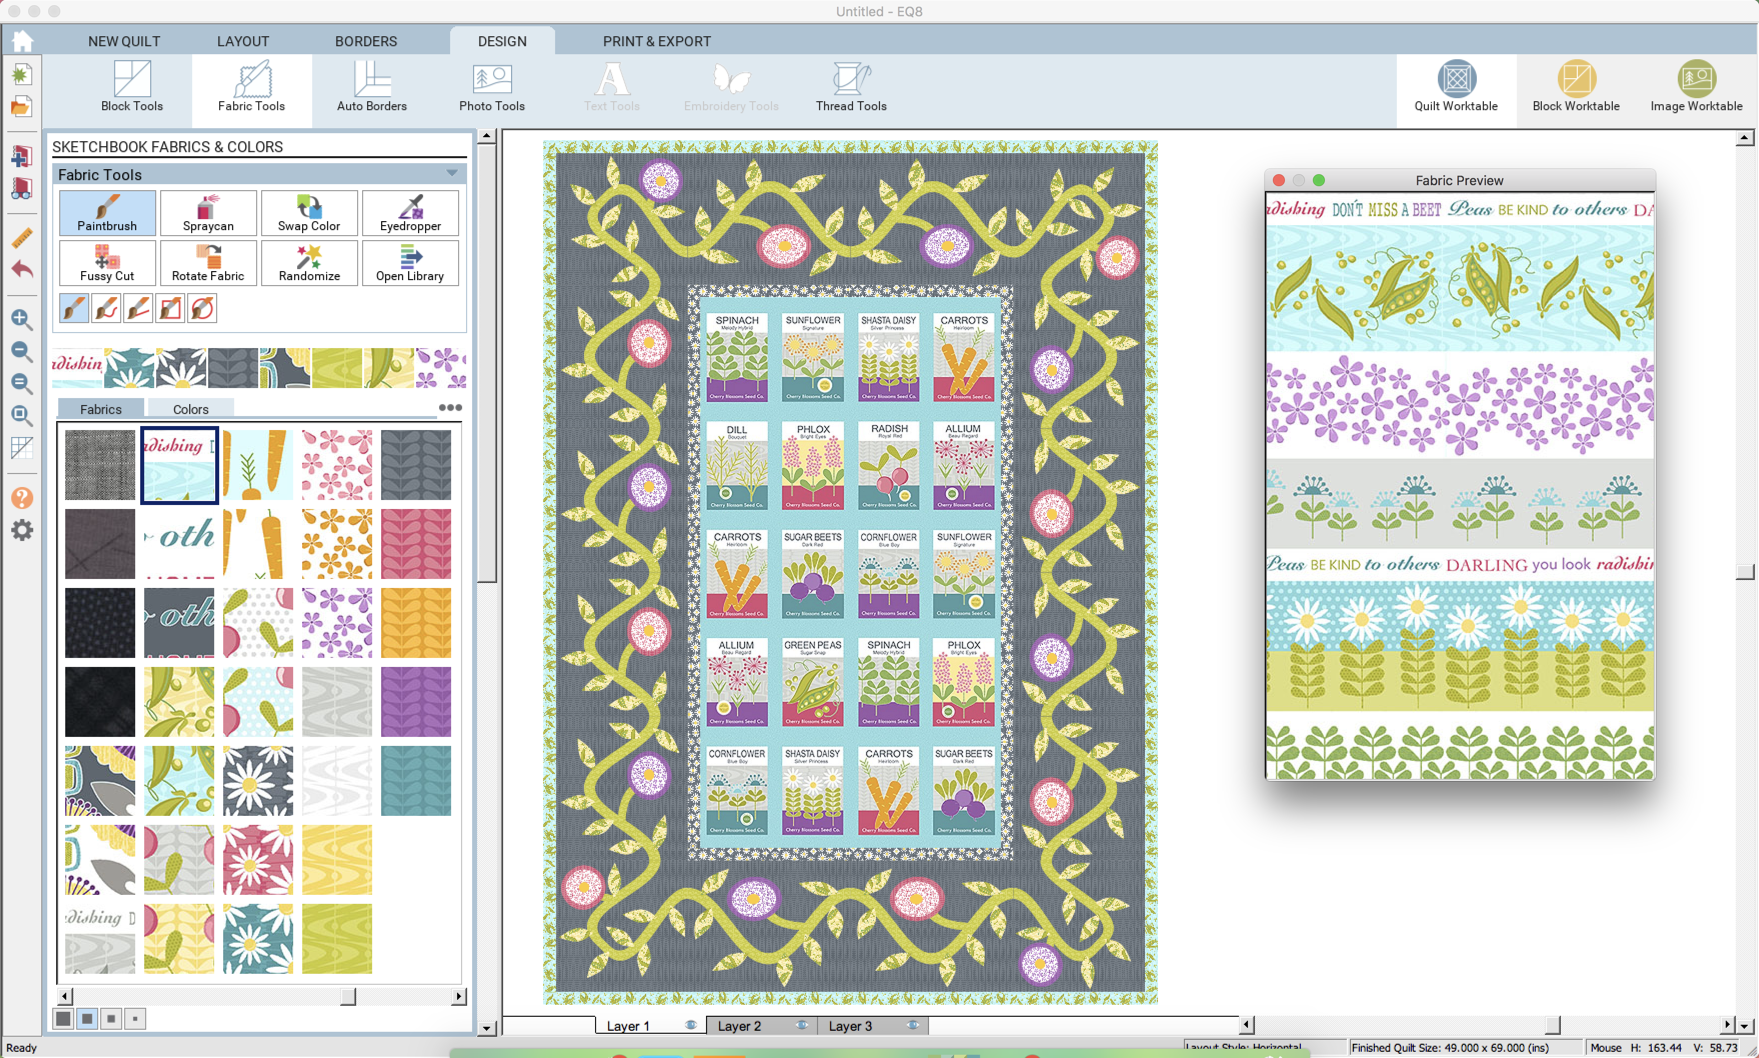
In this example, we used a panel from the “Planted with Love” collection by Cherry Guidry for Benartex (Contempo Studio). We used the panel as is and added borders around all sides of the quilt. You can manipulate individual borders to get different looks, use Auto Borders, crop sections of the panel image, or use the Custom Set layout for more complex designs.


