
The beauty of a Custom Quilt layout is that there are no limitations. You can be as unique in your layout as you desire. The drawback to the Custom Quilt is that it takes more time to build because everything must be done from scratch.
Blocks can be placed anywhere. They can be any size. Since there are no place-holders to indicate a location for a block, you’ll need to do a bit more than just click to set a block. On the Quilt Worktable, be sure you’re on Layer 1 of the DESIGN tab, with a Custom Set layout on the worktable.
![]()
Choose Block Tools on the DESIGN ribbon, and click the Set Block tool in the palette.
To Set a Block
Select a block in the palette and drag and drop it on a space in the layout.
- To drag the block, you simply click, hold, and drag that block from the palette to the quilt layout.
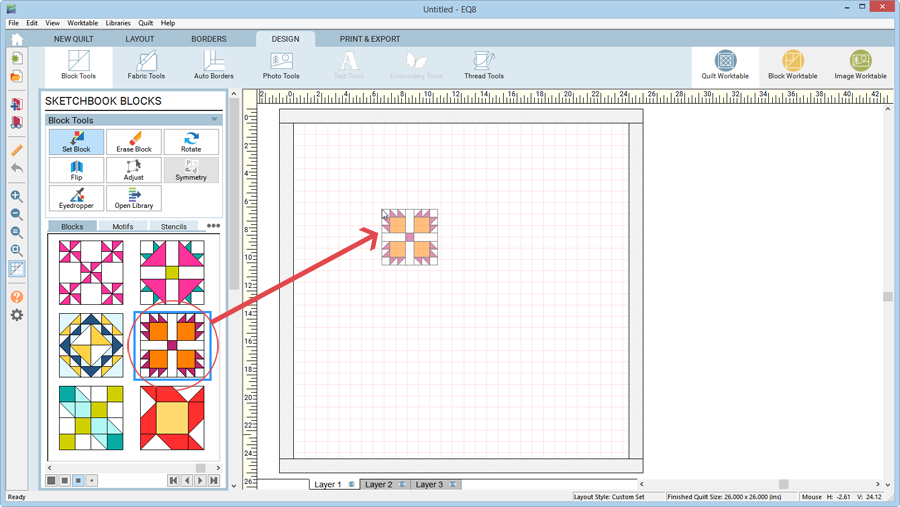
- Release the mouse to drop the block on the quilt. All blocks will set at the size they were drawn.
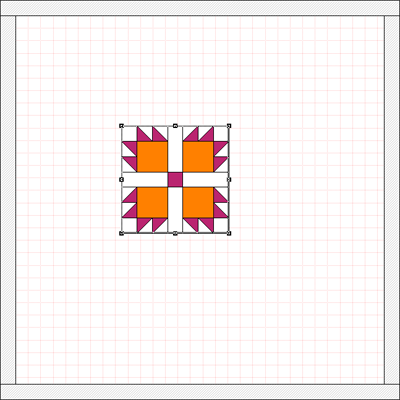
- Use the Adjust tool to make changes to the size and location of the block.

Note:
Another way to set a block is by manually sizing it as you set it on the quilt. Hold down the Shift key and move your mouse over the quilt on the worktable. The cursor will change into a small crosshair. Continue to hold the Shift key while you drag a dotted marquee rectangle of the approximate size and location for the block. Press and hold the left mouse button as you drag out the marquee rectangle. When you release the mouse, the block is placed.
To Replace a Block
Once you’ve placed a block on your custom layout, it’s easy to replace it. To replace a block, select a new block in the palette, then click directly on top of the old block to replace it. (Drag and drop will not work to replace a block, but will instead overlap a new block on top of the original block.)


