
If you own your own scanner, you can easily scan and import fabric in EQ8. You’ll be able to make your “virtual” quilt match your “actual” quilt with ease.
Prepare the fabric
- Iron the fabric. Wrinkles will show if you don’t iron it.
- Drape it over the scanner bed. Most scanner beds are 8.5 by 11 inches, but you don’t have to use a piece that big. If you can cover the entire scanner bed, it will give you more options when cropping.
- You may want to place a heavy book on the fabric to hold it in place and keep it flat.
- Set the scanner to 72 or 75 dpi. Either of these settings are fine and very typical with most scanners.
- Scan the image.
- Save the image on your computer. We suggest saving the file as a JPG and keeping your files together in one folder. We recommend saving them to your My EQ8\Images folder.
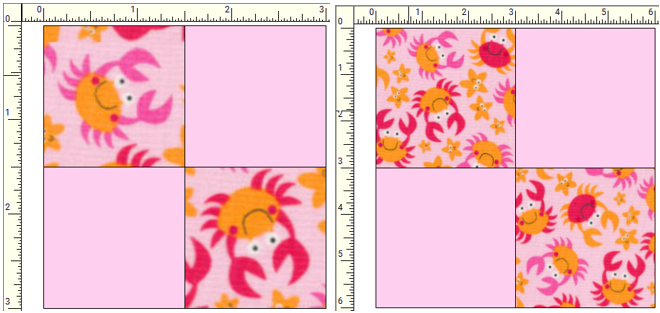
Note: When you use 72-75 dpi, EQ will automatically scale the fabric appropriately. In other words, if the fabric print has lobsters, the fabric will scale to show the correct number and size of lobsters whether the fabric is in a 3-inch block, a 6-inch block or a 20-inch block. Plus this lower setting helps keep the file size small. So, for scanned fabric images, you do not need to use the Scale Fabric tool on the Image Worktable.
Once you’ve saved your scan, you’re ready to import into EQ8.


