
Setting Blocks on Layer 1
![]()
On the Quilt Worktable, be sure you’re on Layer 1 of the DESIGN tab, with a standard layout (all except One Patch, Photo Patchwork, and Custom Set) on the worktable.
![]()
Choose Block Tools and click the Set Block tool and select a block in the palette. First click to select the block in the Blocks palette.
Click on a space in the quilt to set the block. The block will resize to fit the defined block size of your layout.

Use Alt+click/Option (on the left side of the keyboard) +click to set the focused block in alternating positions.
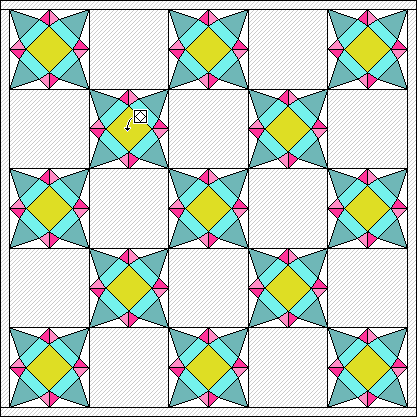
Use Ctrl+click/Command (on the left side of the keyboard) +click to set the focused block in all positions.

Note:
You can also Drag and Drop a block on a space in the layout. Select a block in the palette. Click, hold, and drag that block from the palette to the quilt layout. Release the mouse to drop the block on a block space. The block will set in the size in which it was drawn. Hold the Ctrl key/Command (on the left side of the keyboard) key down to set the block in all positions, or the Alt key/Option (on the left side of the keyboard) key to set in alternating positions when released.
To Replace a Block on Layer 1
Once you’ve placed a block on Layer 1, it’s easy to replace it. To replace a block on Layer 1, select a new block in the palette, then on the quilt, click on the old block you want to replace to set the new block.
Setting Fabrics as a Solid Block on Layer 1
![]()
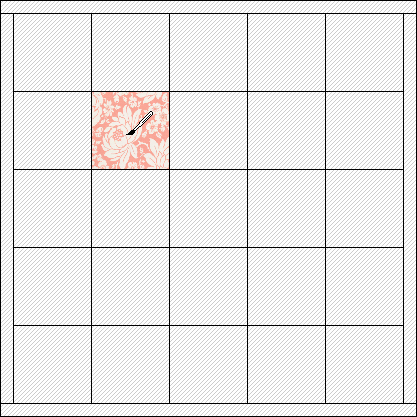
Many times you will want to use a single piece of fabric for a block. Be sure you’re on Layer 1.
Choose Fabric Tools on the DESIGN ribbon and use the Paintbrush tool to place the selected fabric or color into the layout. First click in the Fabrics palette on a fabric or color.
Click on a space in the quilt to set the fabric or color. The fabric or color will tile to fit the defined block size of your layout.
Use Alt+click/Option (on the left side of the keyboard) +click to set the selected print or color in alternating positions. (Only works with the One Dot Brush tool.)
![]()

Use Ctrl+click/Command (on the left side of the keyboard) +click to set the selected print or color in all positions. (Only works with the One Dot Brush tool.)
![]()

Note:
You can also Drag and Drop a fabric swatch on a block space in the layout. Select a fabric in the palette. Click, hold, and drag that fabric swatch from the palette to the quilt layout. With the arrow cursor directly over the block space you want to color, release the mouse to drop the fabric on that space. Hold the Ctrl key/Command (on the left side of the keyboard) key down to set the fabric in all positions, or the Alt key/Option (on the left side of the keyboard) key) to set in alternating positions when released.
To Replace a Fabric Block
Once you’ve placed a fabric in a block space on Layer 1, it’s easy to replace it. To replace a fabric block, select a new fabric in the palette, then click on the old fabric block you want to replace to set the new fabric.
Setting Blocks and Motifs on Layer 2
![]()
Blocks and applique motifs can be placed anywhere on Layer 2 of any quilt layout. Since there are no pre-defined block spaces to indicate a location for a design, you’ll need to drag and drop the design, rather than just clicking to set it.
![]()
Choose Block Tools on the DESIGN tab, then click on the Set Block tool to display the Sketchbook Blocks palette. Click on a block in the palette that you want to set.
You can Drag and Drop a block (or motif) anywhere on the layout.
- Select a block in the palette.
- Click, hold, and drag that block from the palette to the quilt layout.
- Release the mouse to drop the block on the quilt. The block will set in the size in which it was drawn.
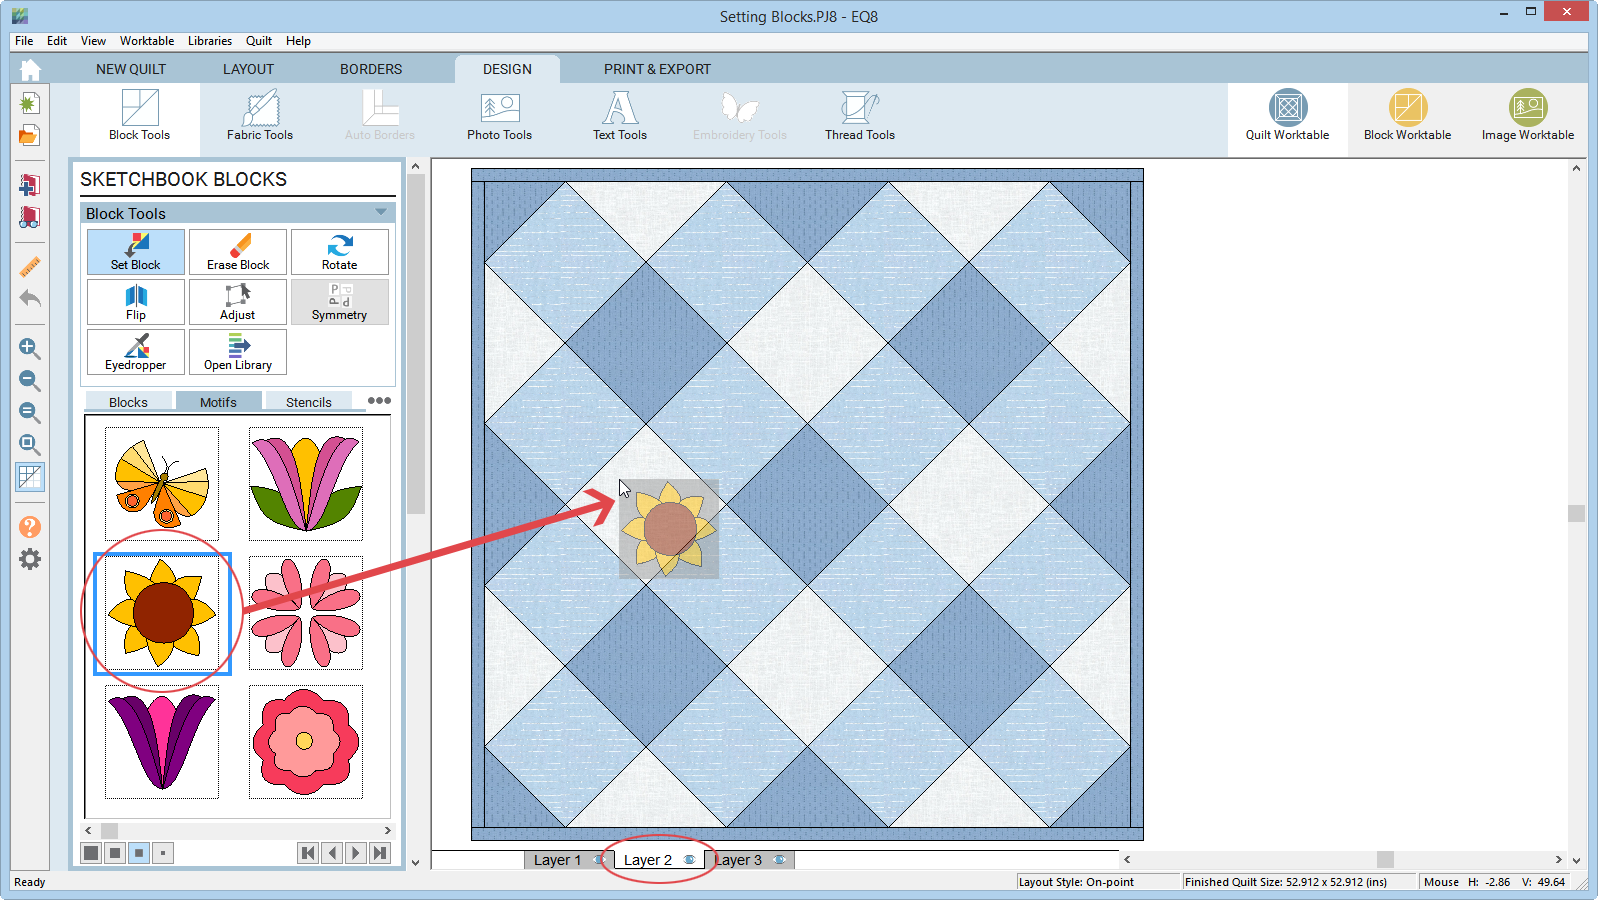
- Use the Adjust tool to make changes to the size and location of the block.
To Replace a Design on Layer 2
Once you’ve placed a block (or motif) on Layer 2, it’s easy to replace it. To replace a block on Layer 2, select a new block in the palette, then on the quilt, click on the old block you want to replace to set the new block. Drag and drop will not work to replace a block, but will instead overlap a new block on top of the original block.
Note:
You can also set photos on Layer 2 in the same manner. See Setting Photos onto a Quilt >
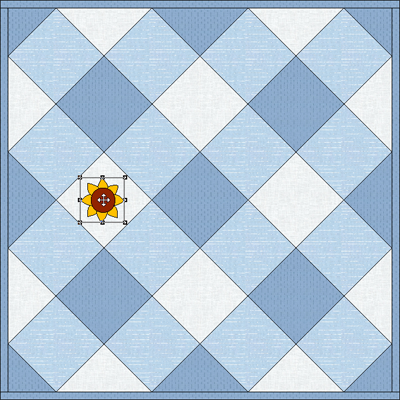
Setting Quilting Stencils on Layer 3
![]()
Layer 3 of any quilt is always reserved for quilting. When you place any block on Layer 3, the block will draw as an outline only to represent a quilting stencil. You can change the outline color, or thread color, after you set the block. There’s a special tab in the Sketchbook Blocks palette just for Stencils but any block or motif can be set on Layer 3 as a stencil.
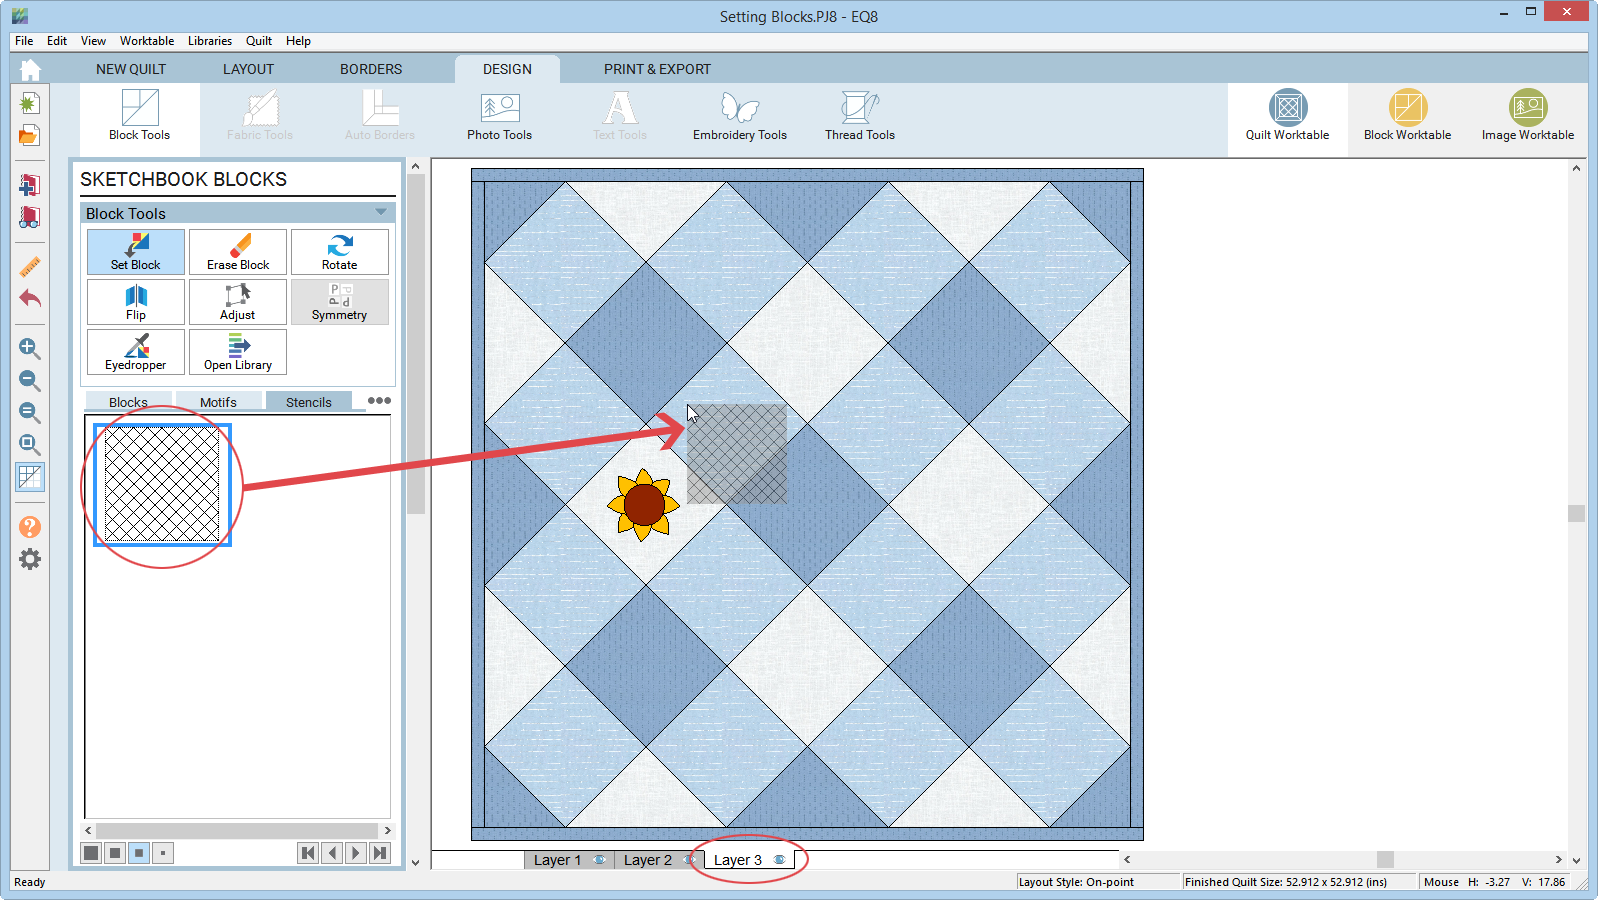
![]()
Choose Block Tools on the DESIGN tab, then click on the Set Block tool to display the Sketchbook Blocks palette. If you have Stencils in your Sketchbook, click on the Stencils tab at the top of the palette viewer. If you do not have any stencils, simply select a block in the palette that you want to set.
You can Drag and Drop a quilting stencil anywhere on the layout.
- Select a quilting stencil in the palette.
- Click, hold, and drag that stencil from the palette to the quilt layout.
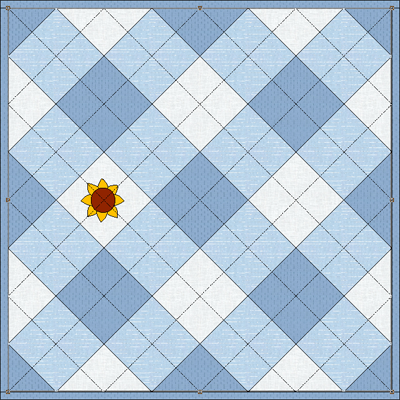
- Release the mouse to drop the stencil on the quilt. The stencil will set in the size in which it was drawn.
- Use the Adjust tool to make changes to the size and location of the stencil.
To Replace a Quilting Stencil on Layer 3
Once you’ve placed a quilting stencil on Layer 3, it’s easy to replace it. To replace a quilting stencil on Layer 3, select a new stencil in the palette, then on the quilt, click on the old stencil you want to replace to set the new stencil. Drag and drop will not work to replace a stencil, but will instead overlap a new stencil on top of the original stencil.
Note:
You can also set embroidery designs on Layer 3 in the same manner. See Setting Embroidery onto a Quilt >


